 Administrator


Intoduction:
The product in this post is a must for everyone who would consider themselves a professional, an aspiring professional motorcyclist or at the very least just somebody who would like to take charge and take care of their own motorcycle on their own, without having to go to the garage every very short amount of time.
Motorcycles require close care and if one wants to prolong his/her horse’s life and assure their safety and the proper function of their motorcycle it is very likely they would need to eventually do the mechanical stuff on their own (Or just to go the garage quite often)
My general attitude is to know as much as you can and to perform as much as you can on one’s own, in order to be depended as less as possible in other people and the services they provide. Of course, some services would never to be able to be provided by a certain individual or the average rider due to lack of knowledge, tools and time.
The simpler mechanical maintenance procedures however are aligned in the middle of that knowledge, tools and time spectrum. One of these tools and the knowledge and the time that go along with it is the rear motorcycle jack.
Quick Overview:
This tool is relatively cheap and cost me about 70USD and very simple to assemble. Using this tool however is an acquired skill I would say.
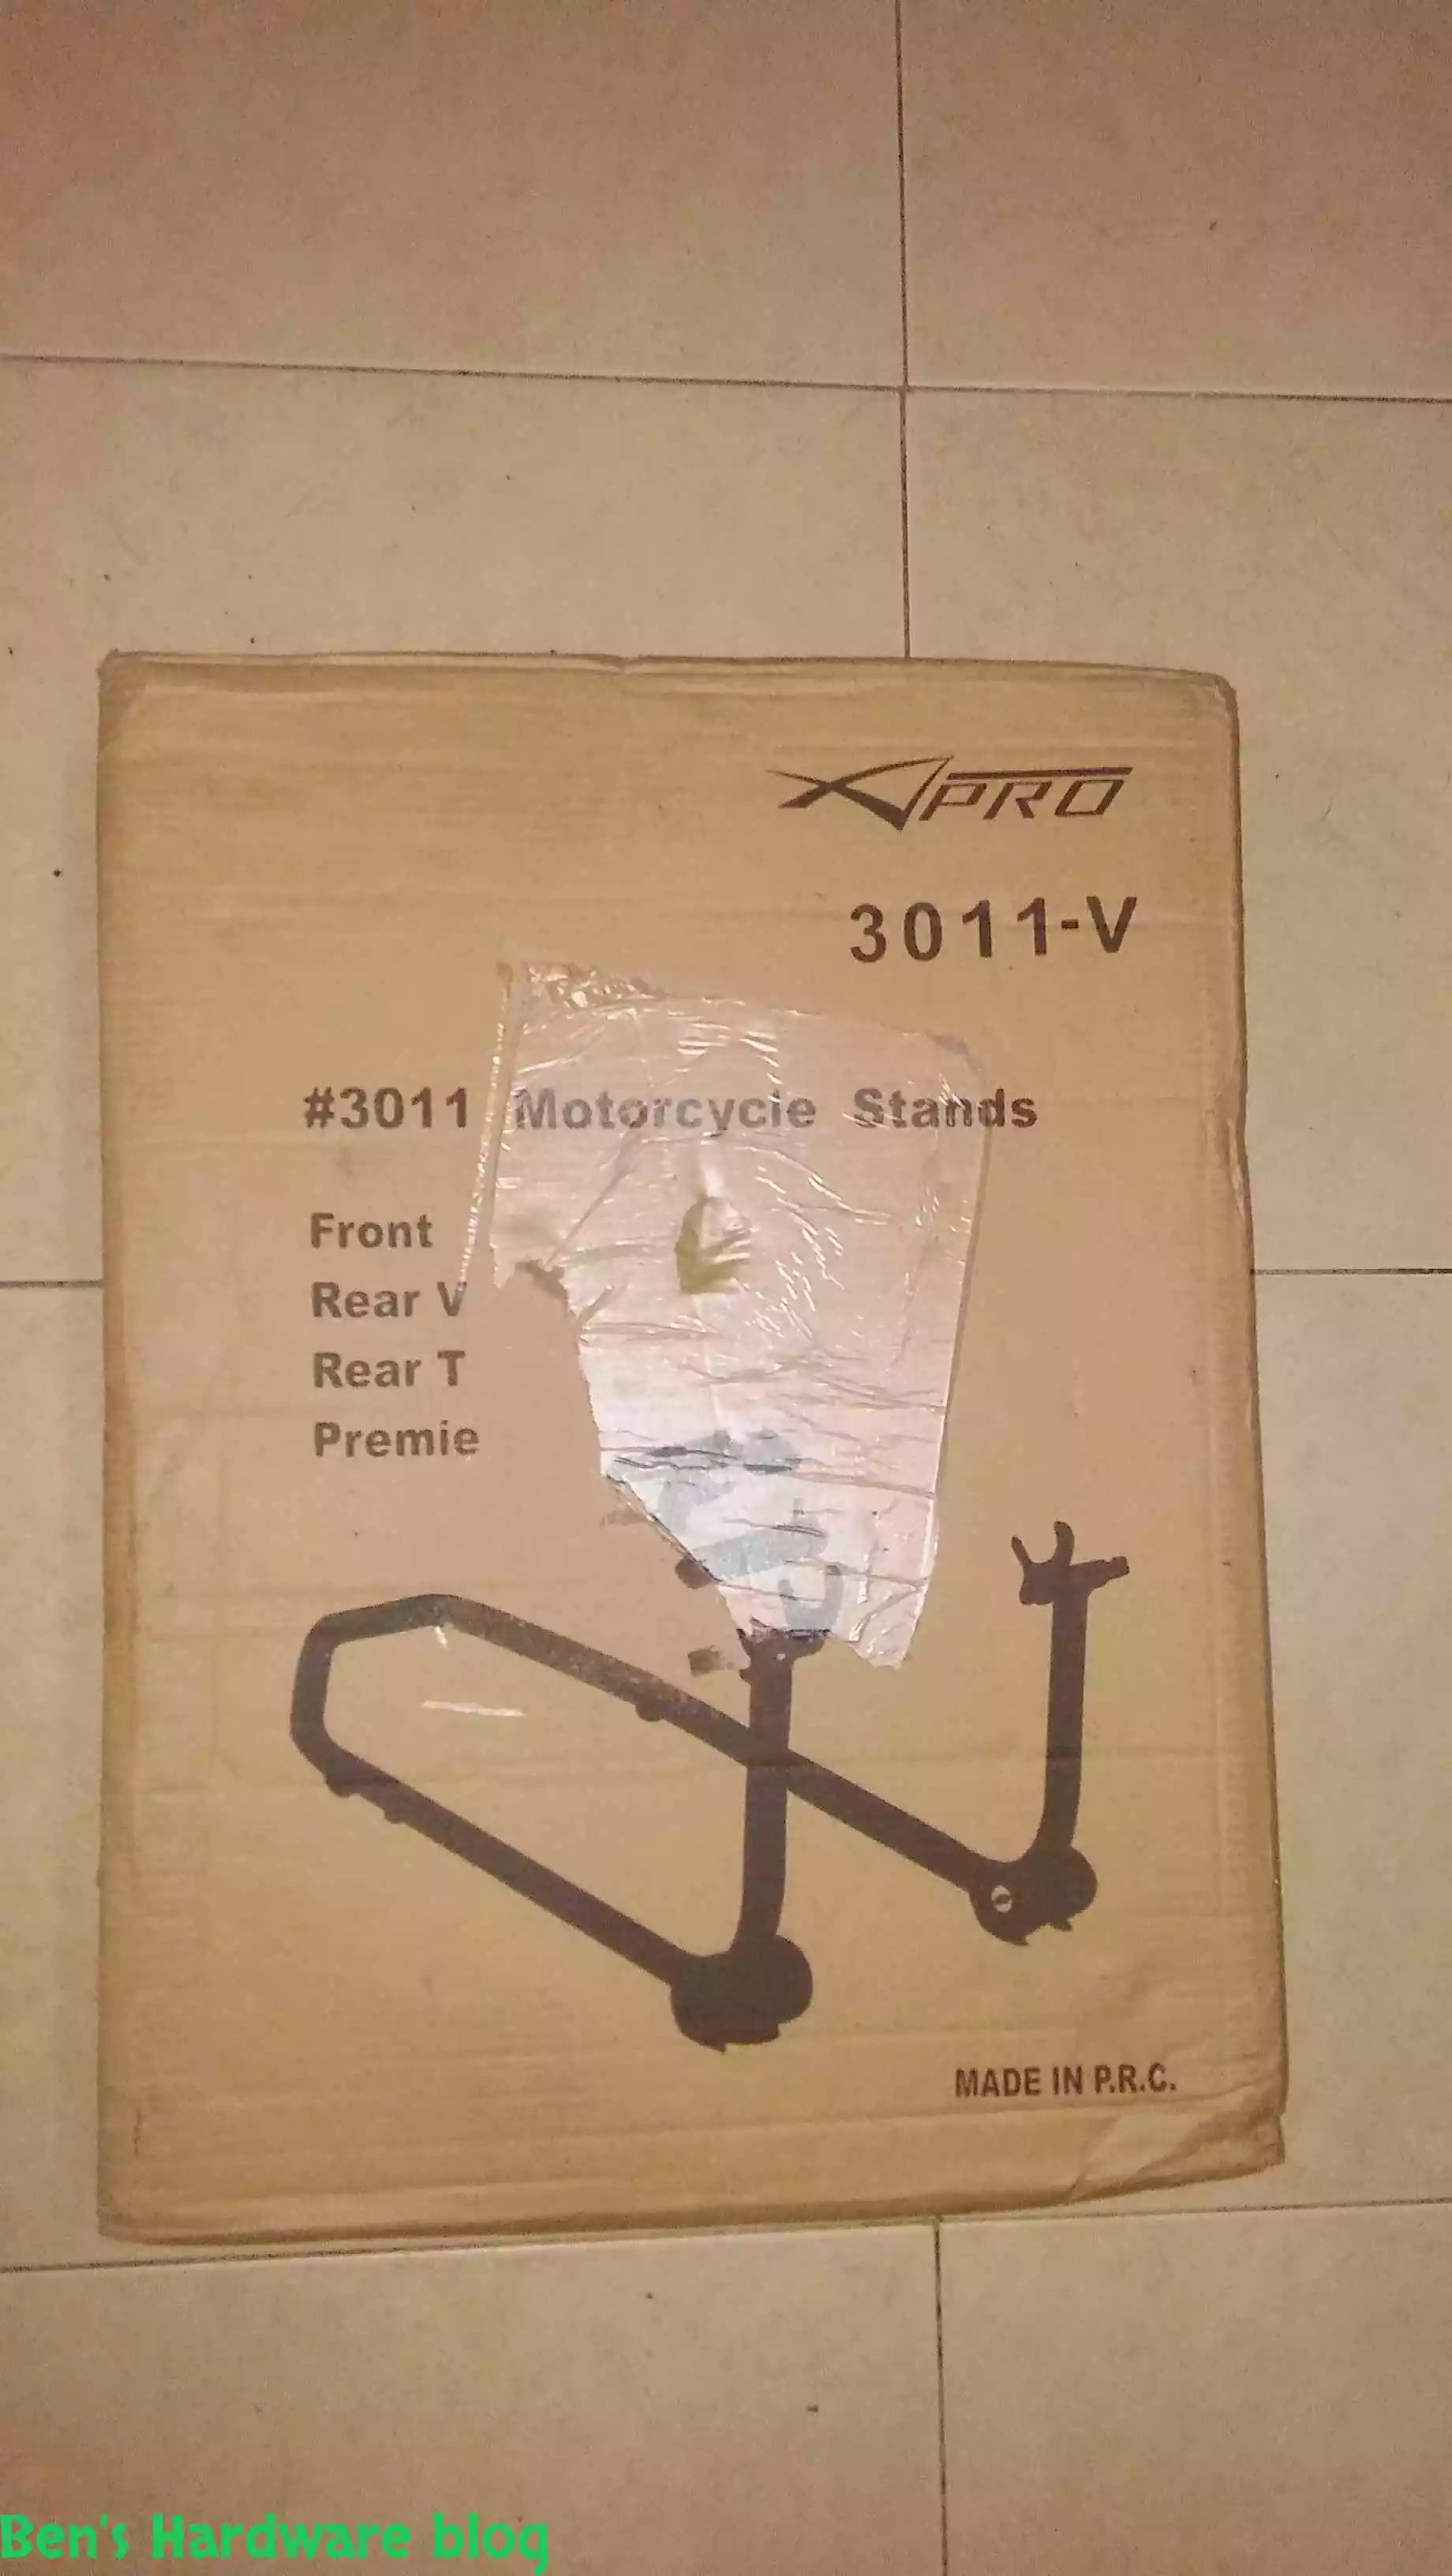
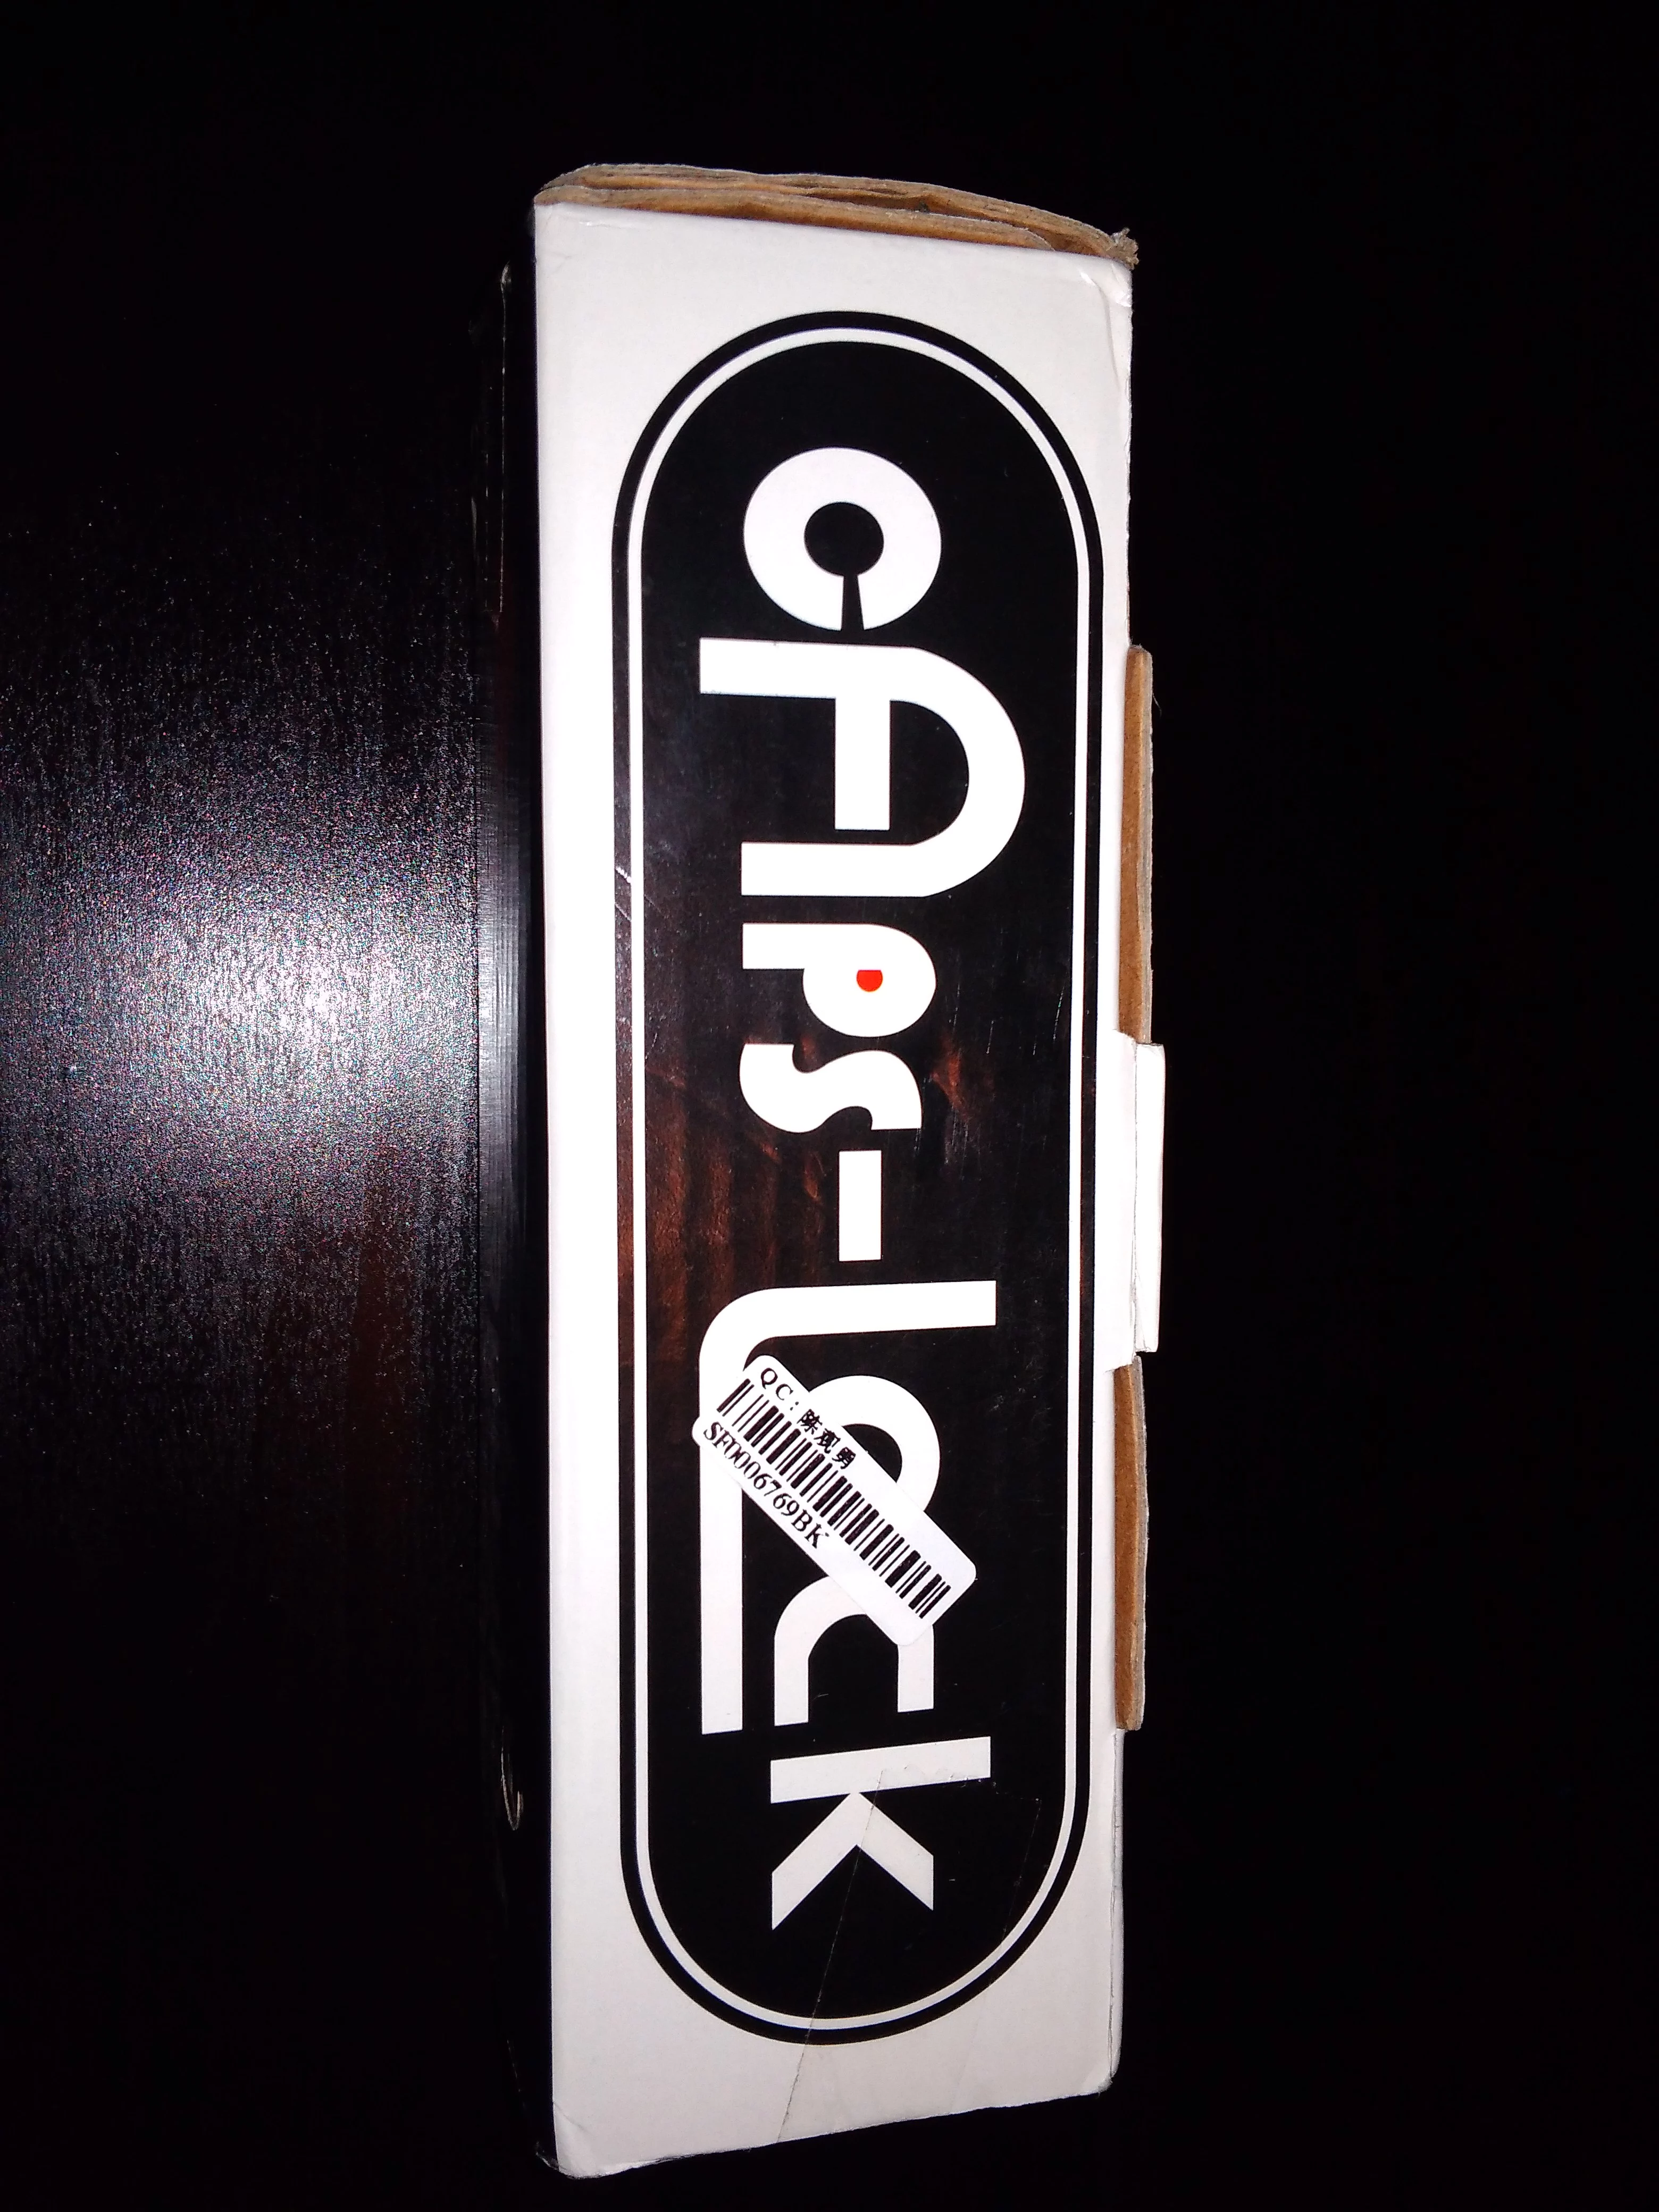
Packaging:
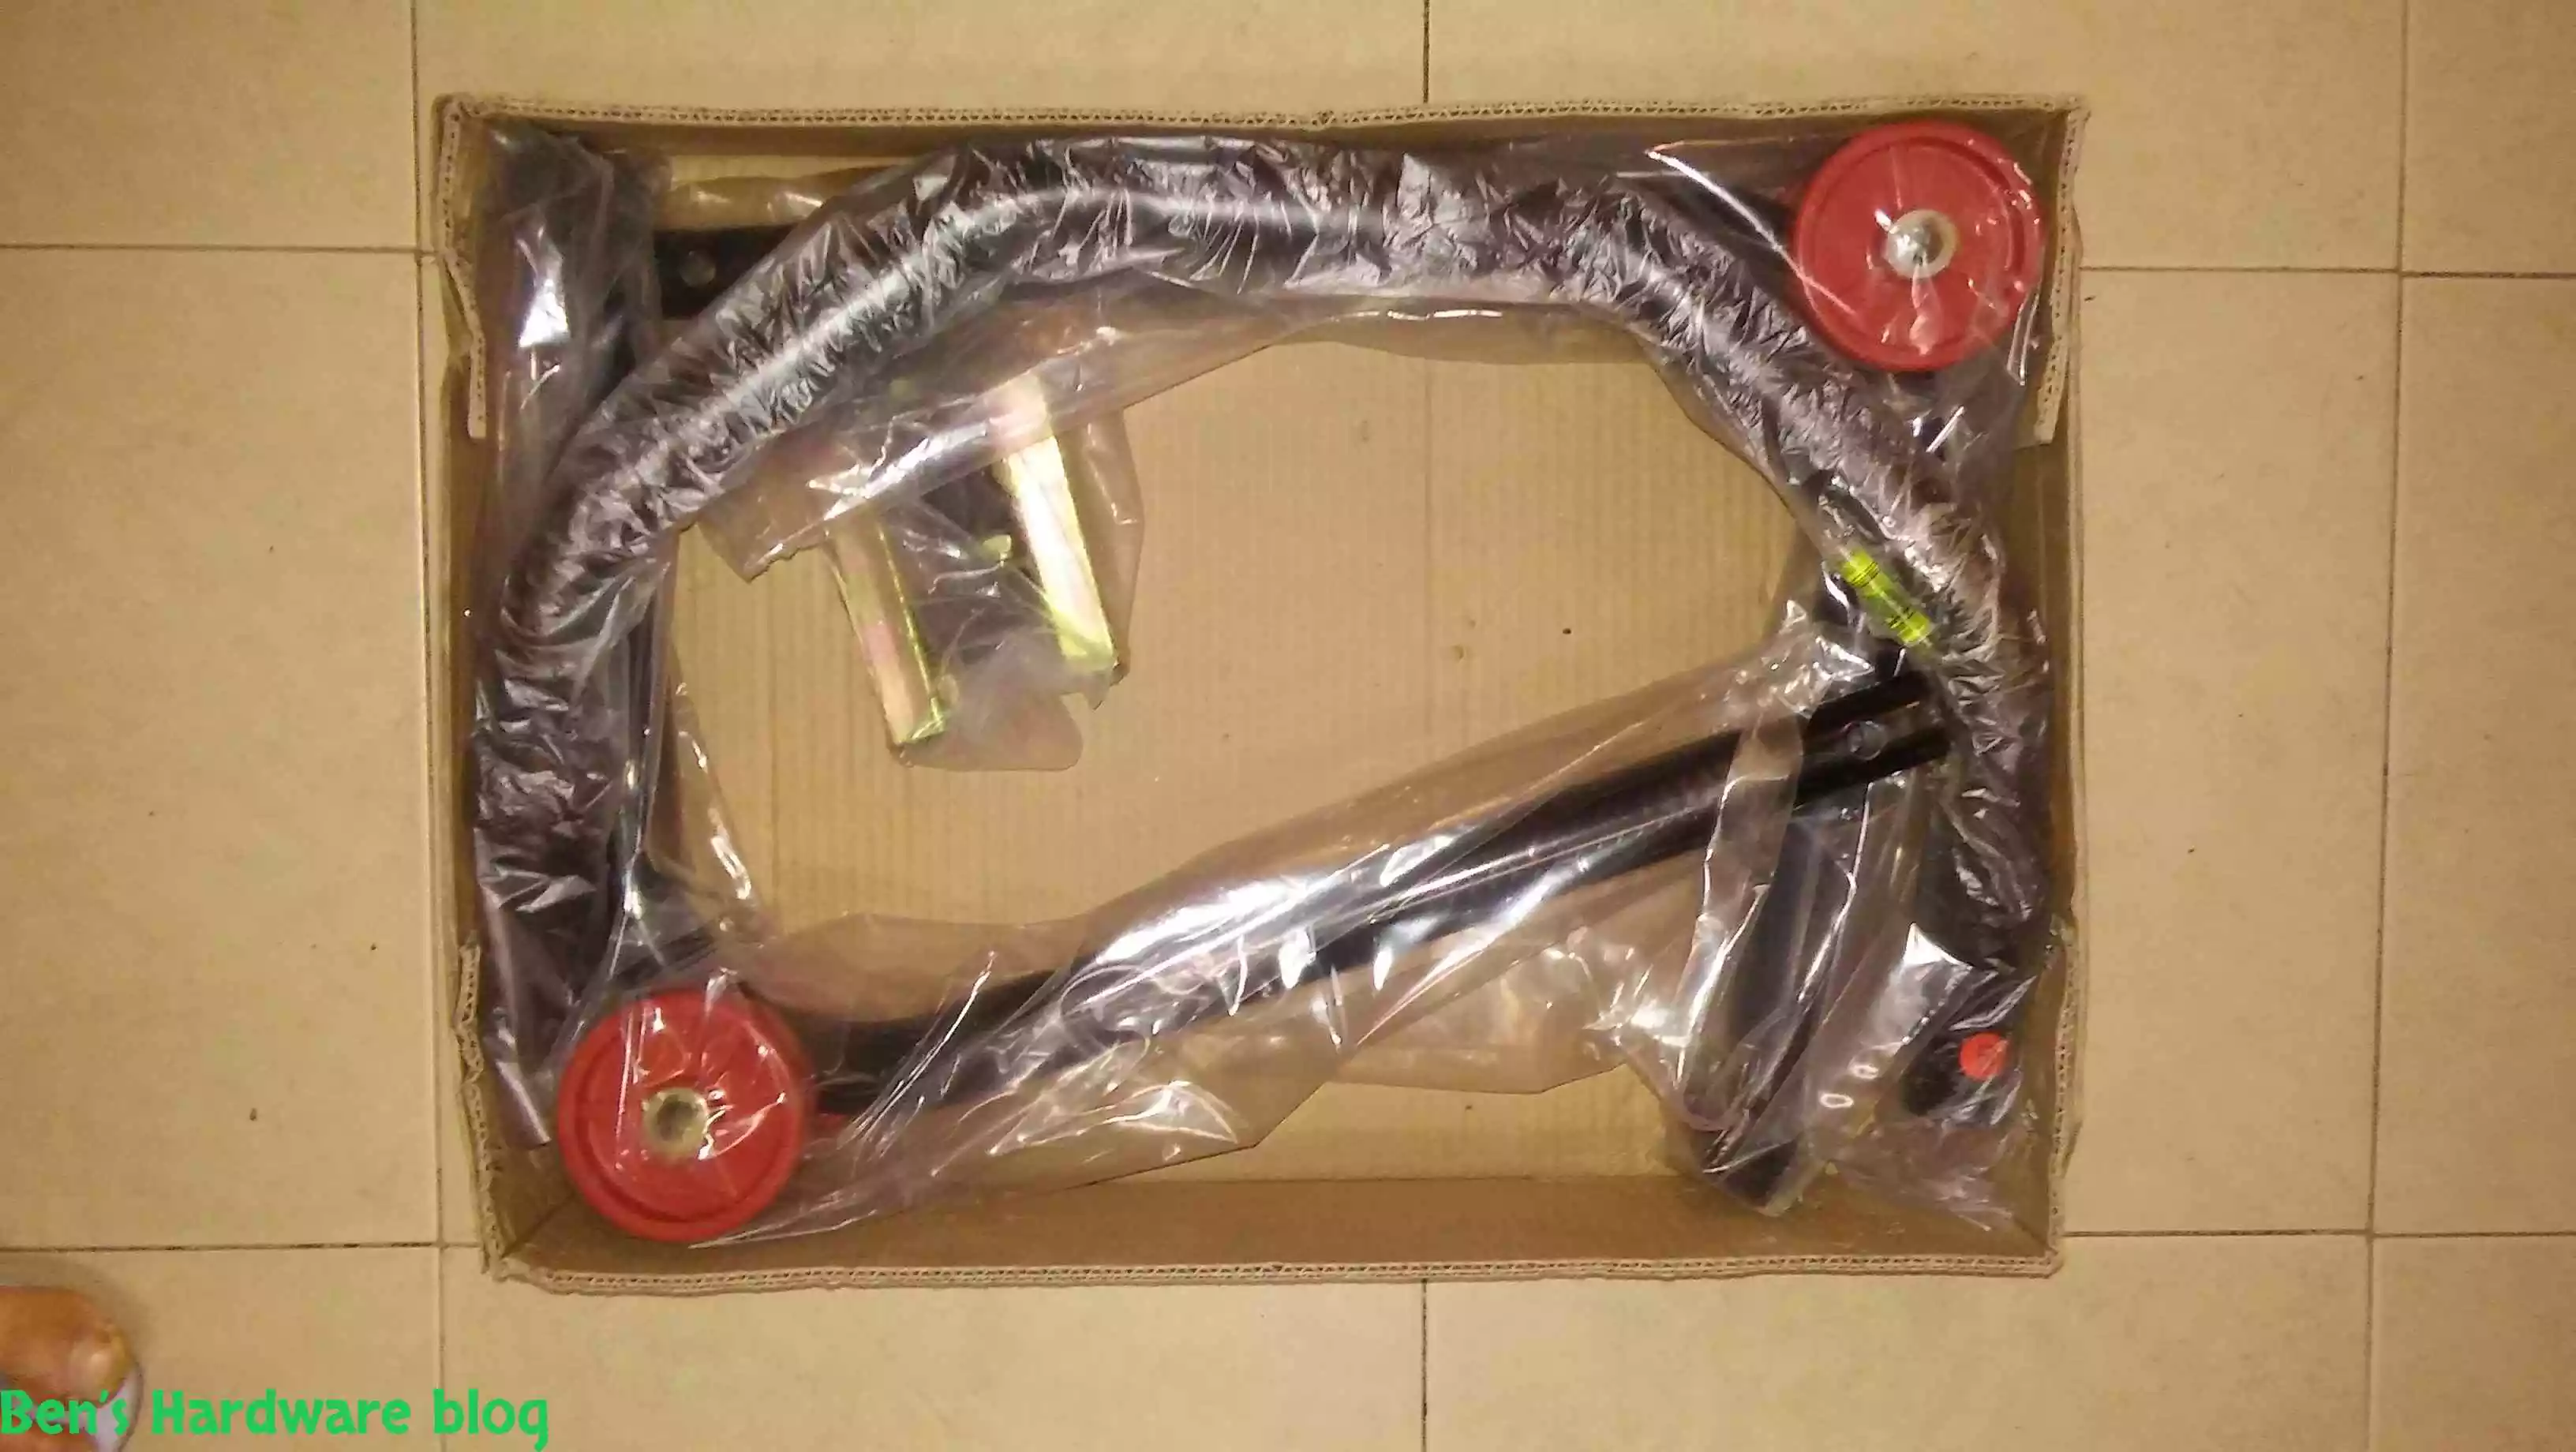
The packaging of the stand was very efficient in terms of space and relatively not as heavy as I had expected. The various parts were al enclosed in protective nylons and they seems undamaged on arrival. This fact surprised me due to the very thin cardboard used to create the packaging box.
Parts:
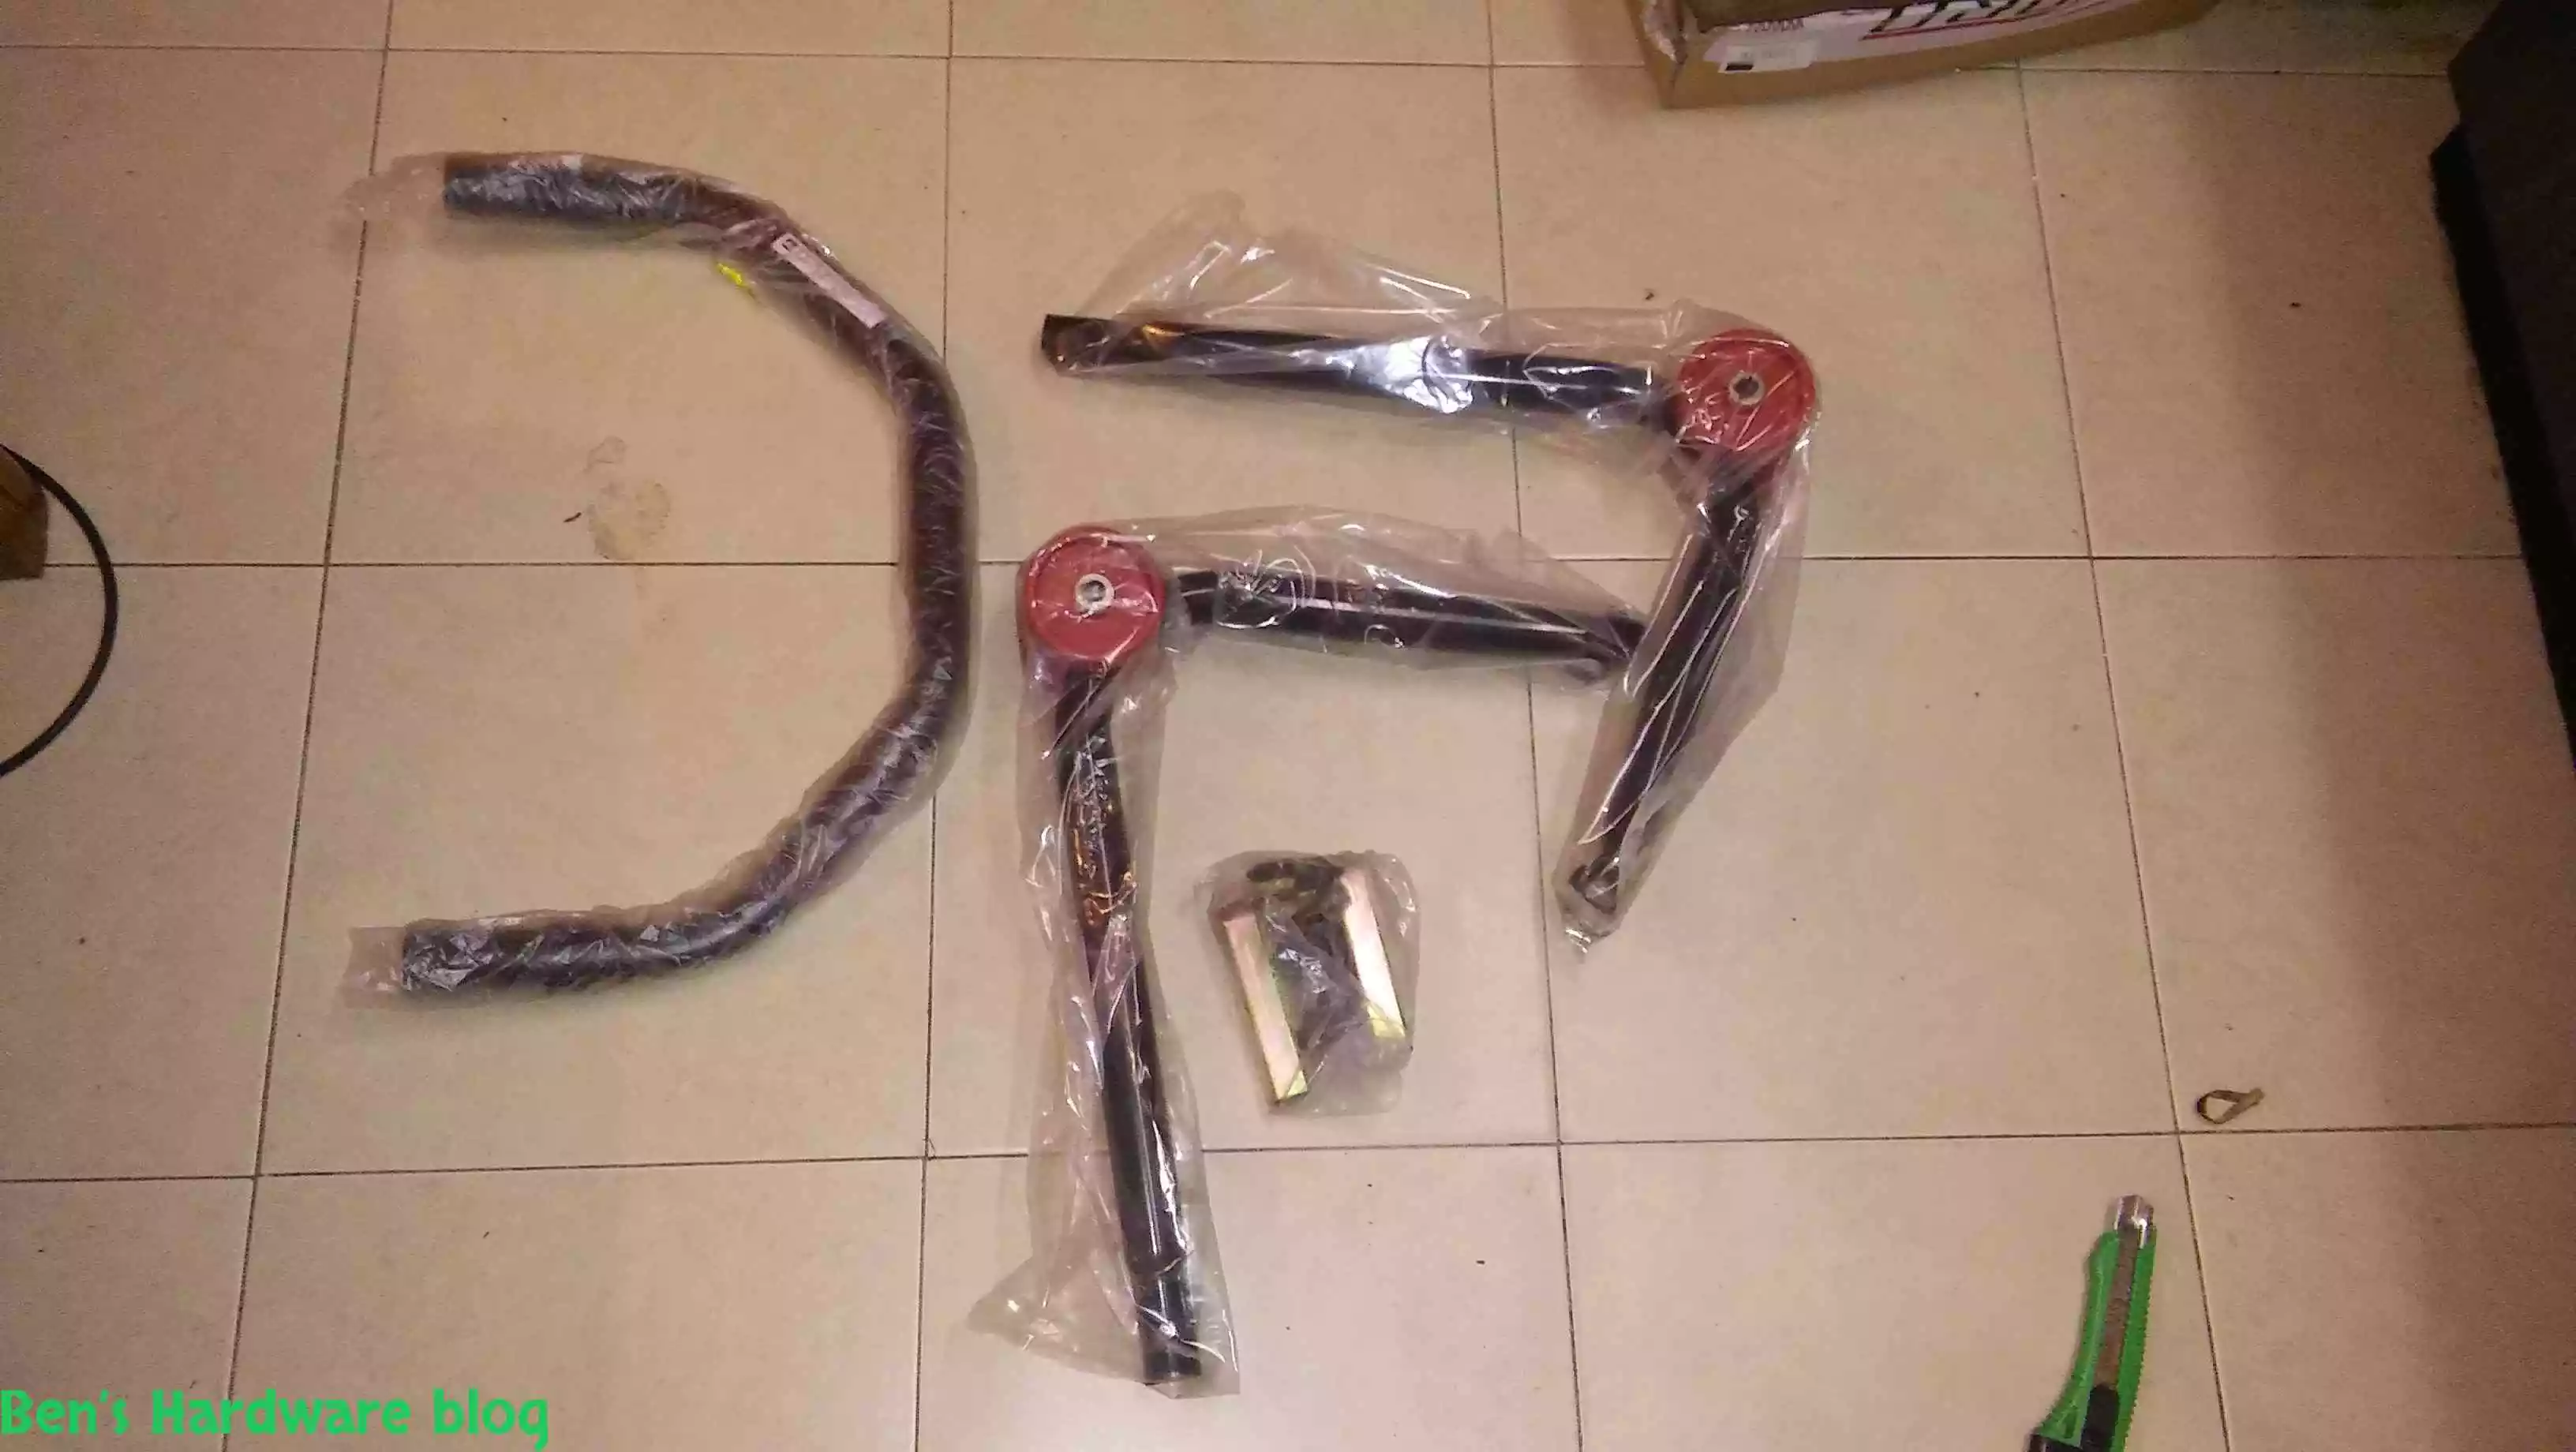
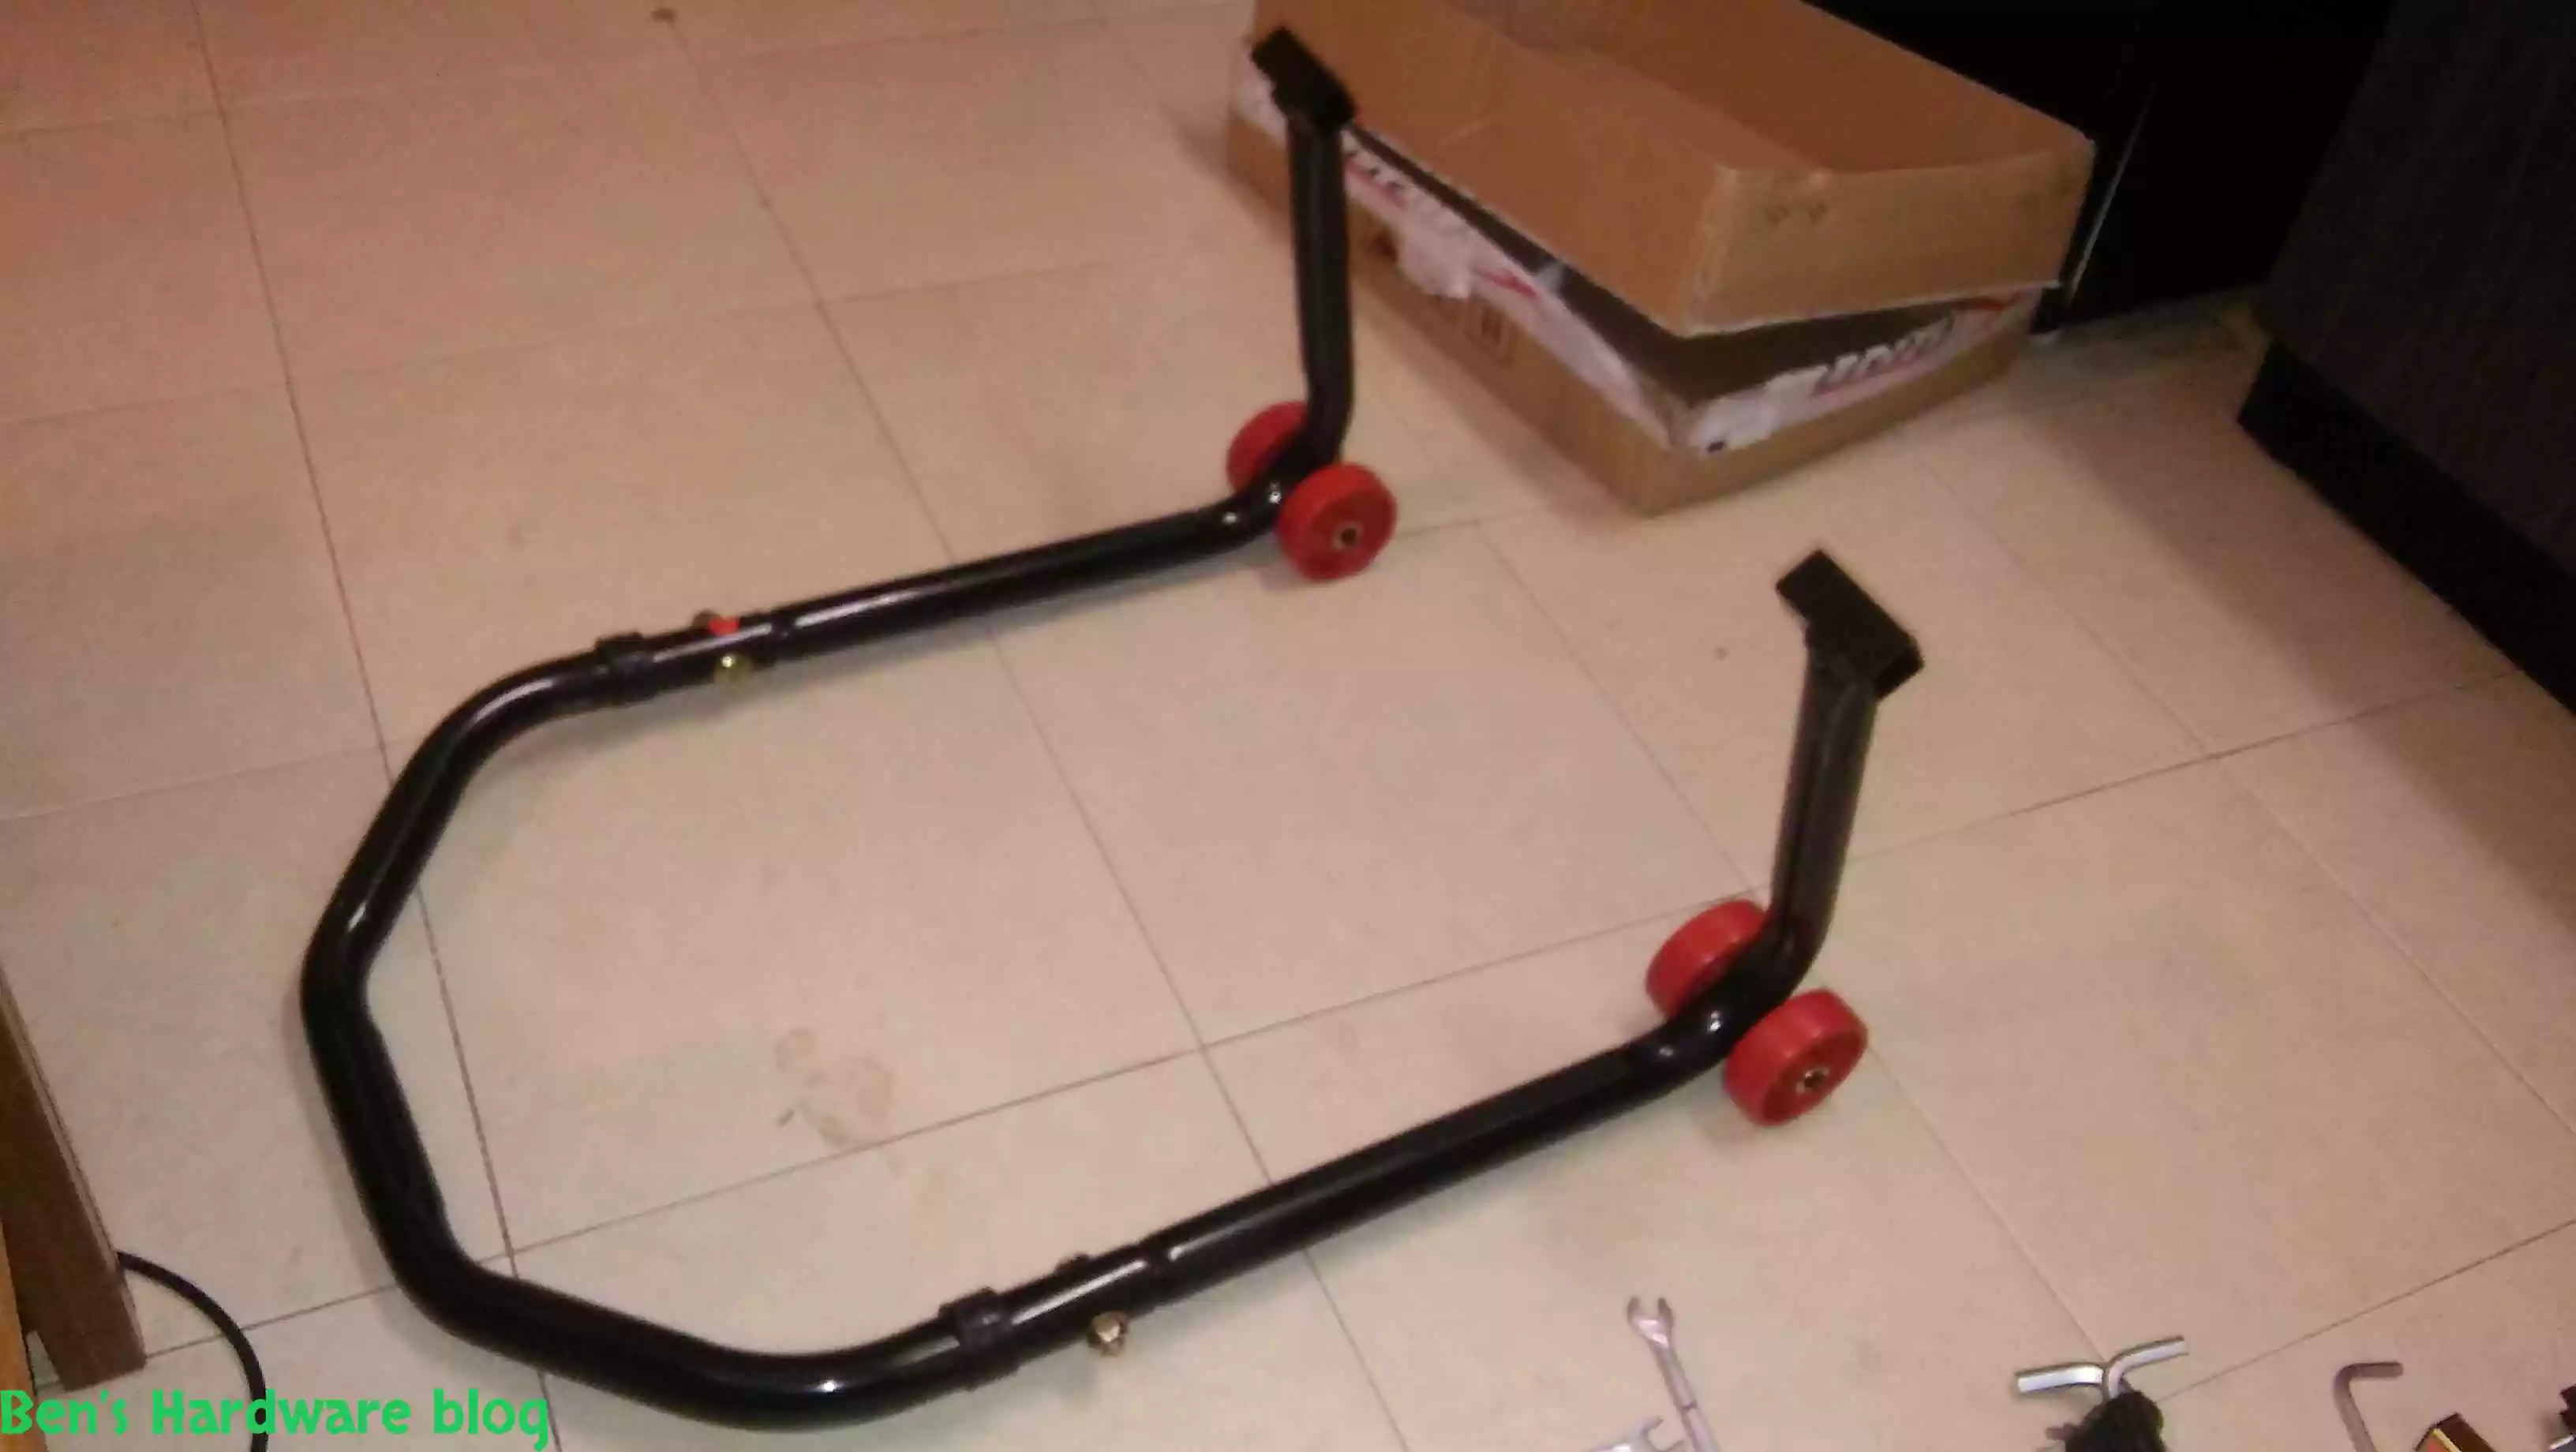
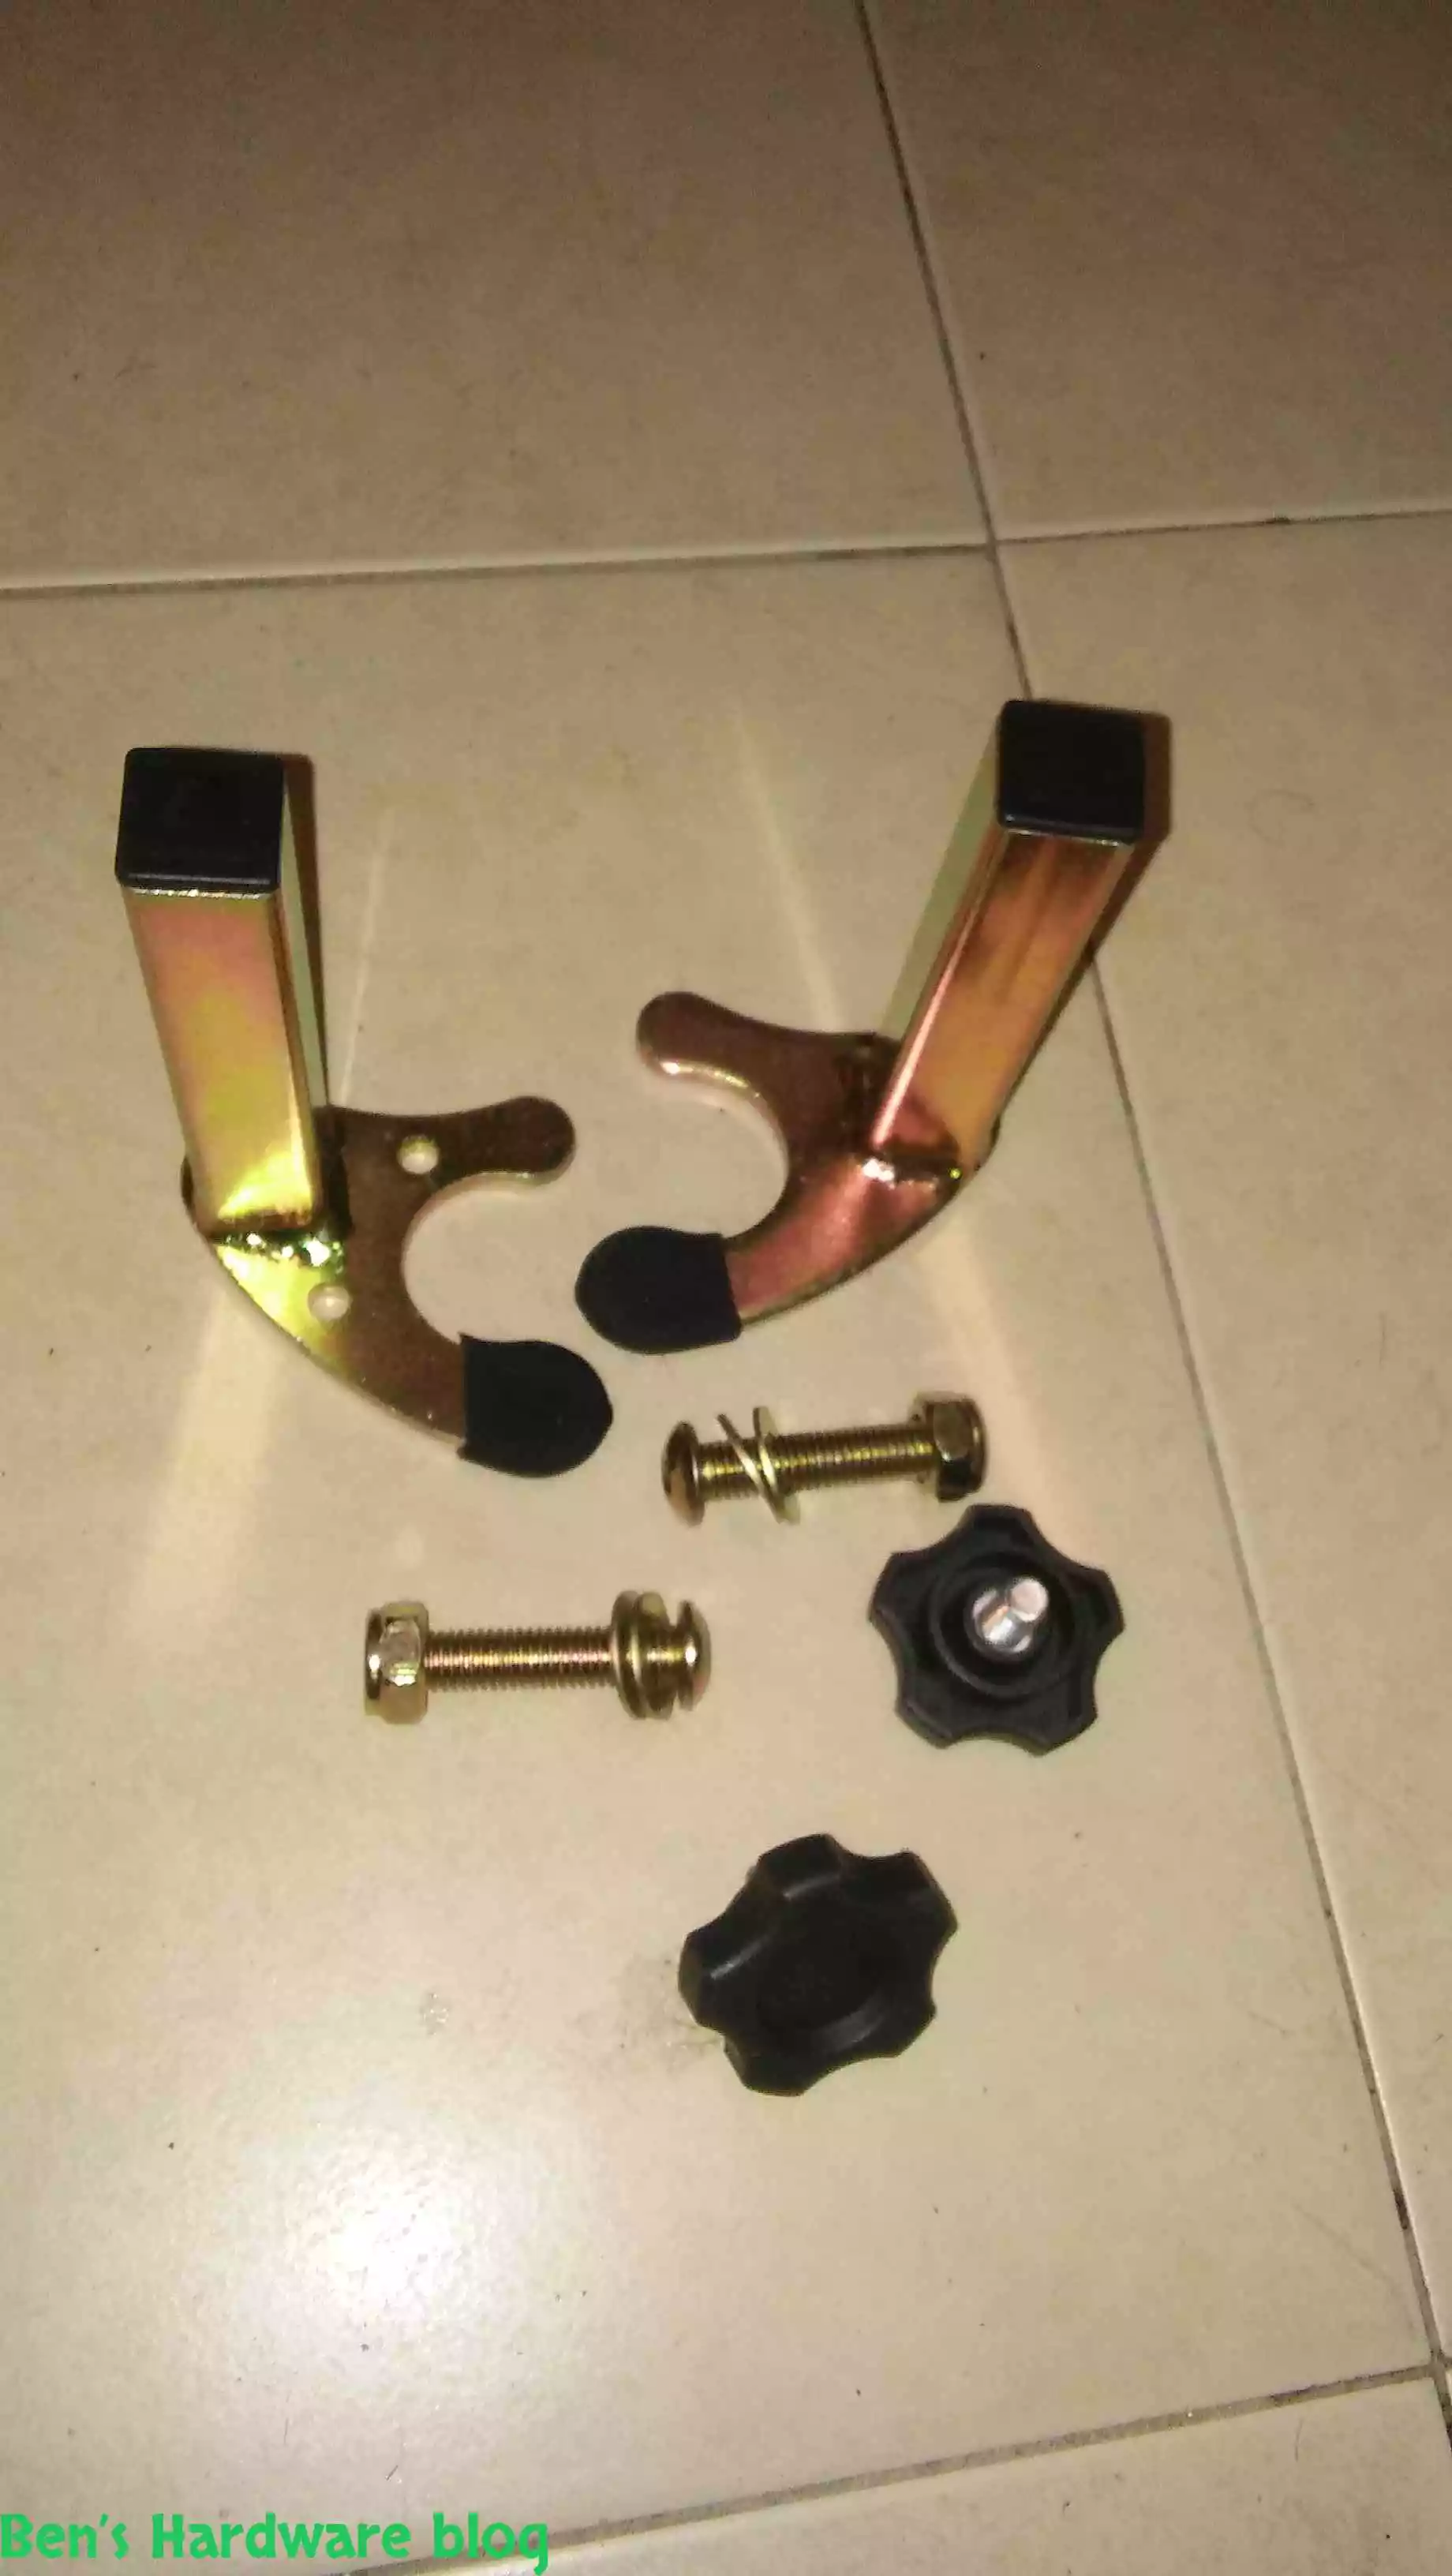
There are not much parts in this stand.
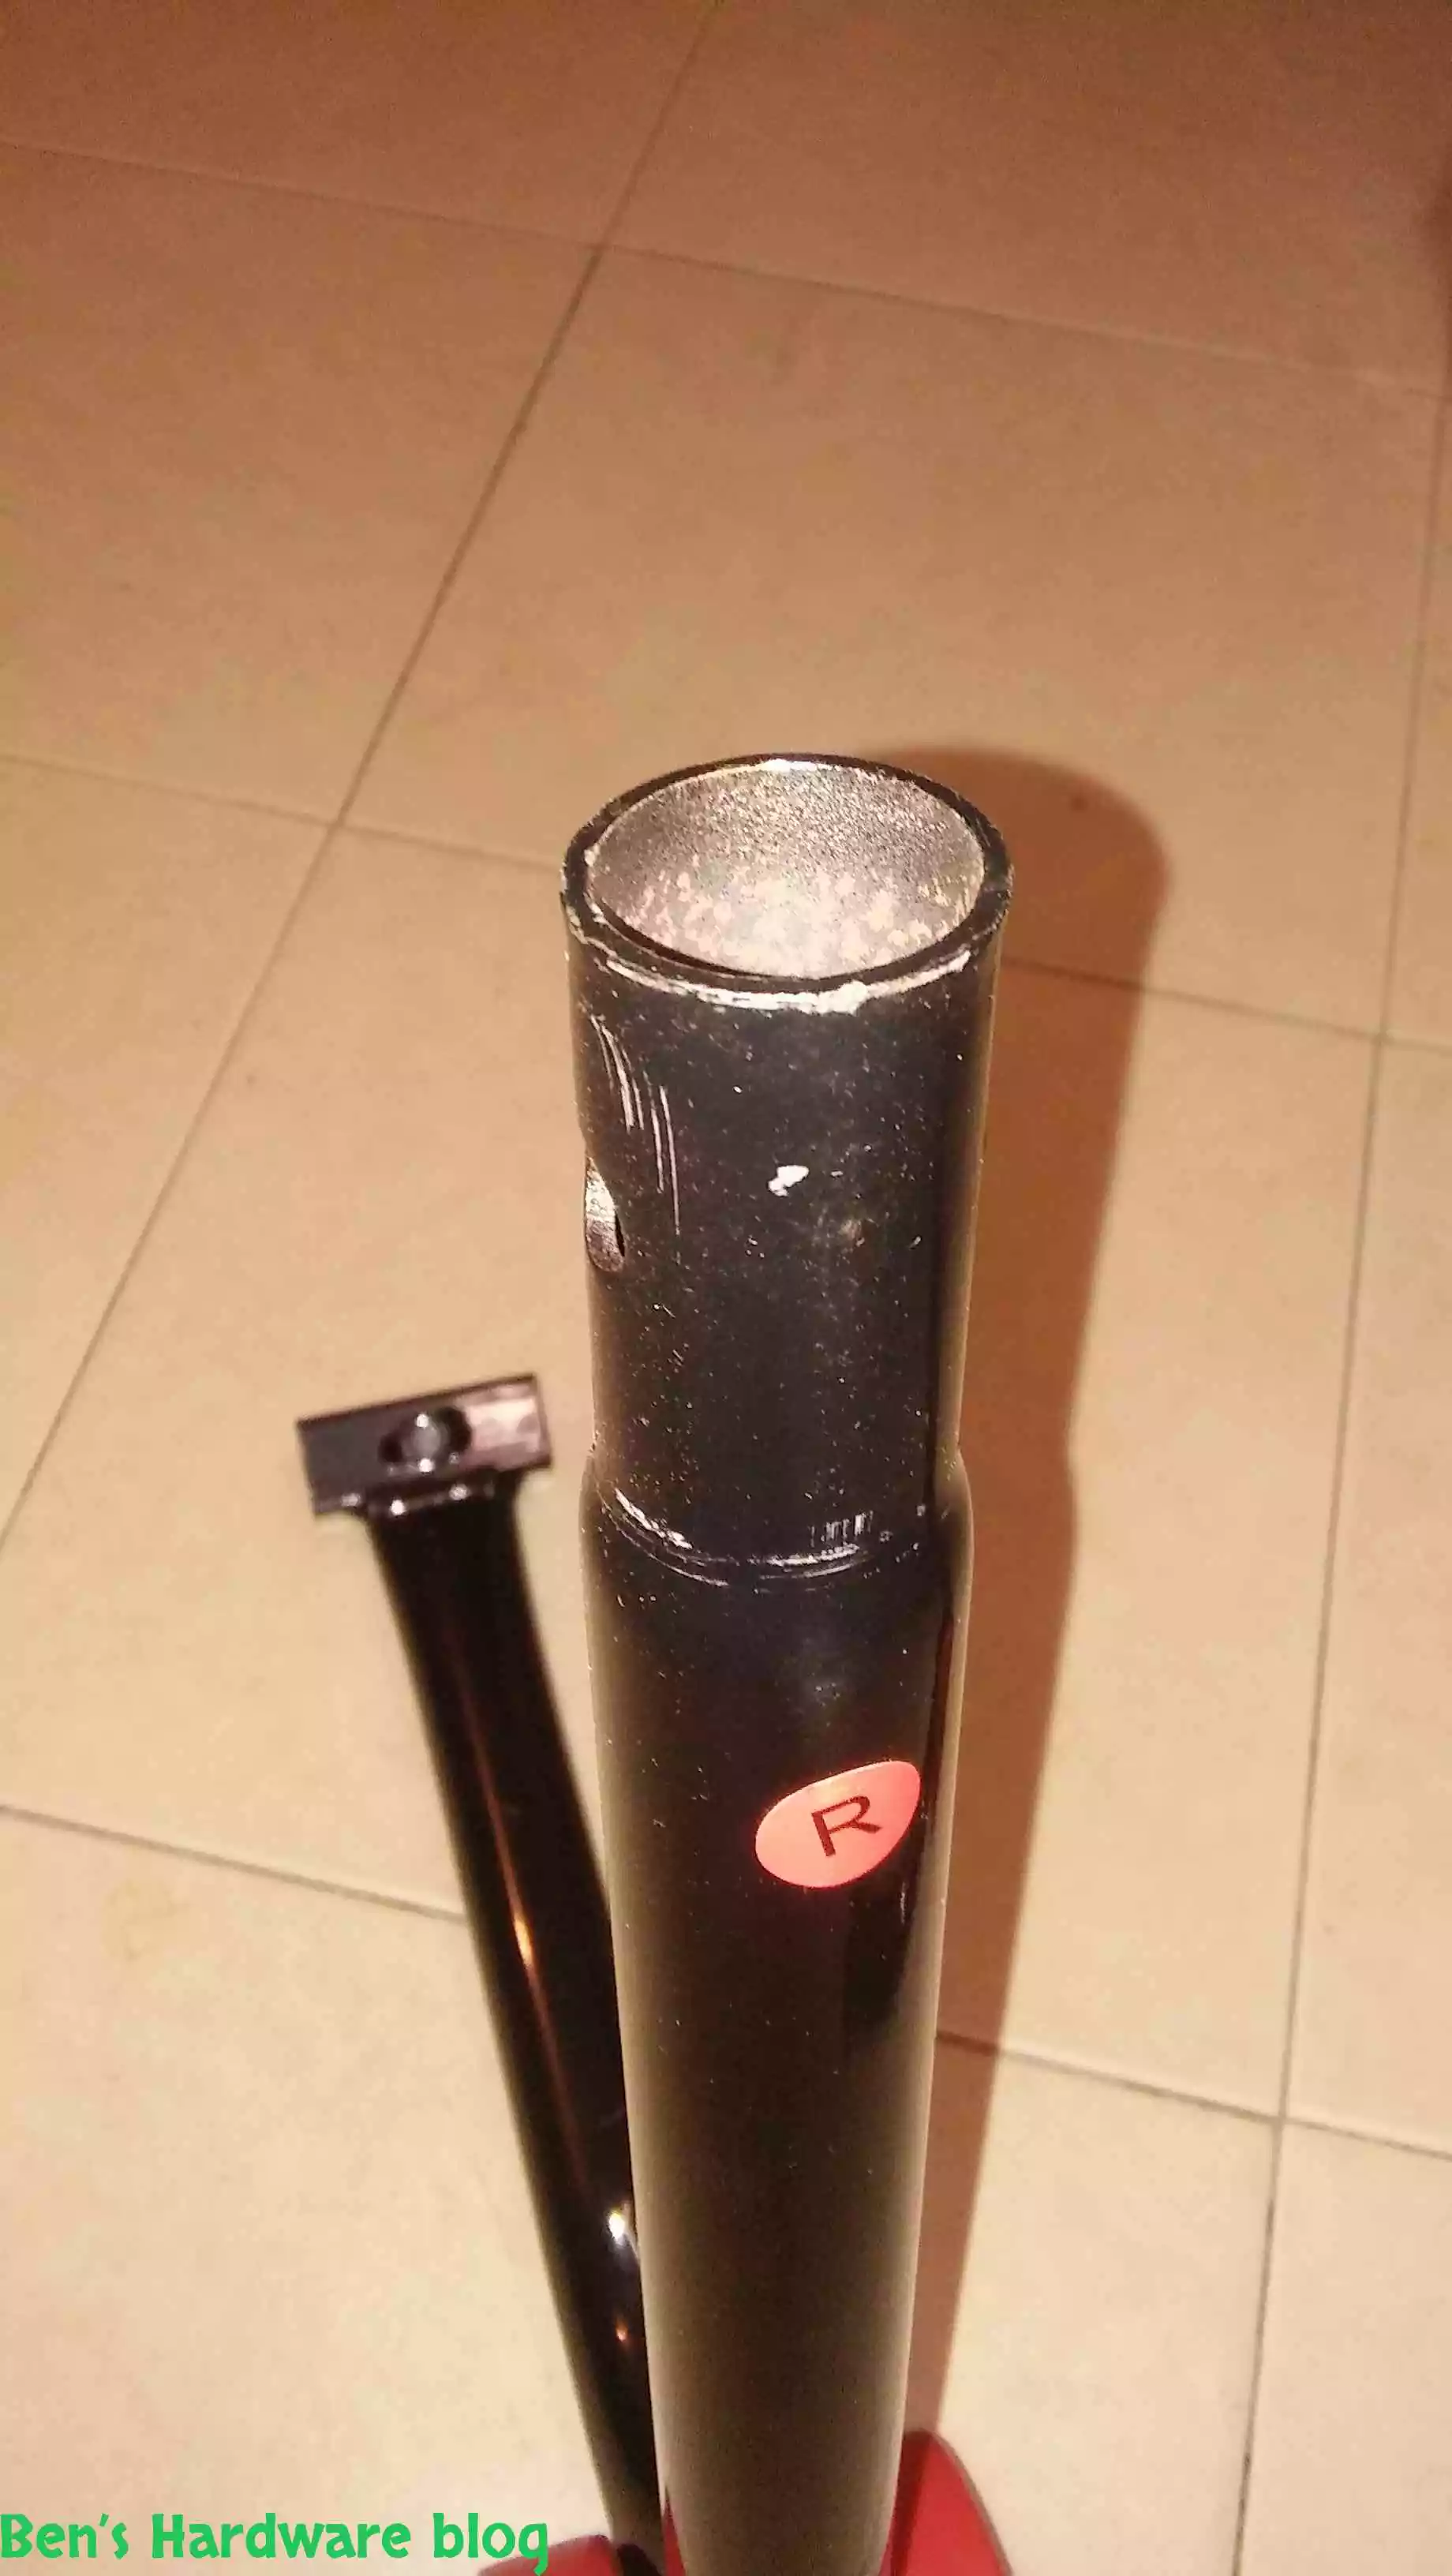
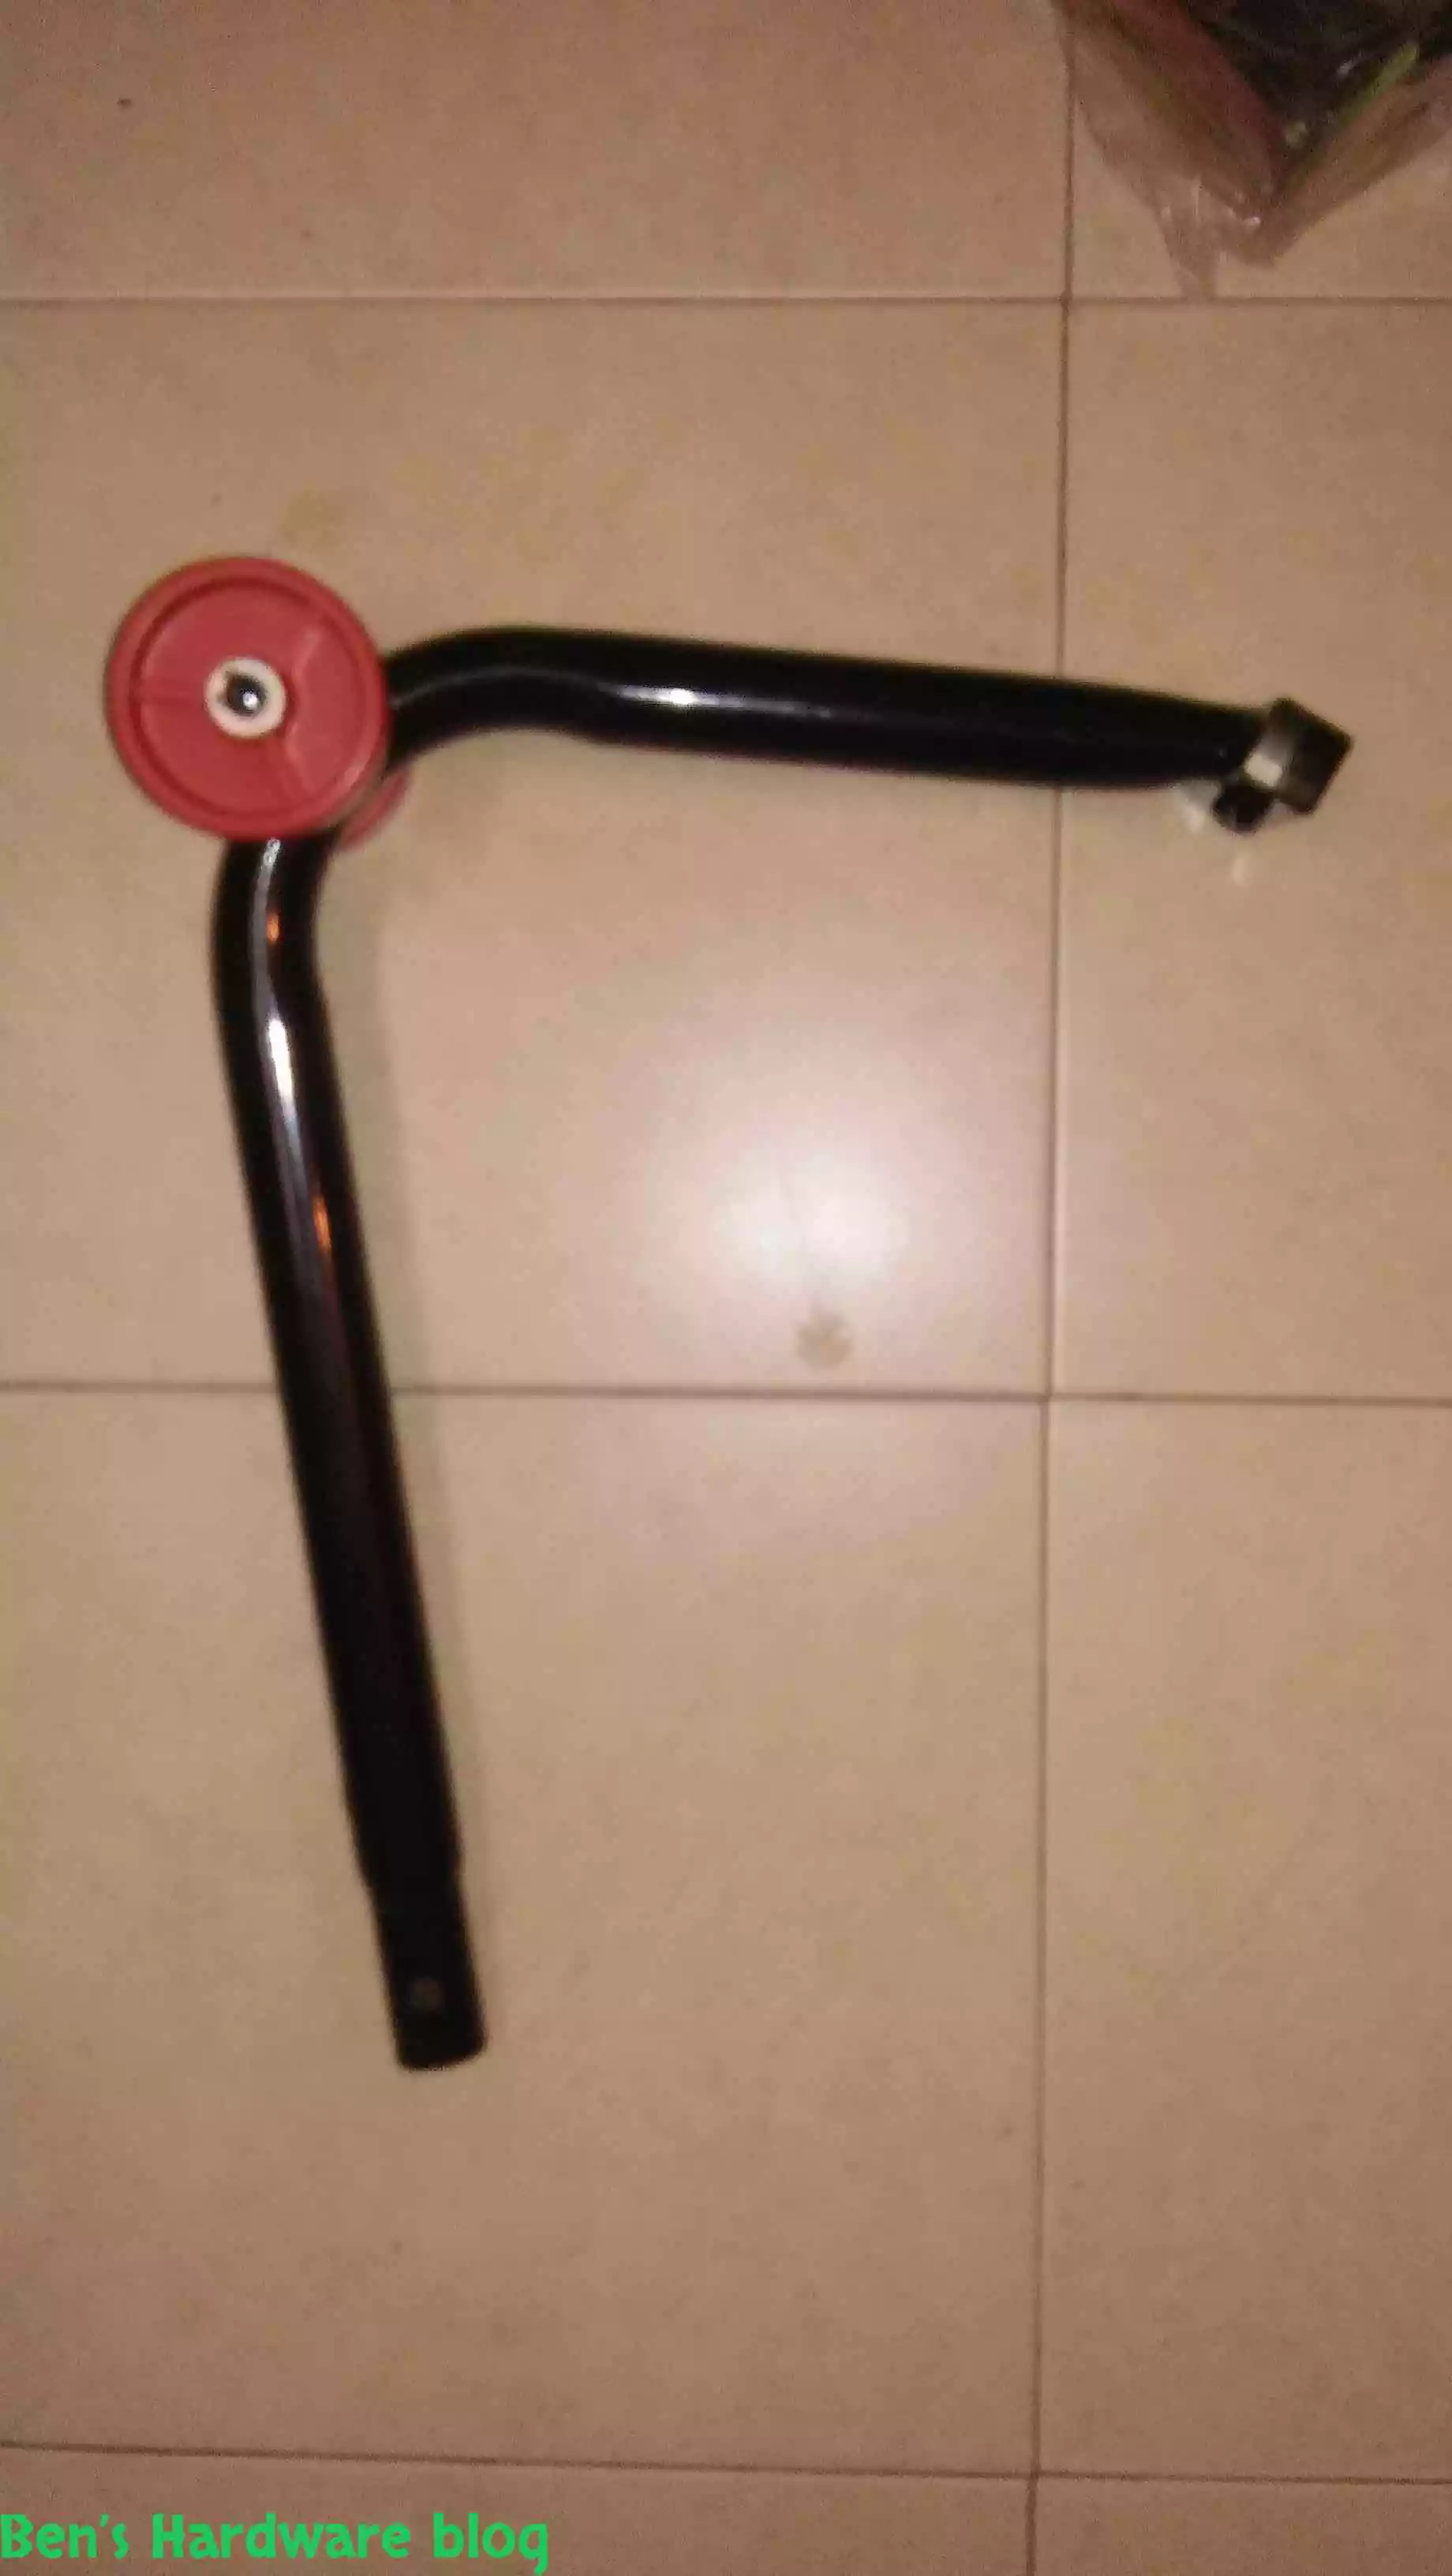
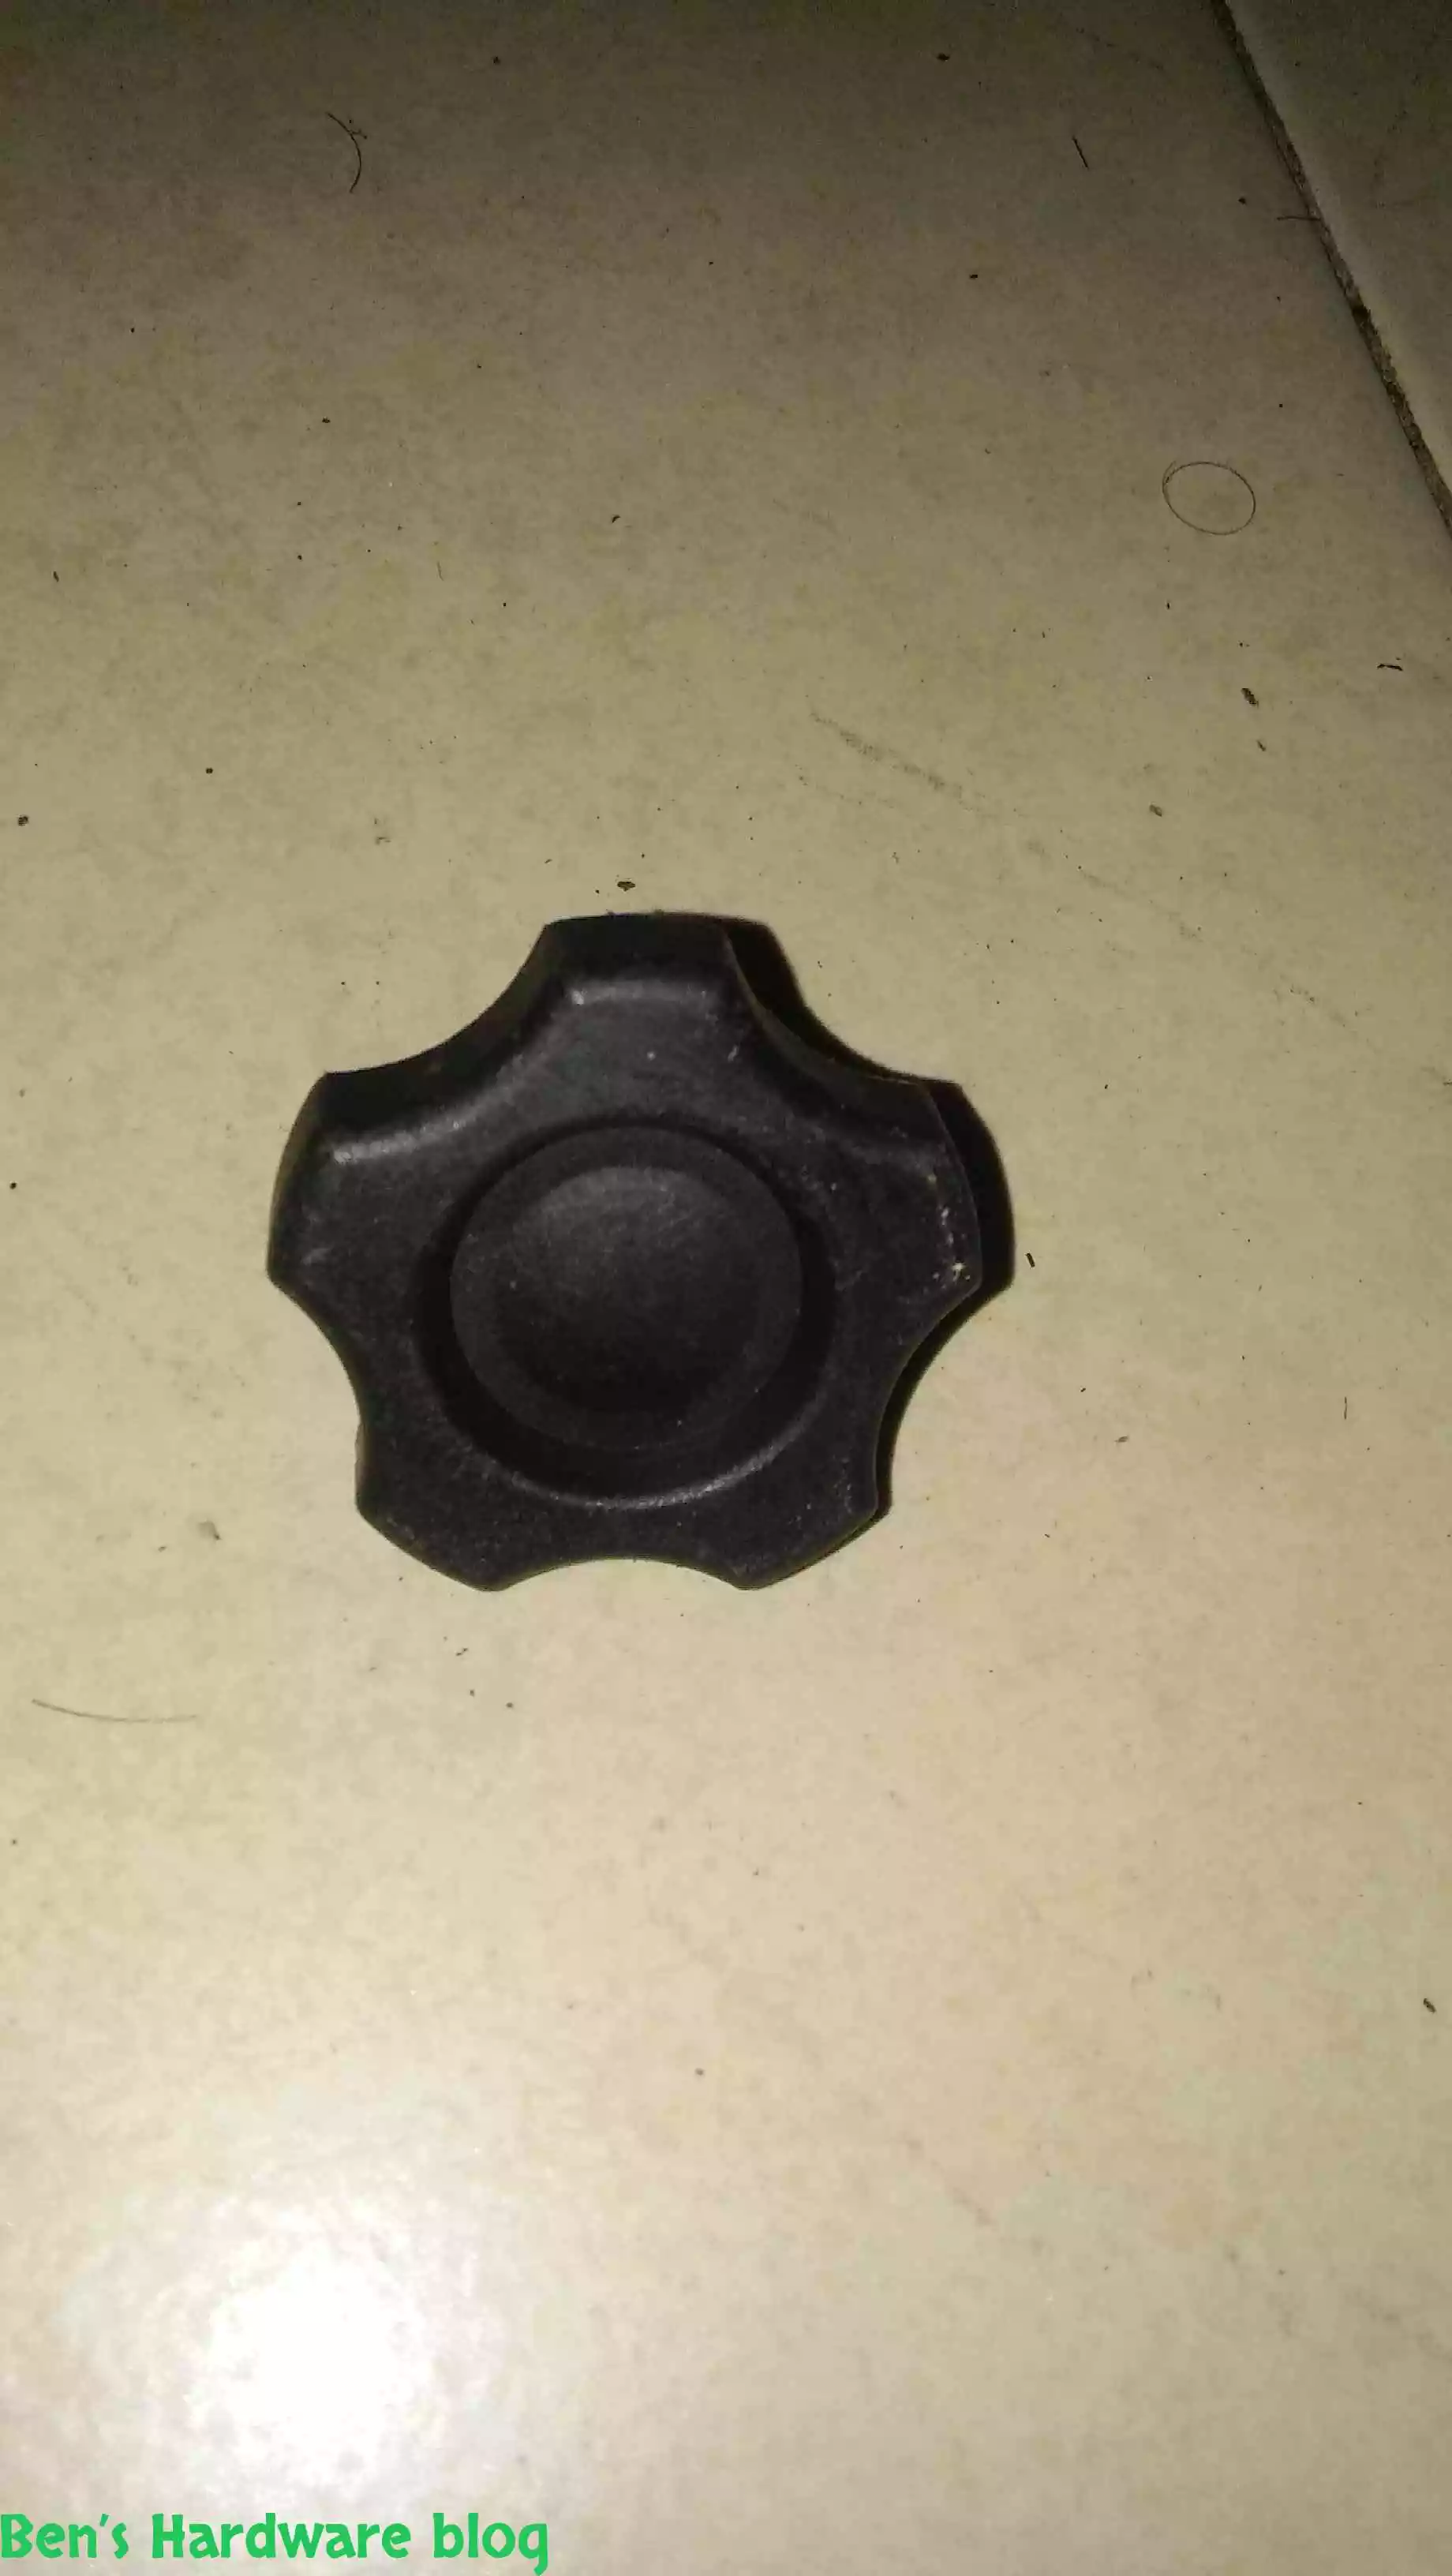
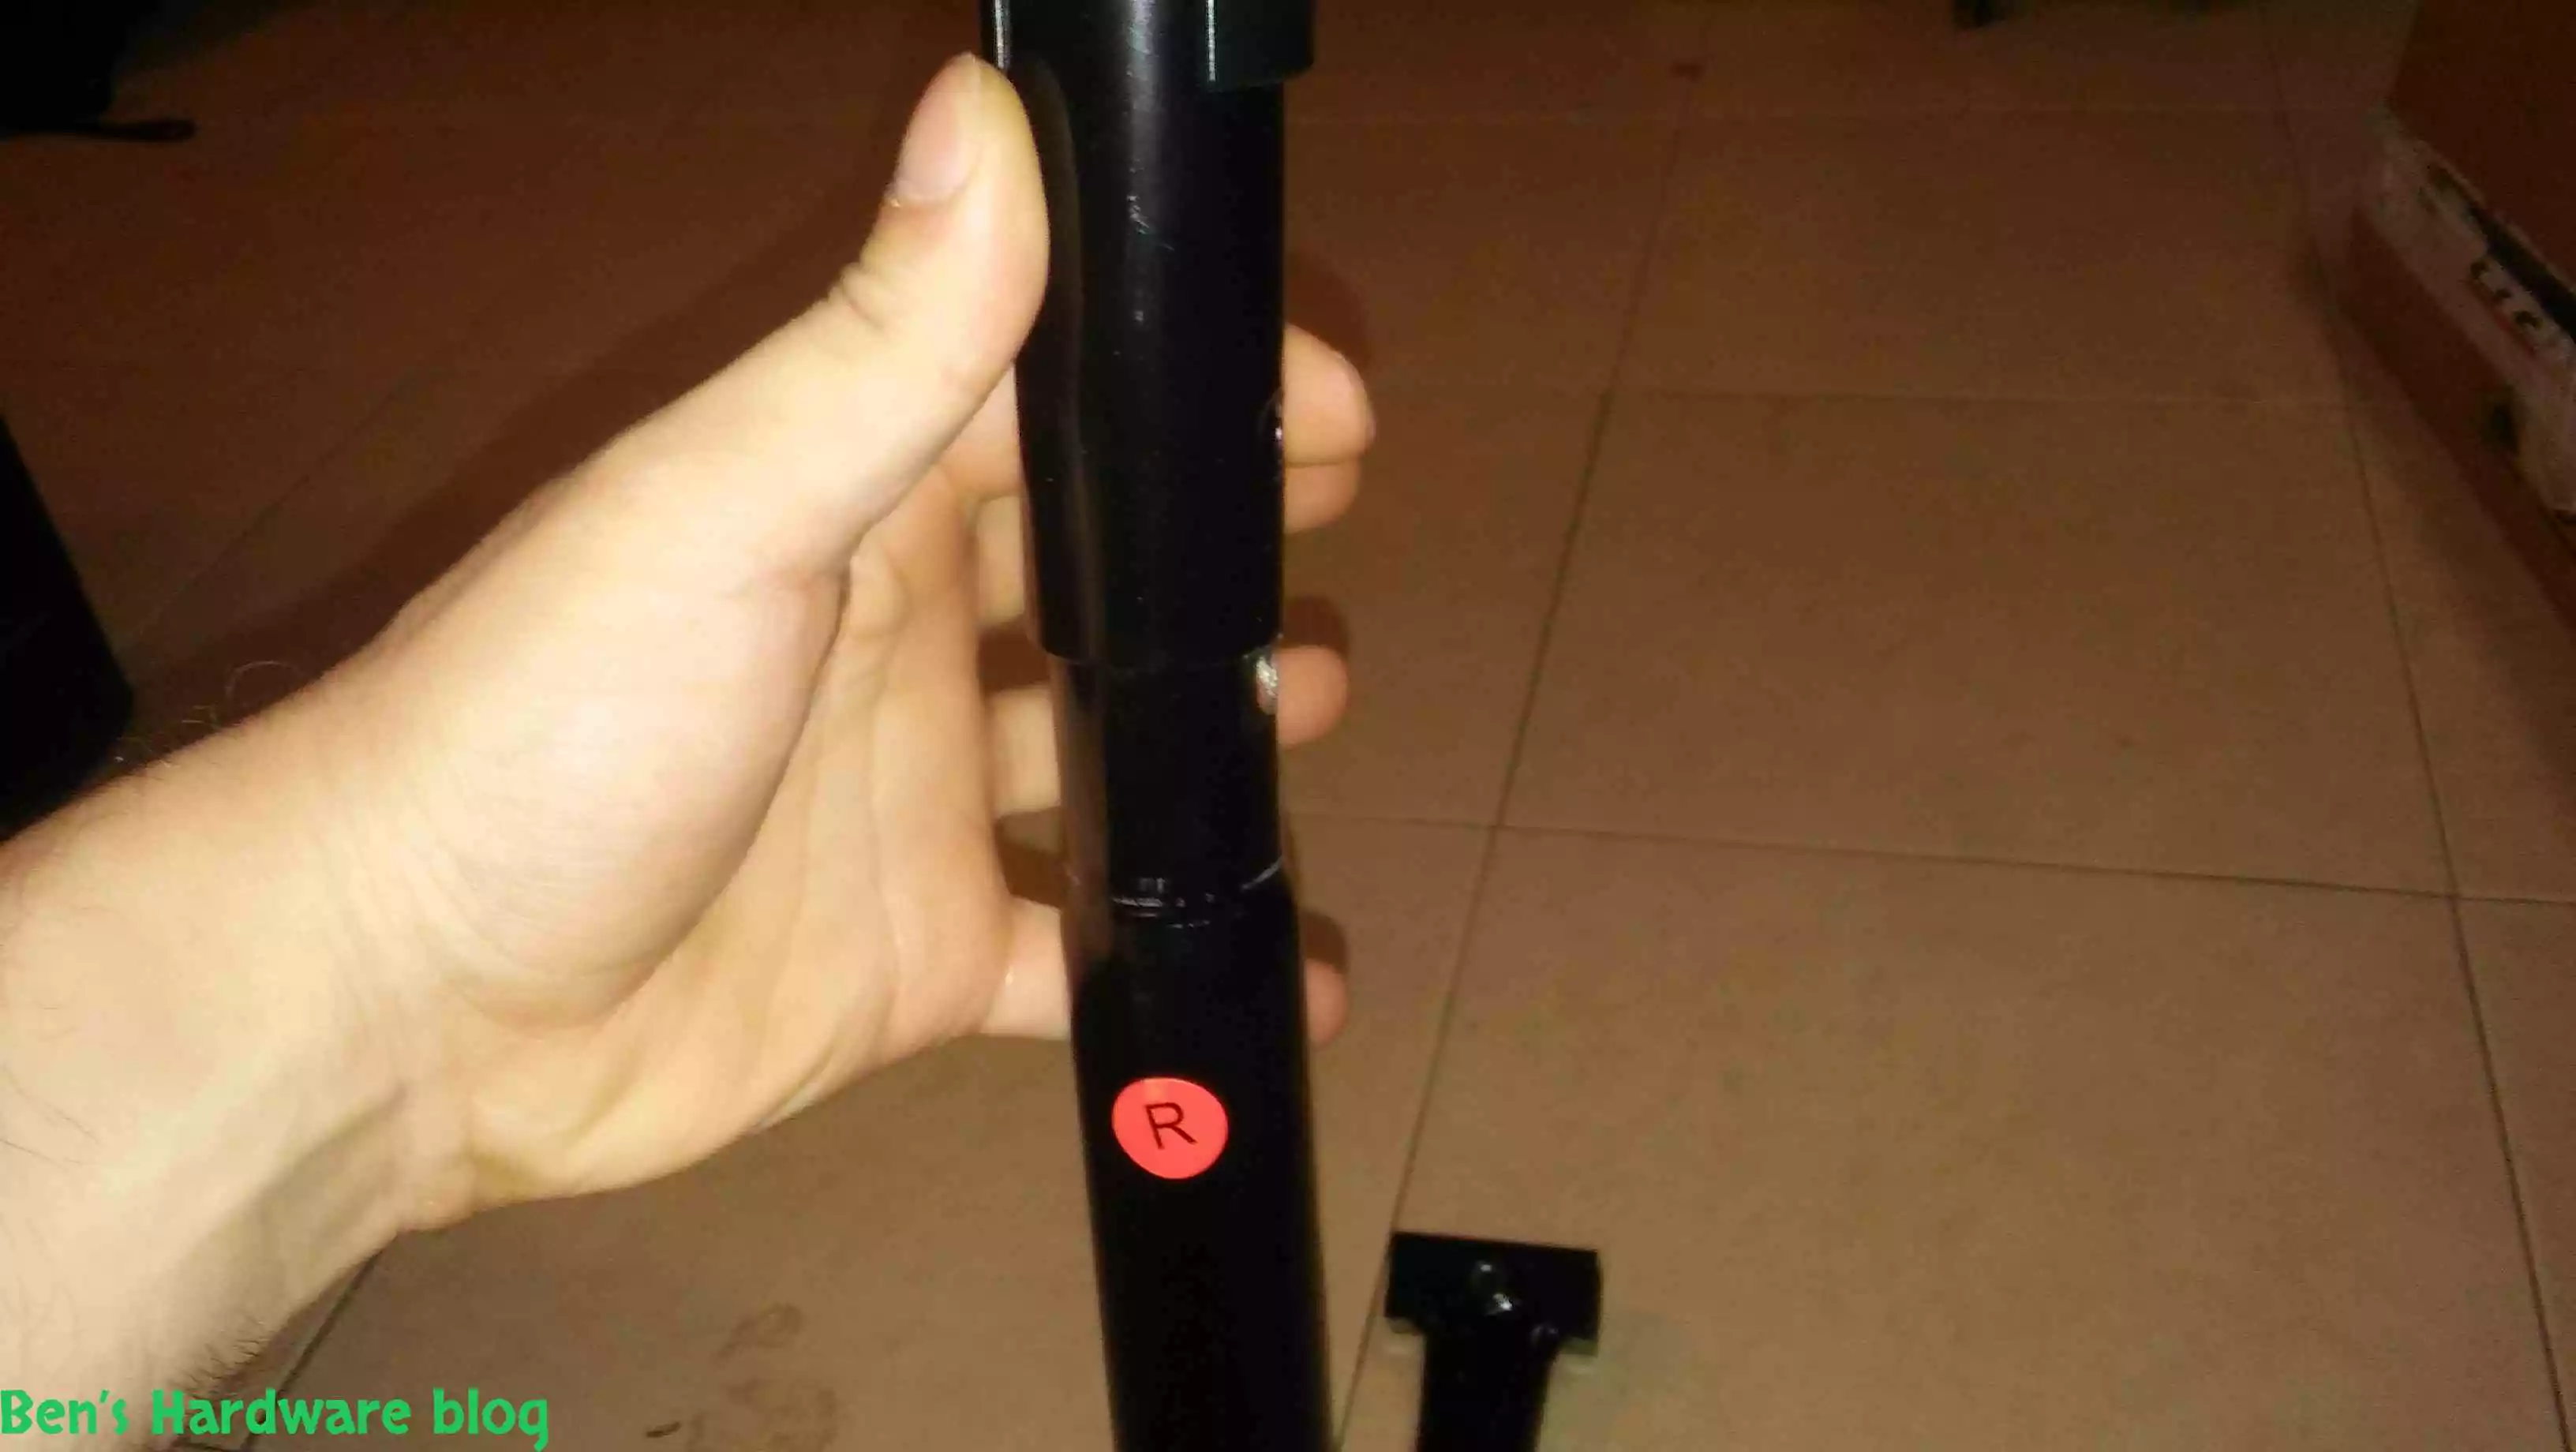
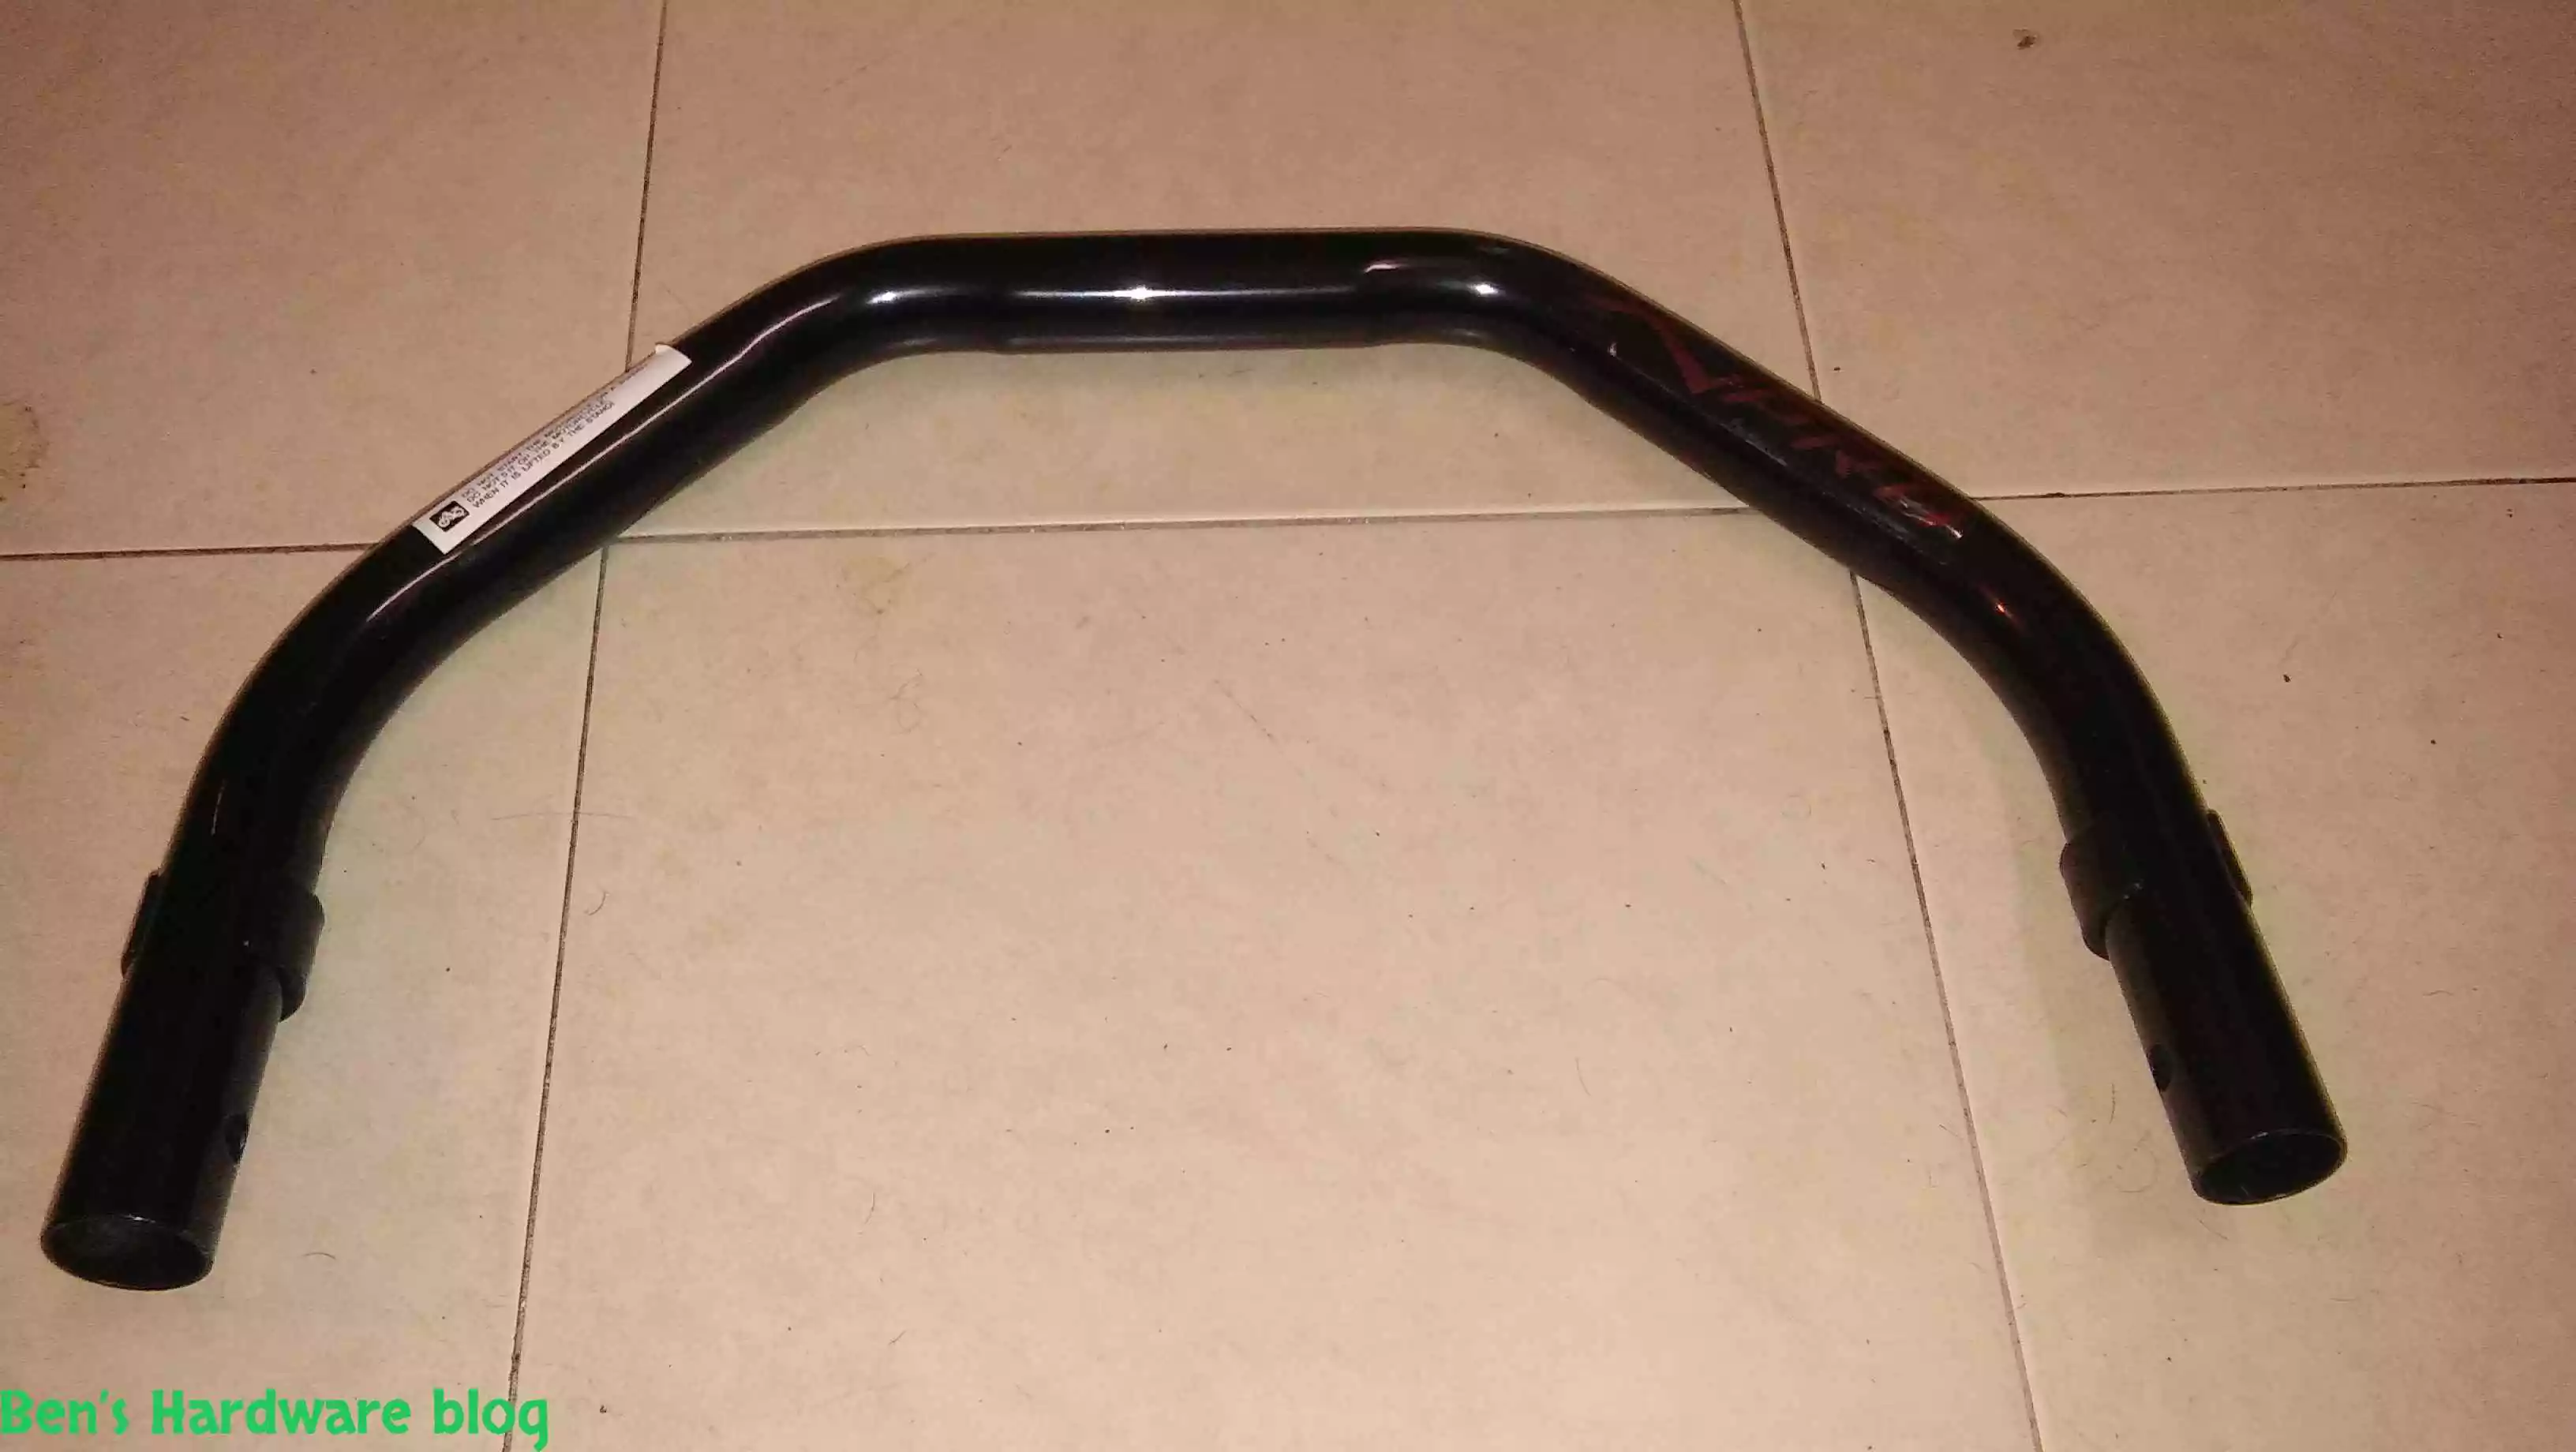
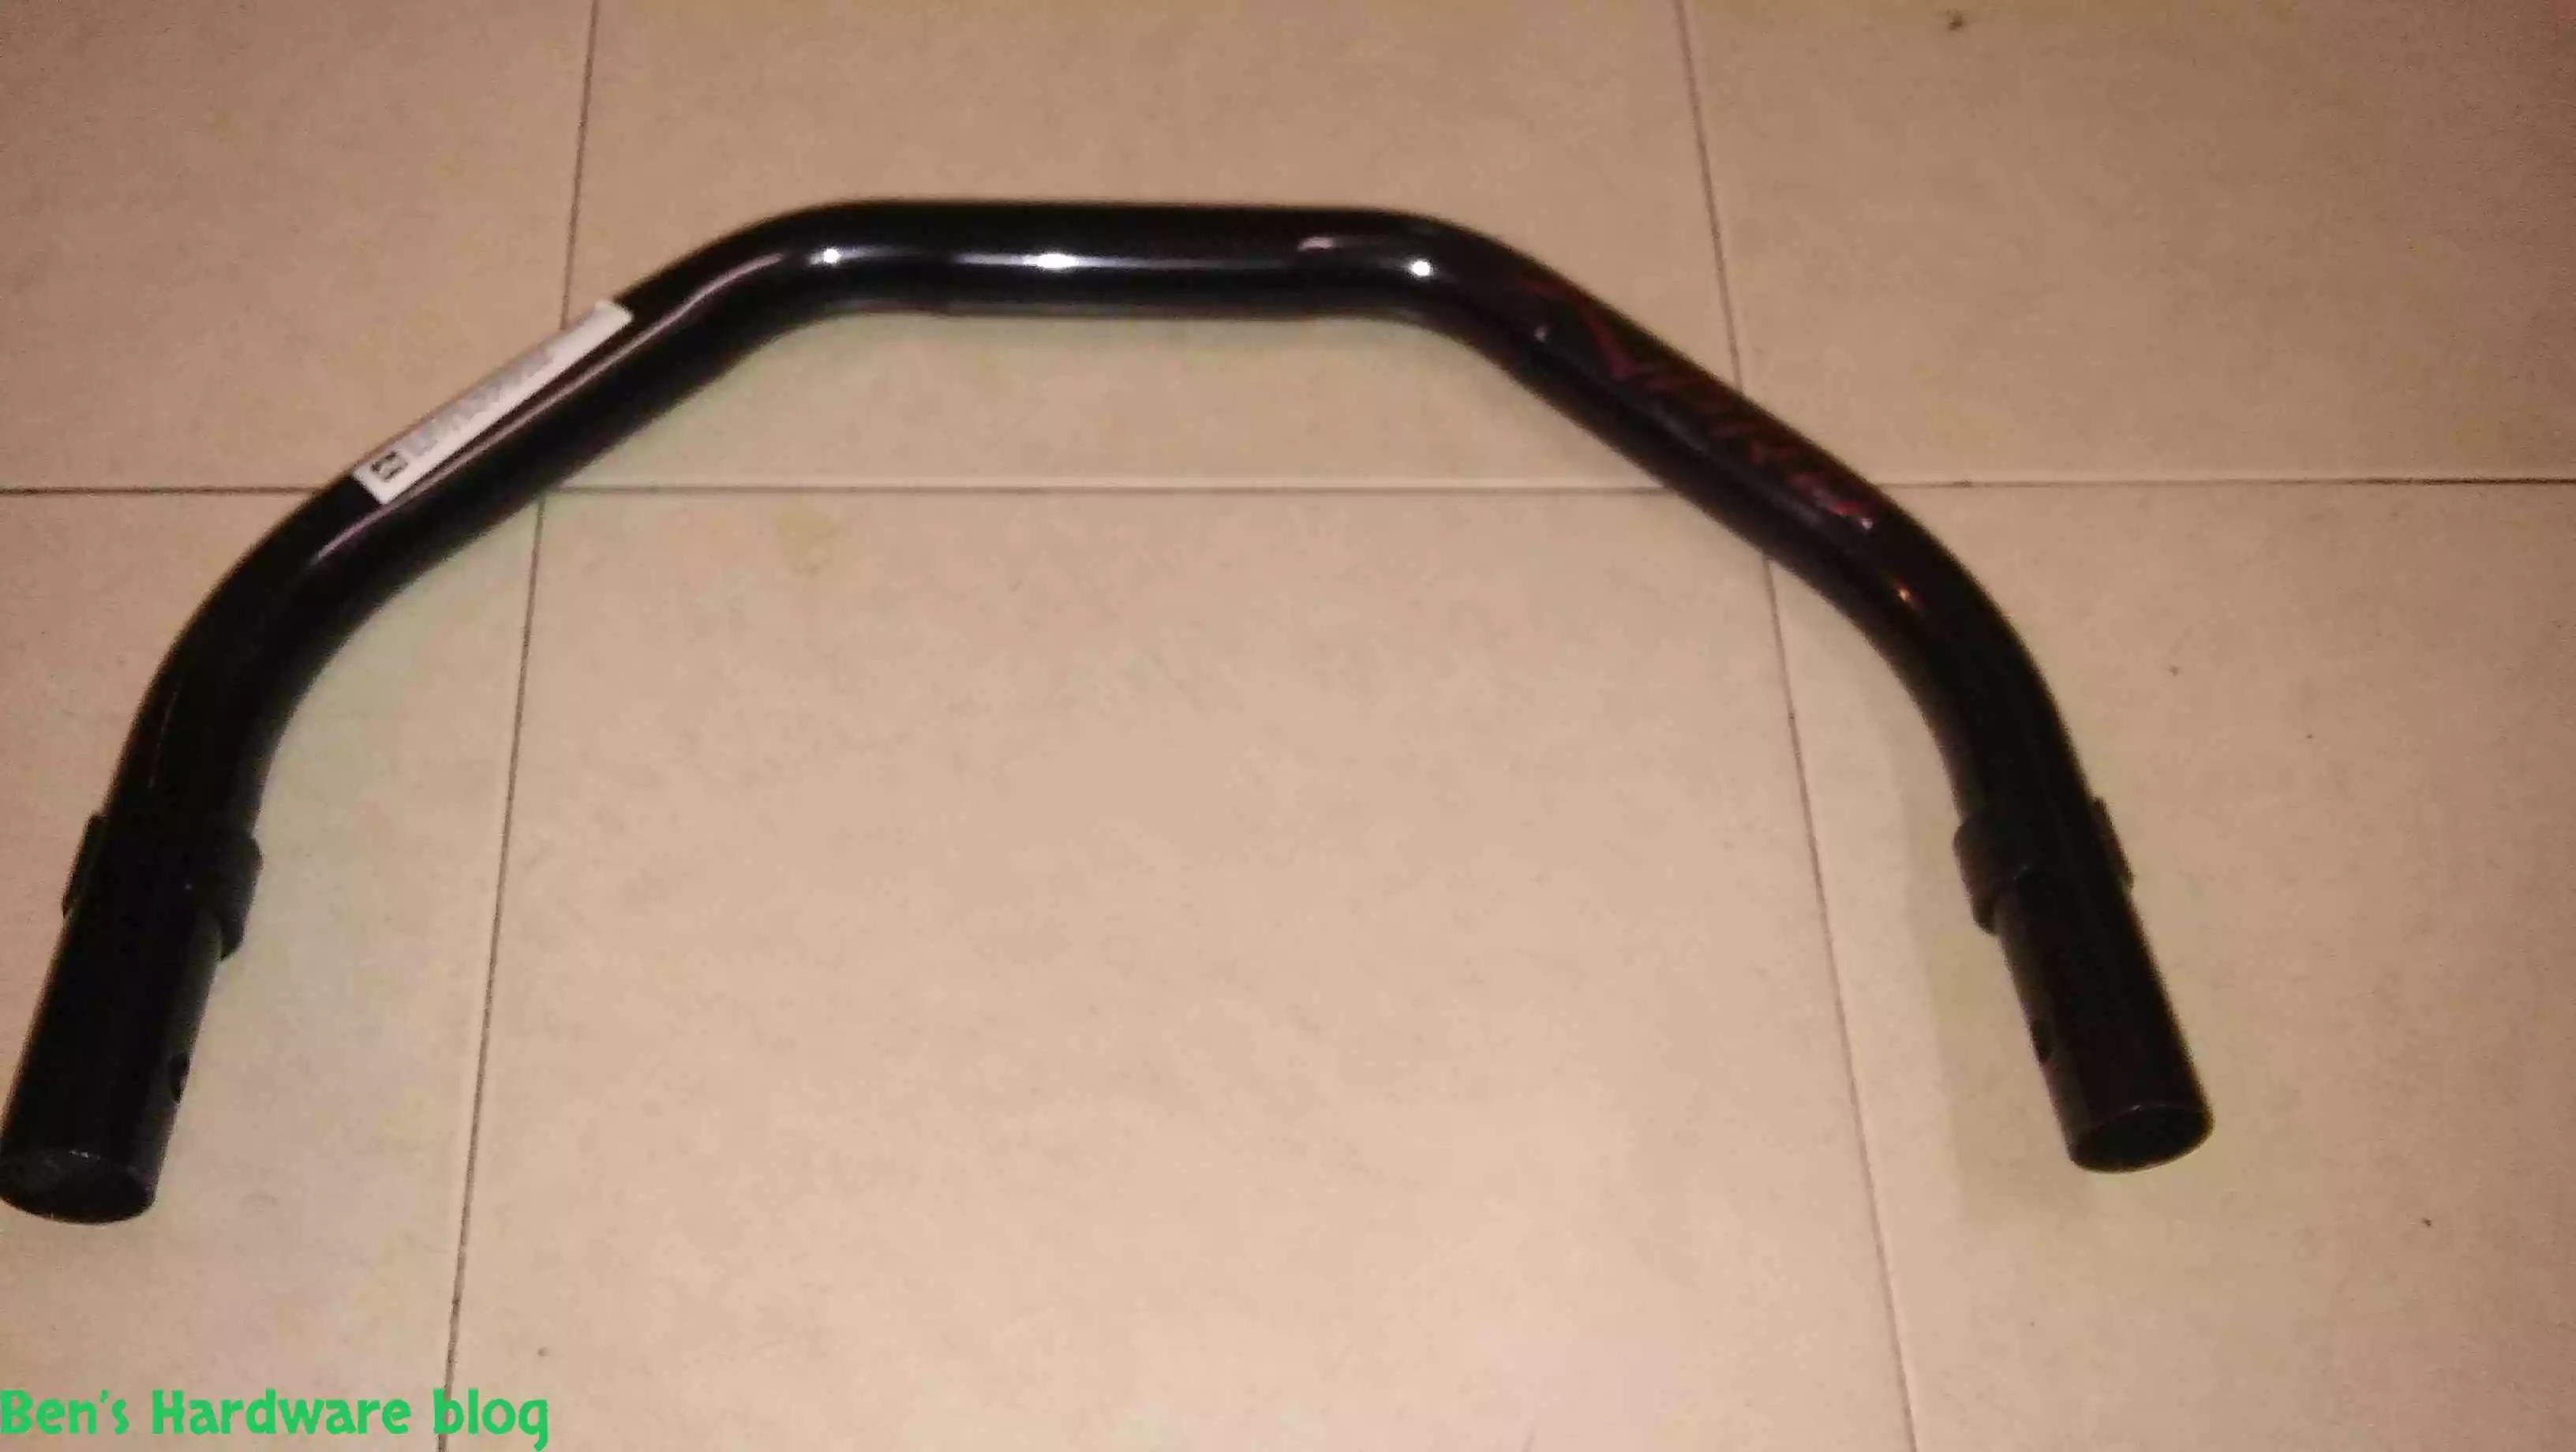
The main part is the arched handlebar:
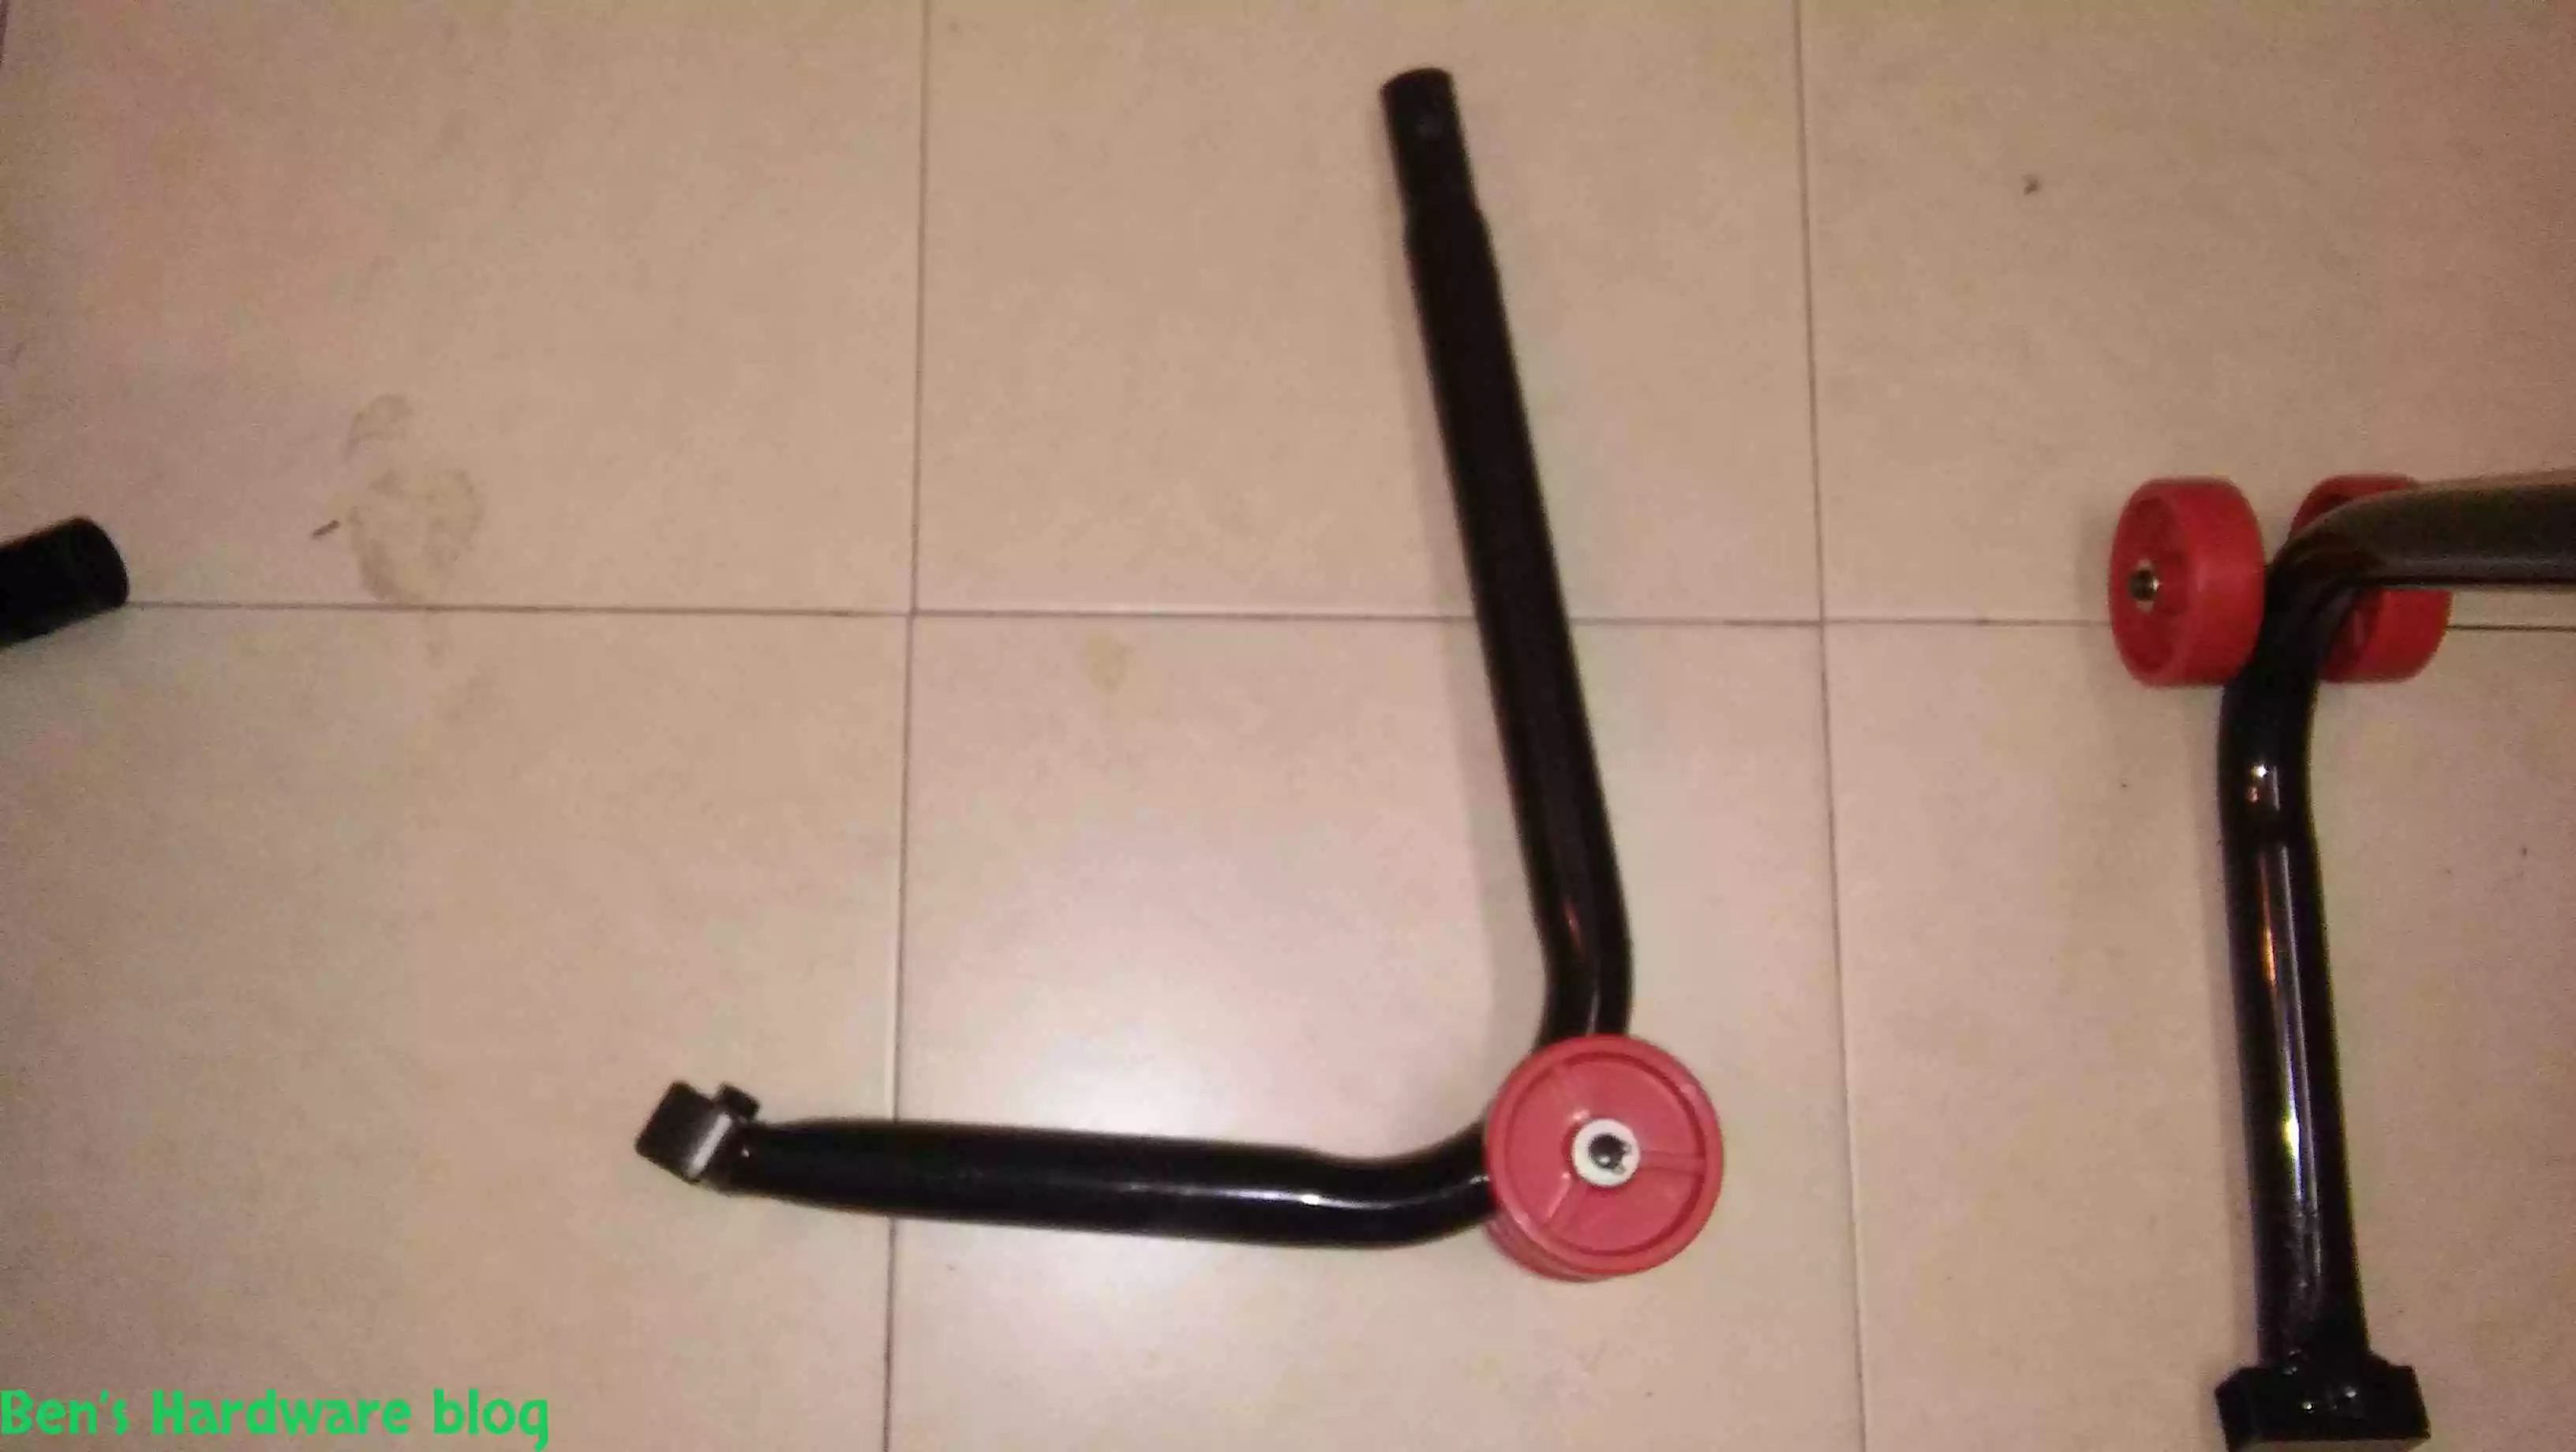
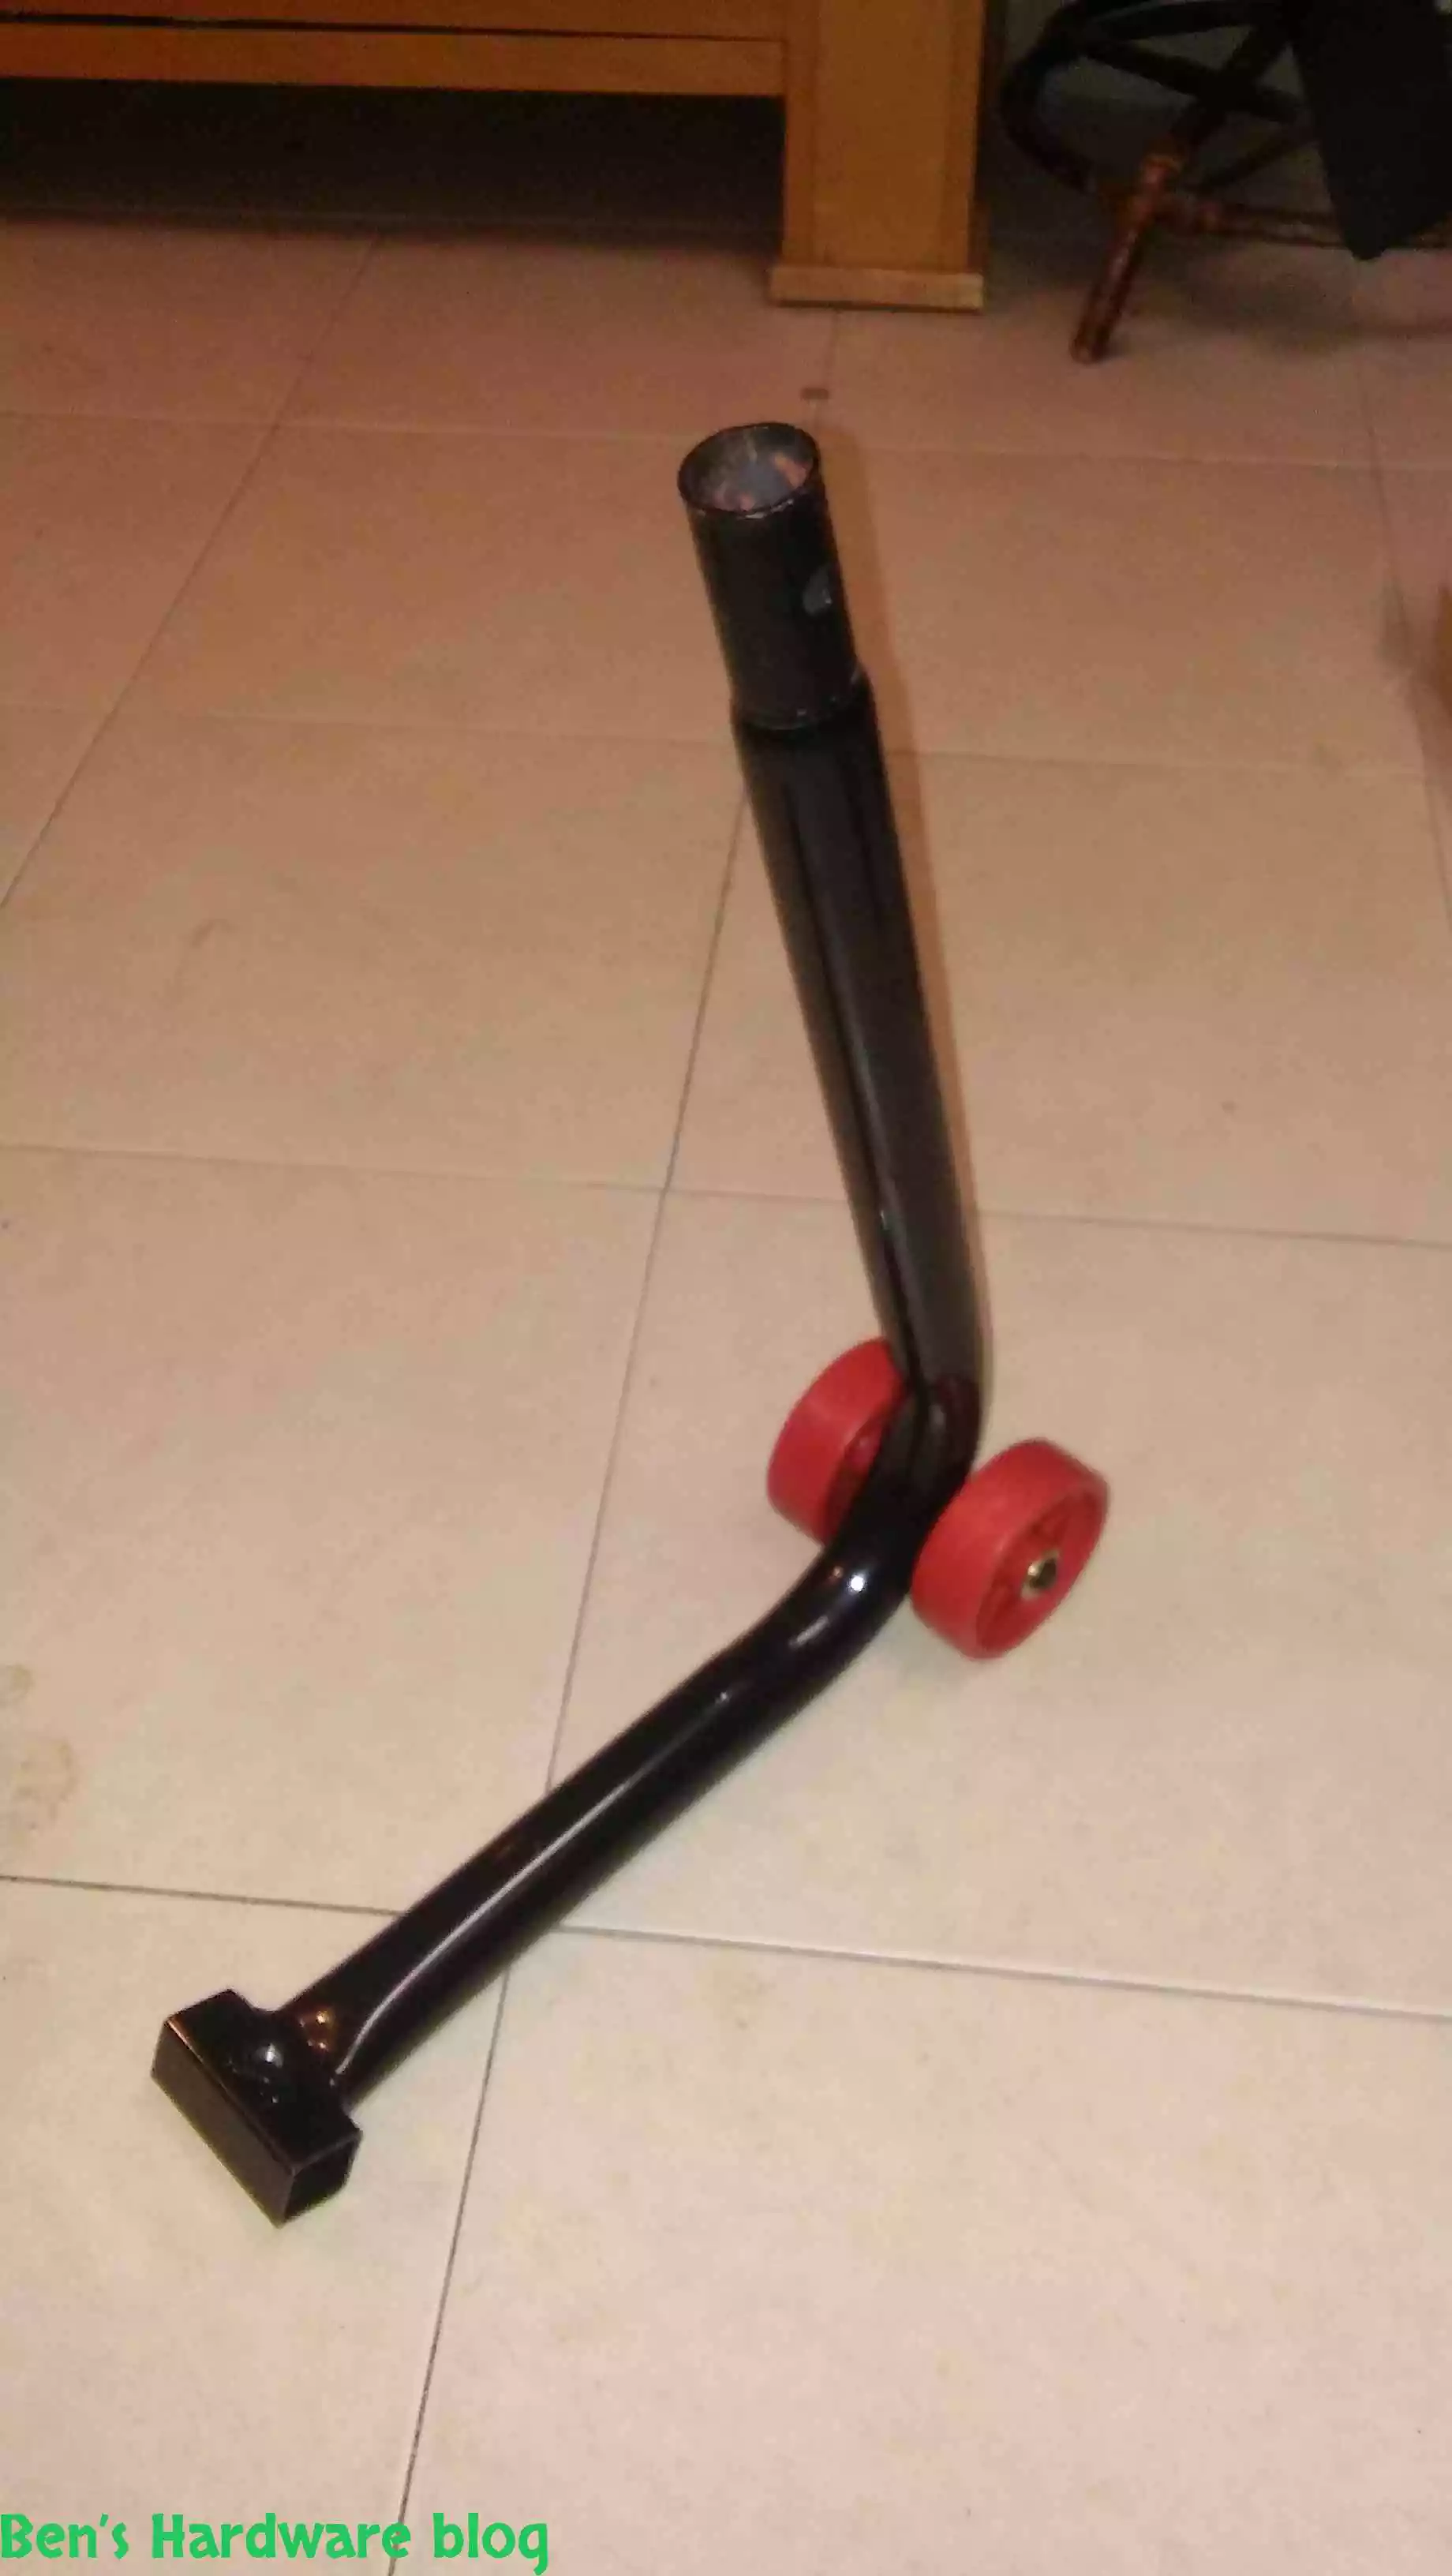
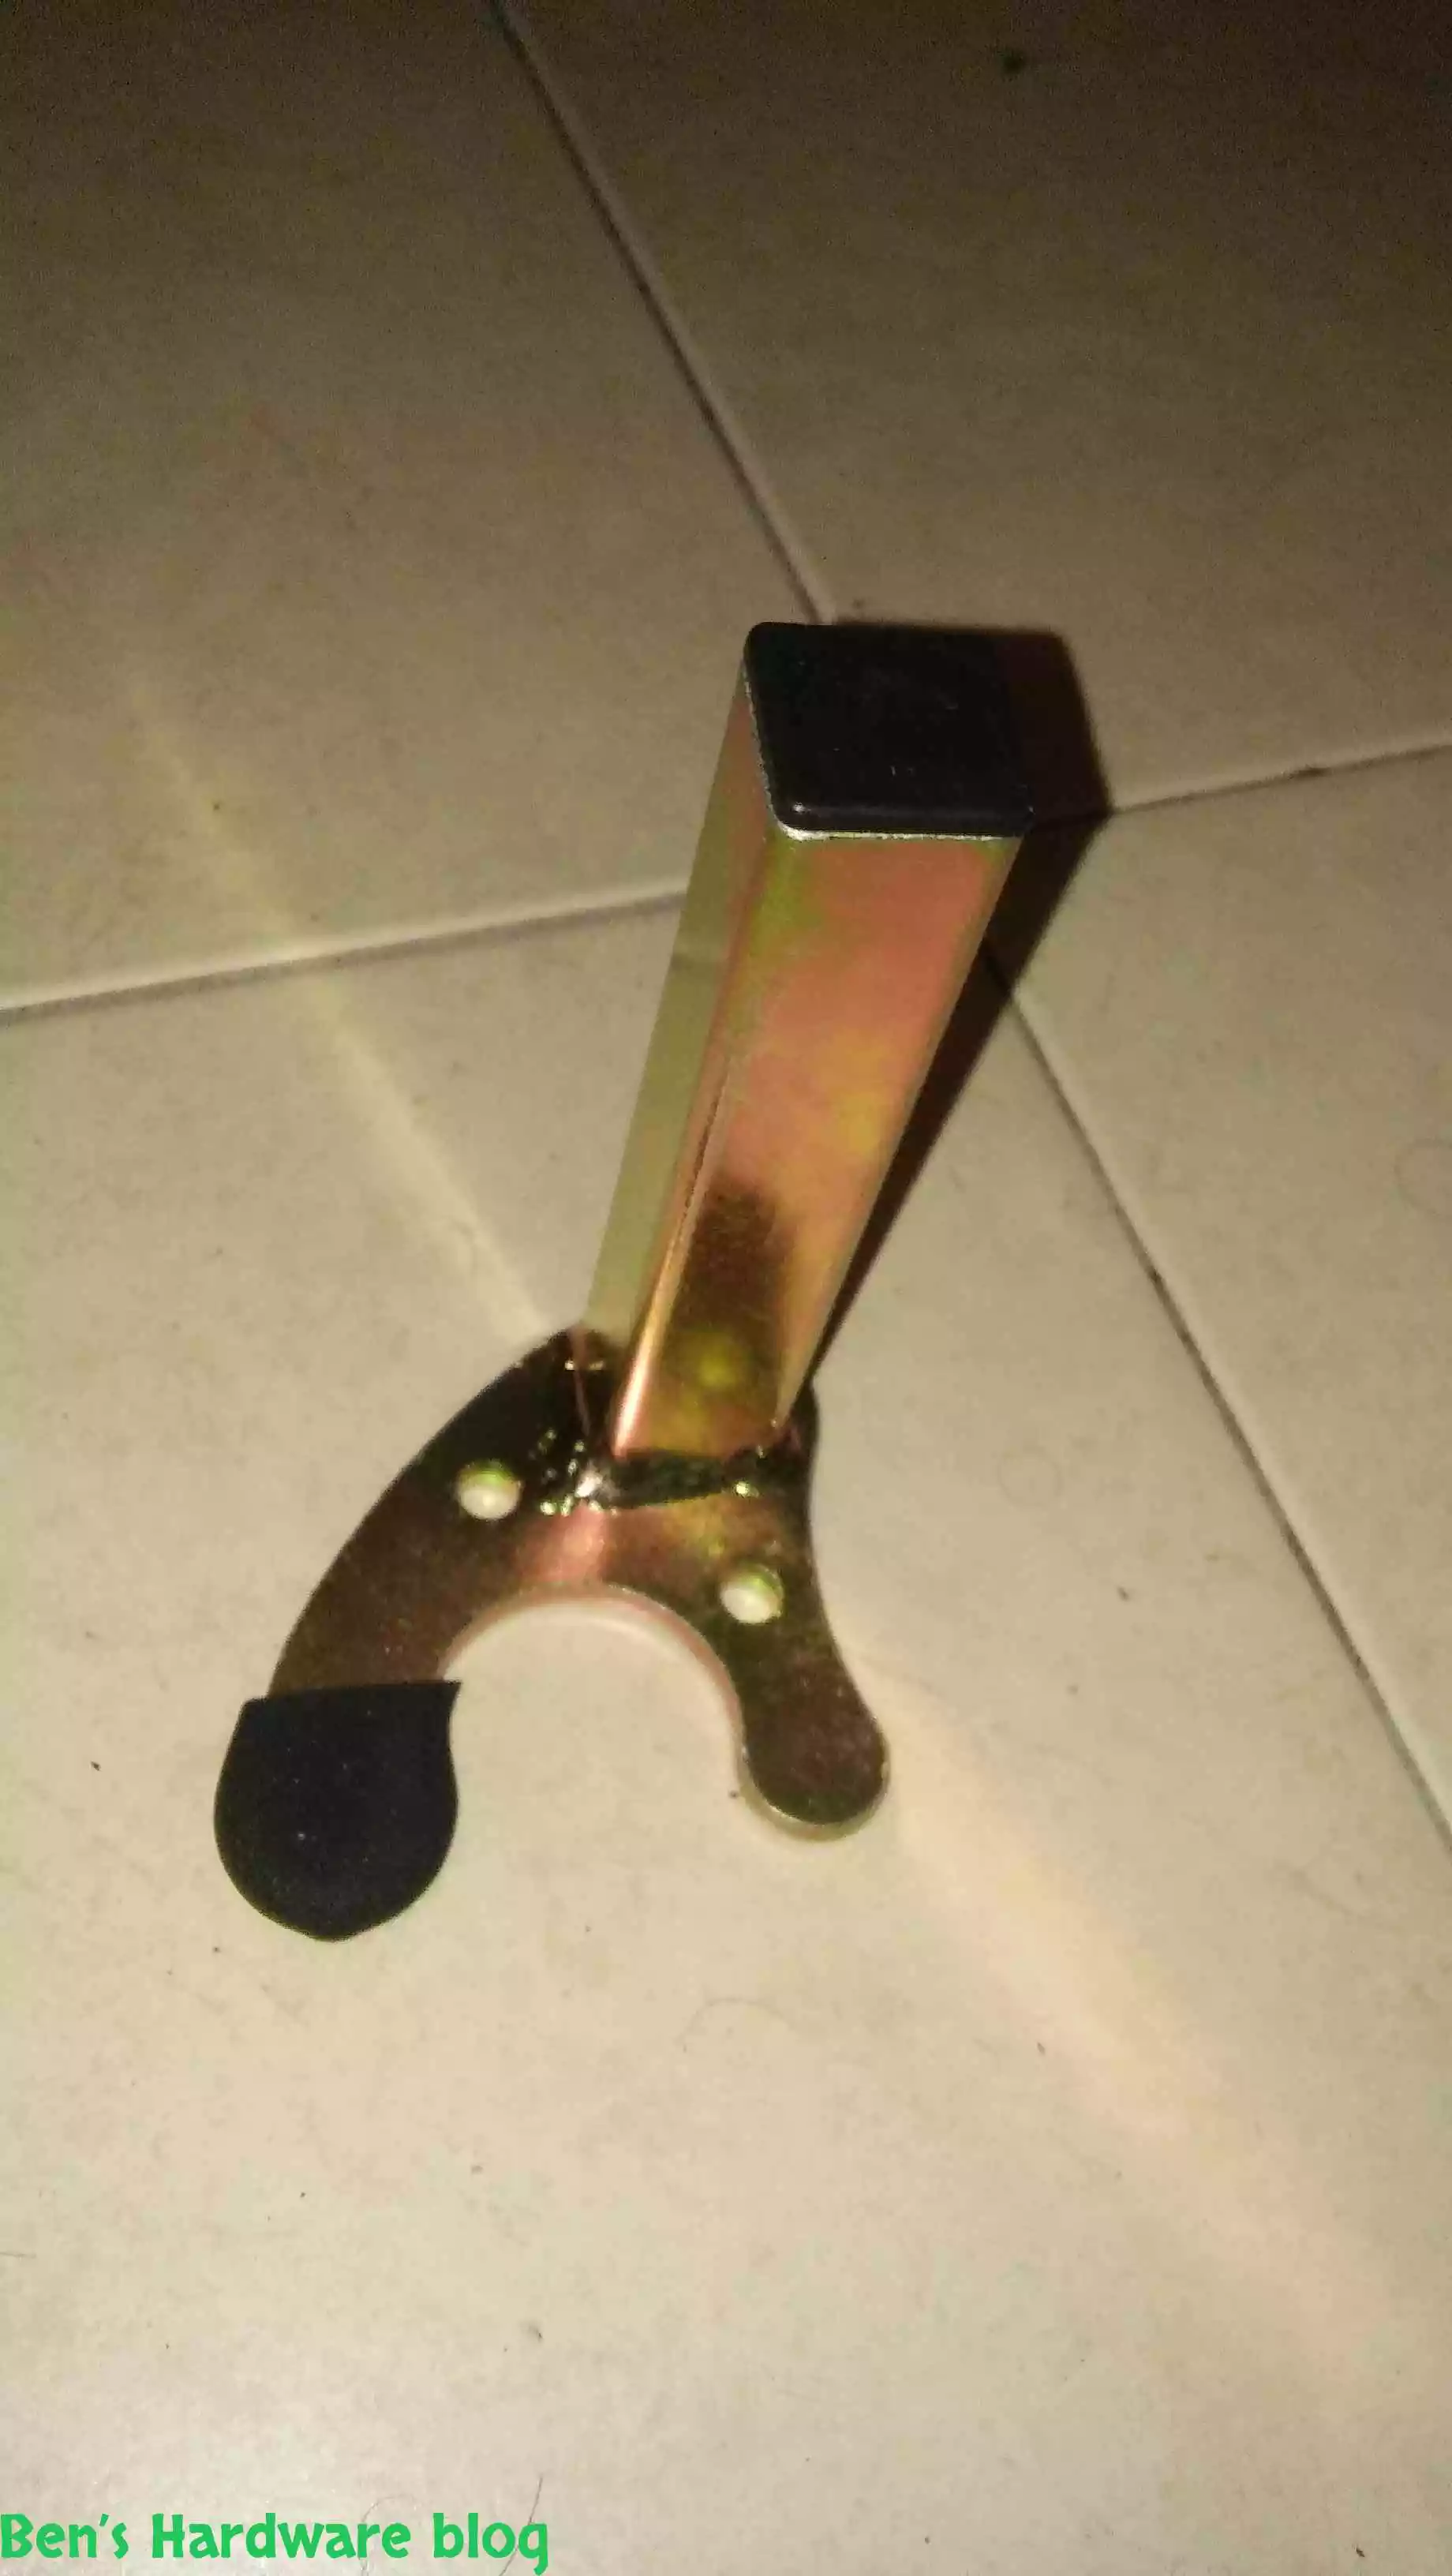
Two wheeled stands:
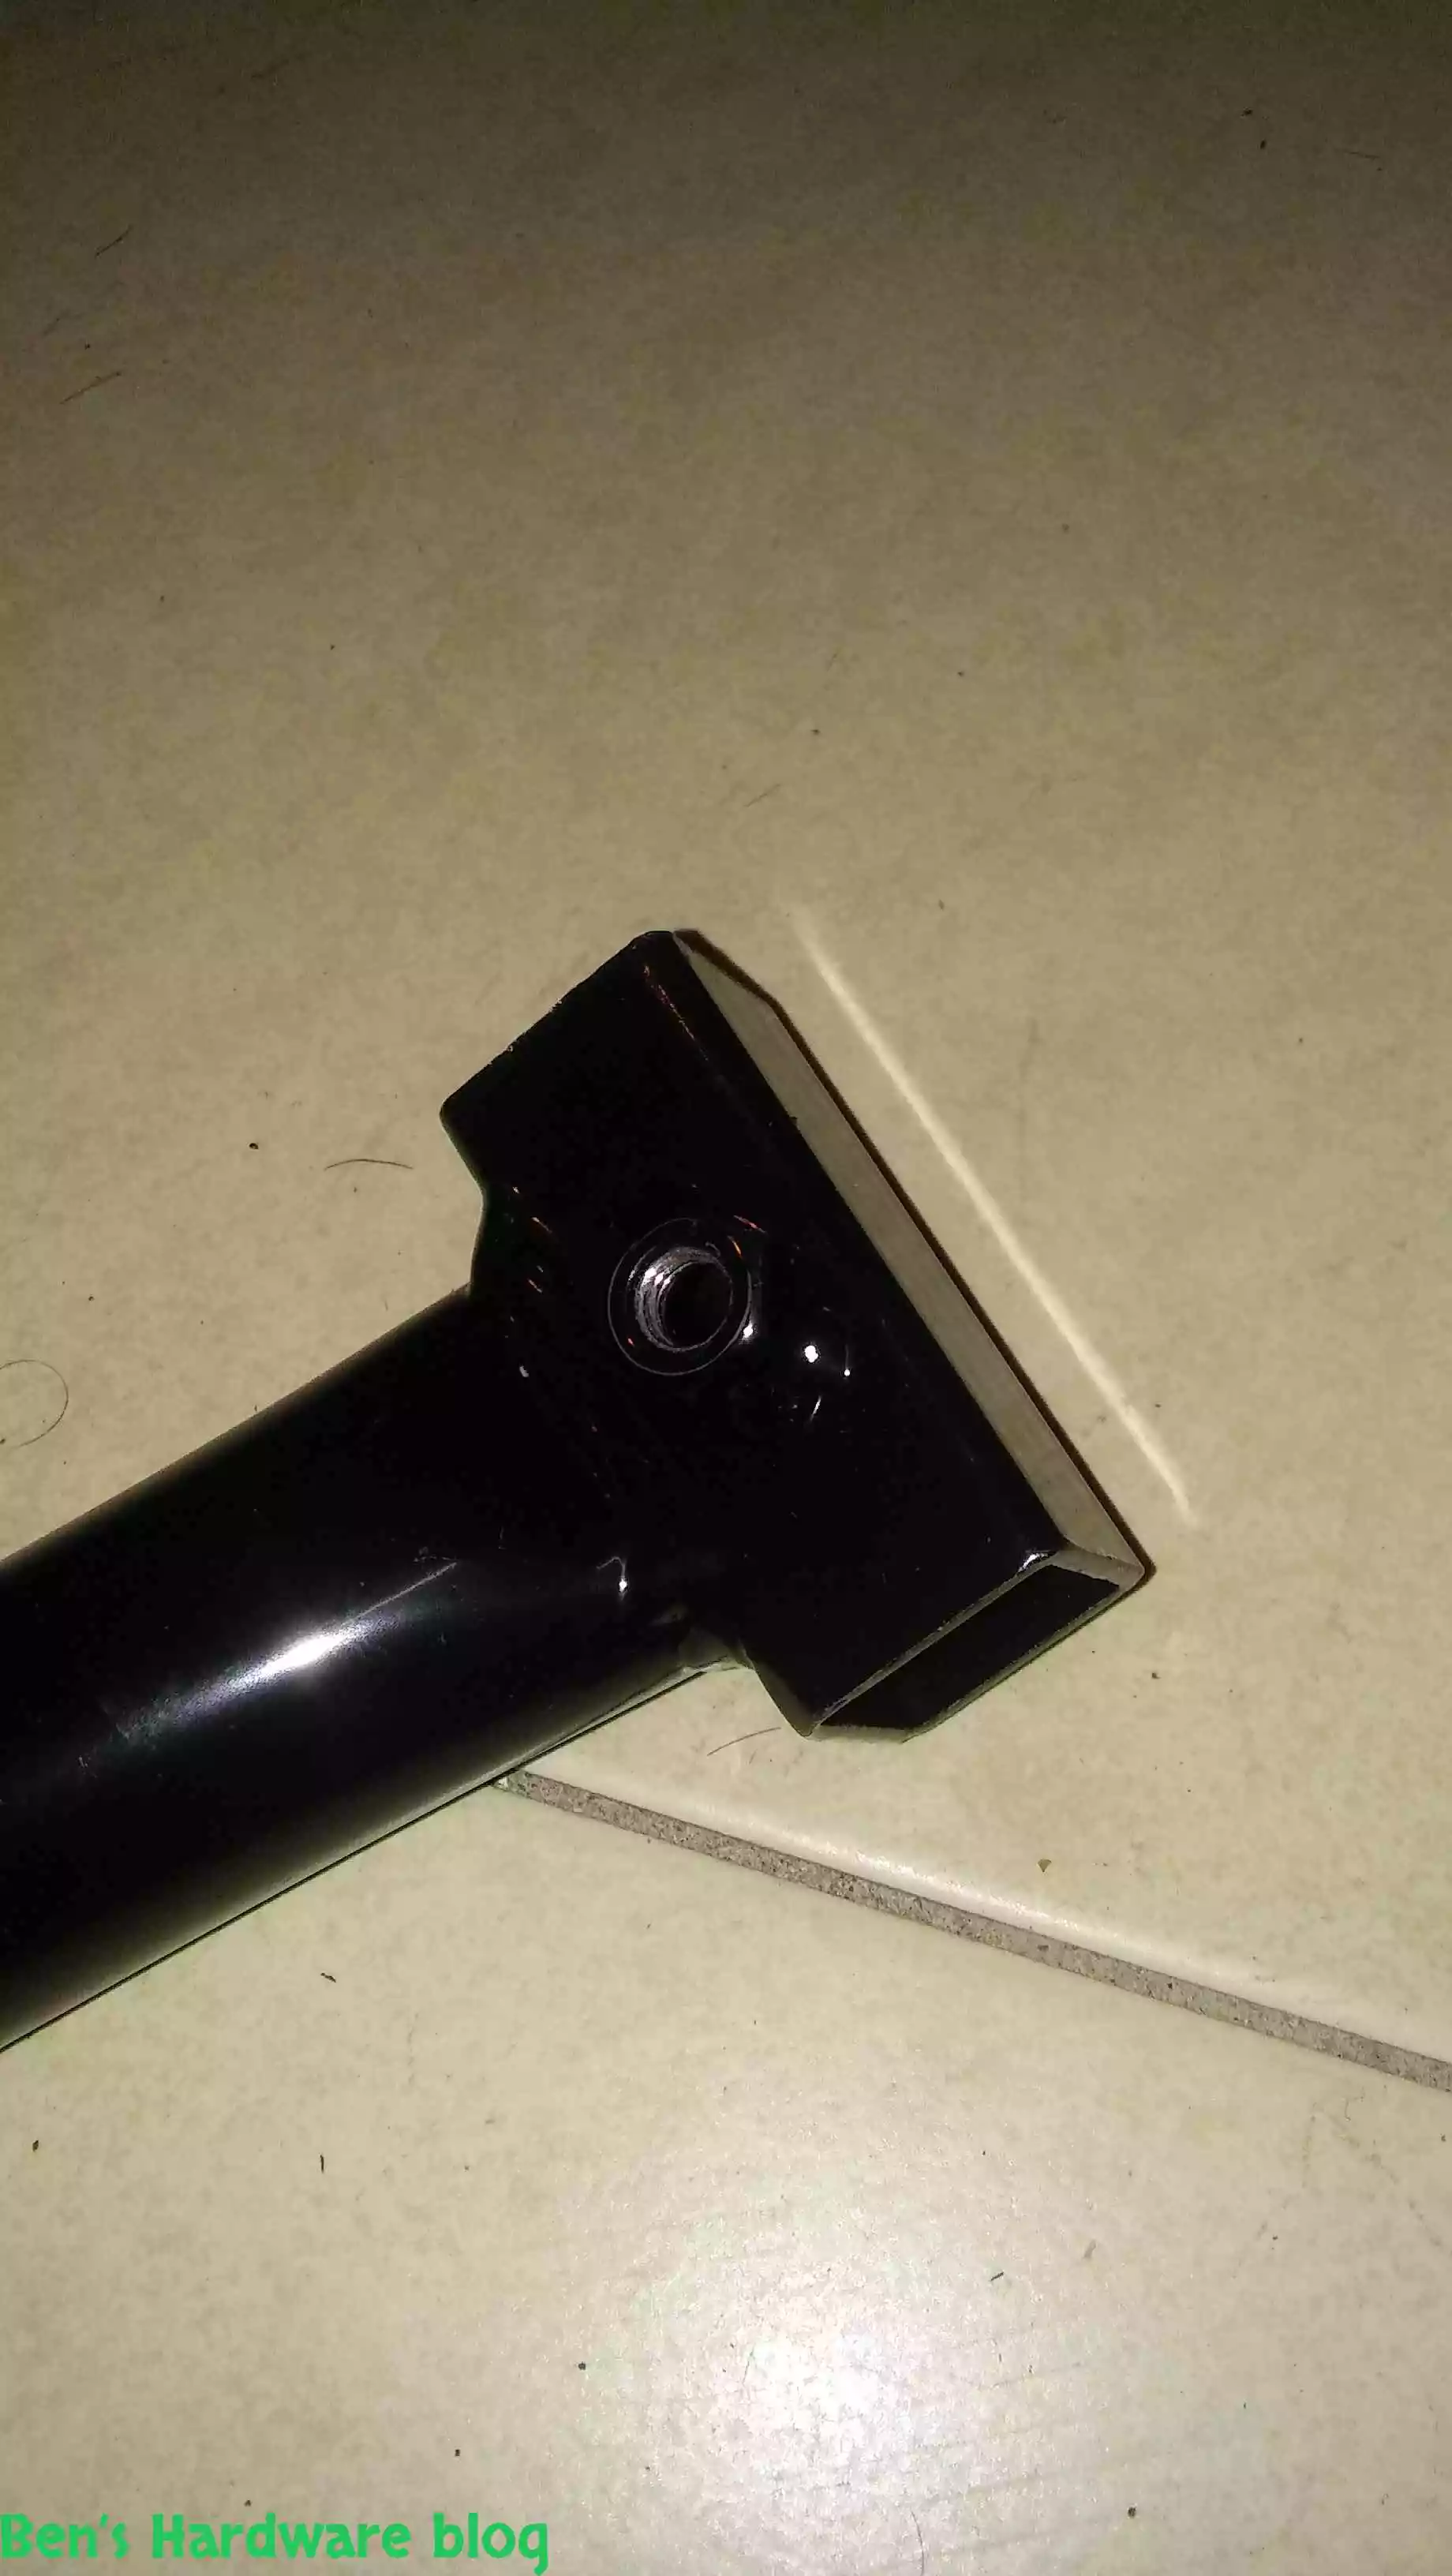
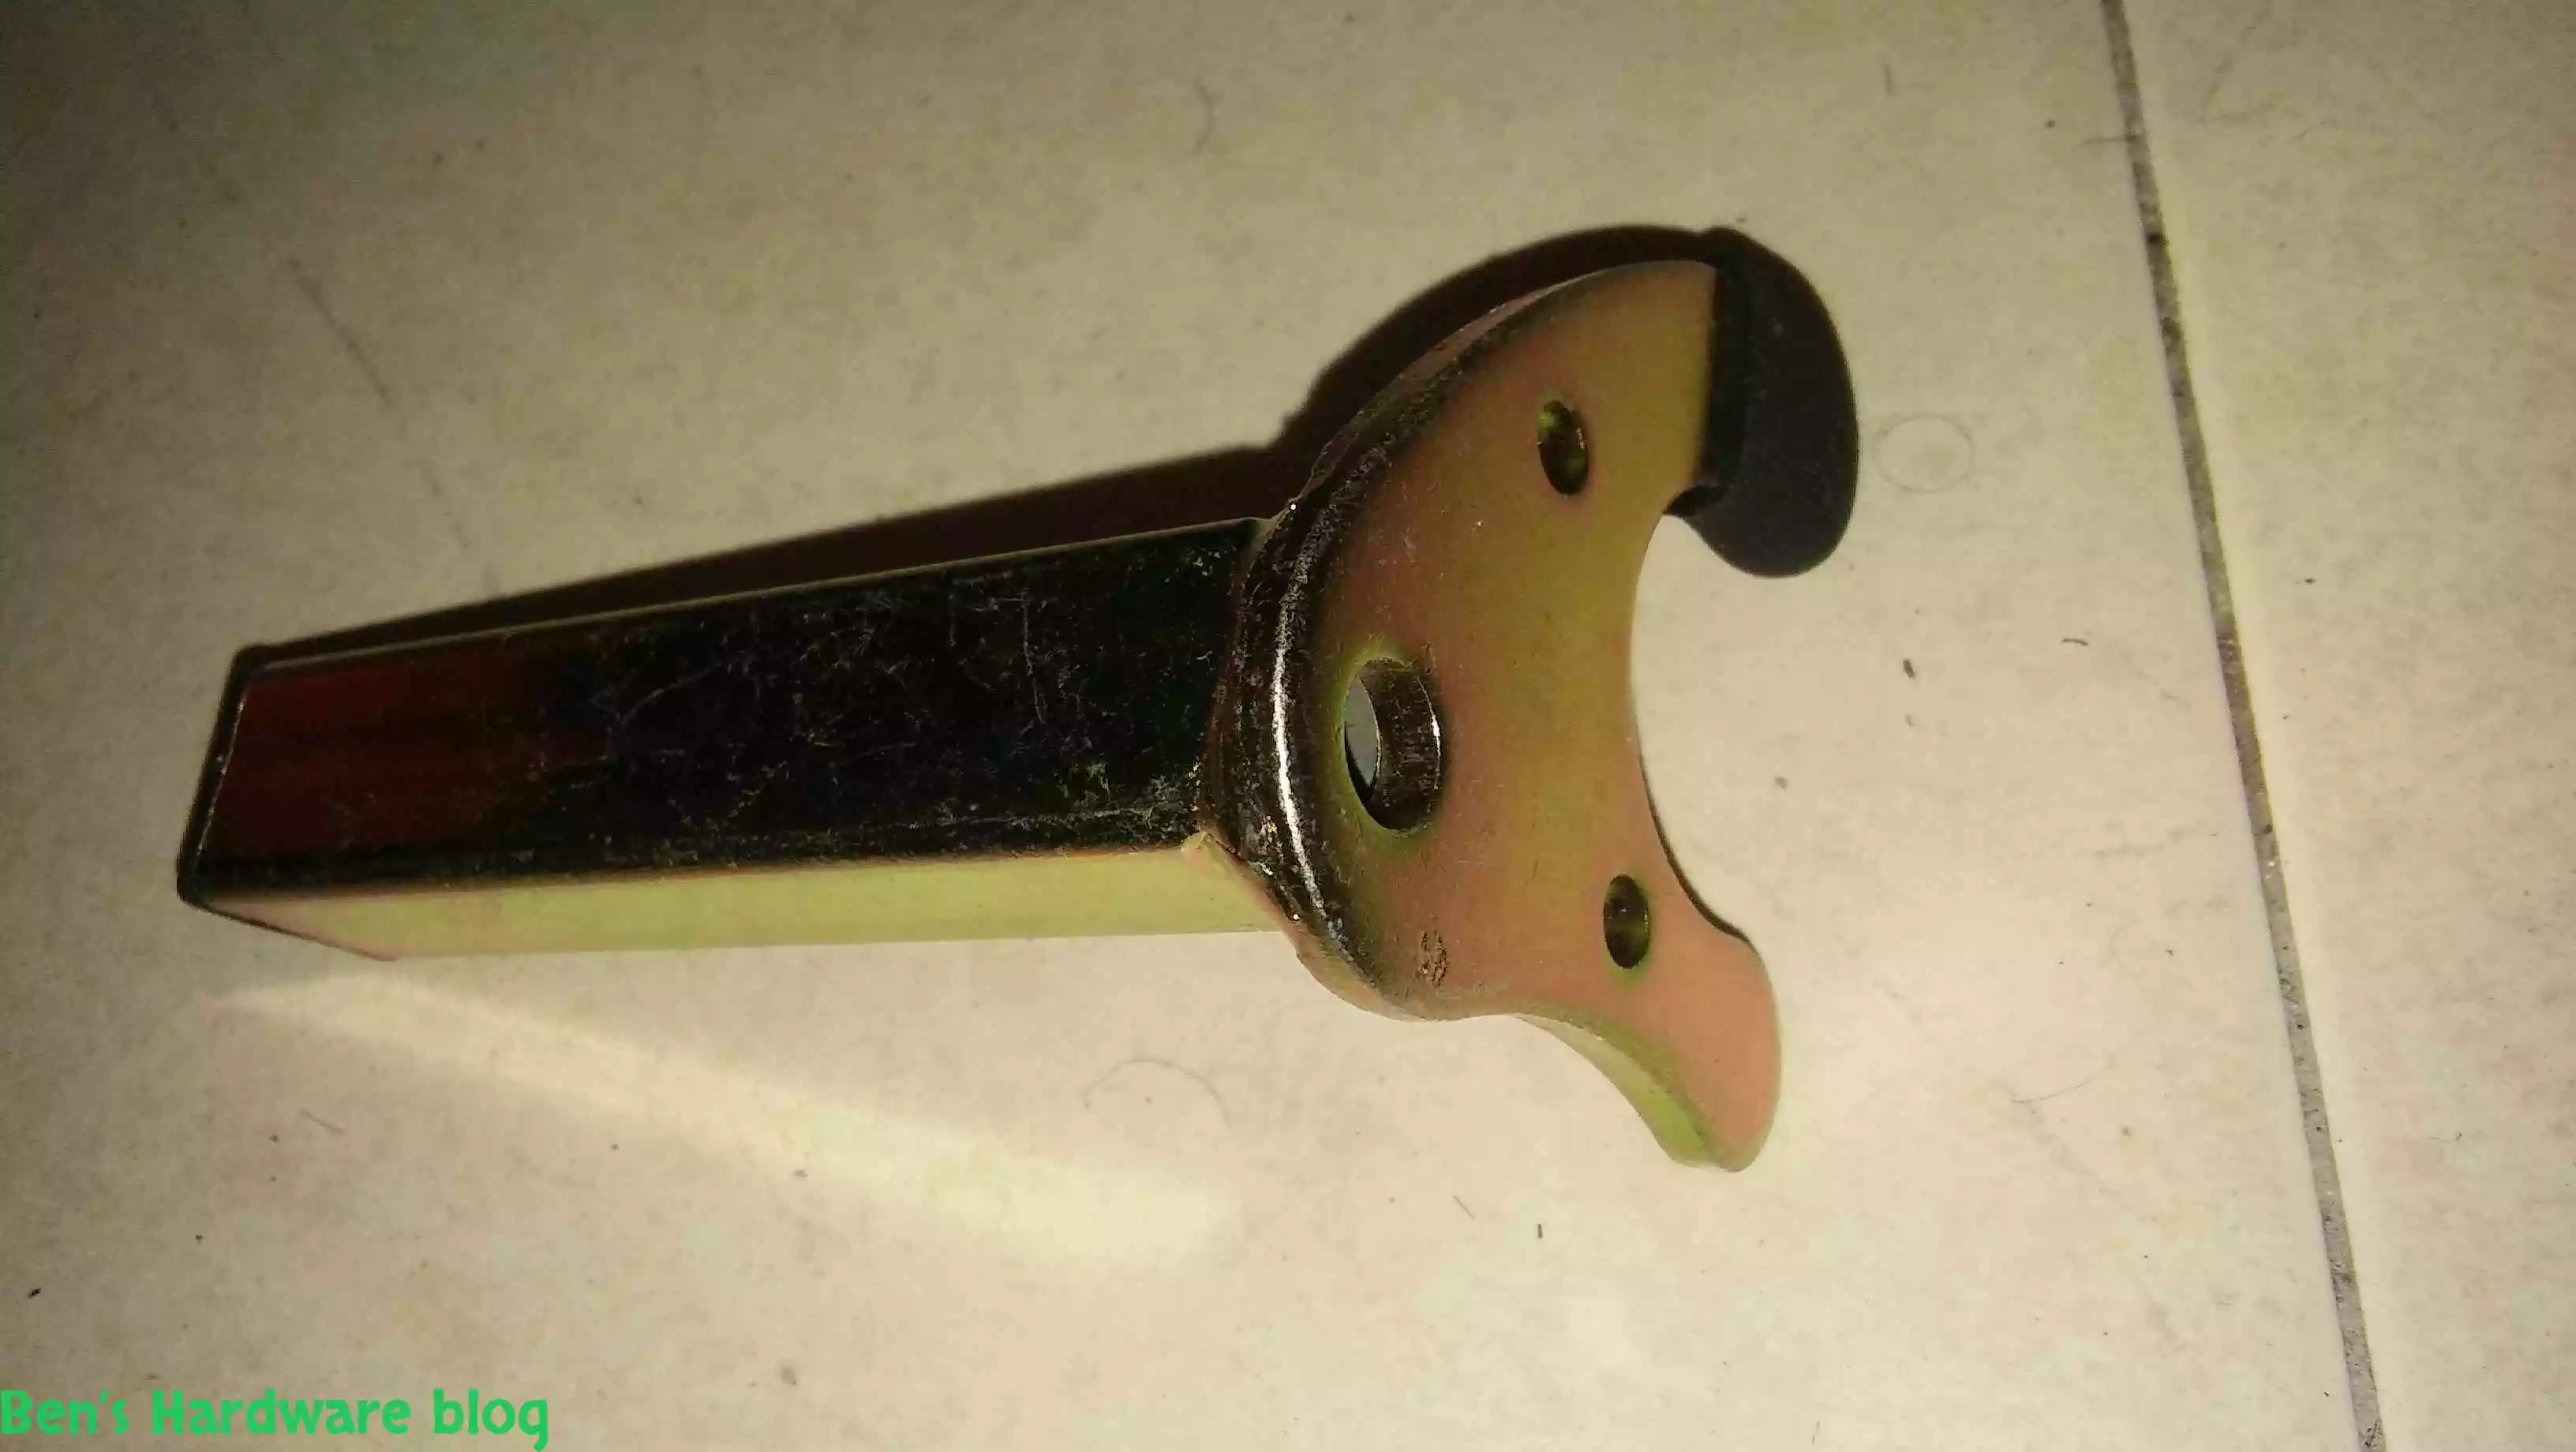
Two contact endpoints:
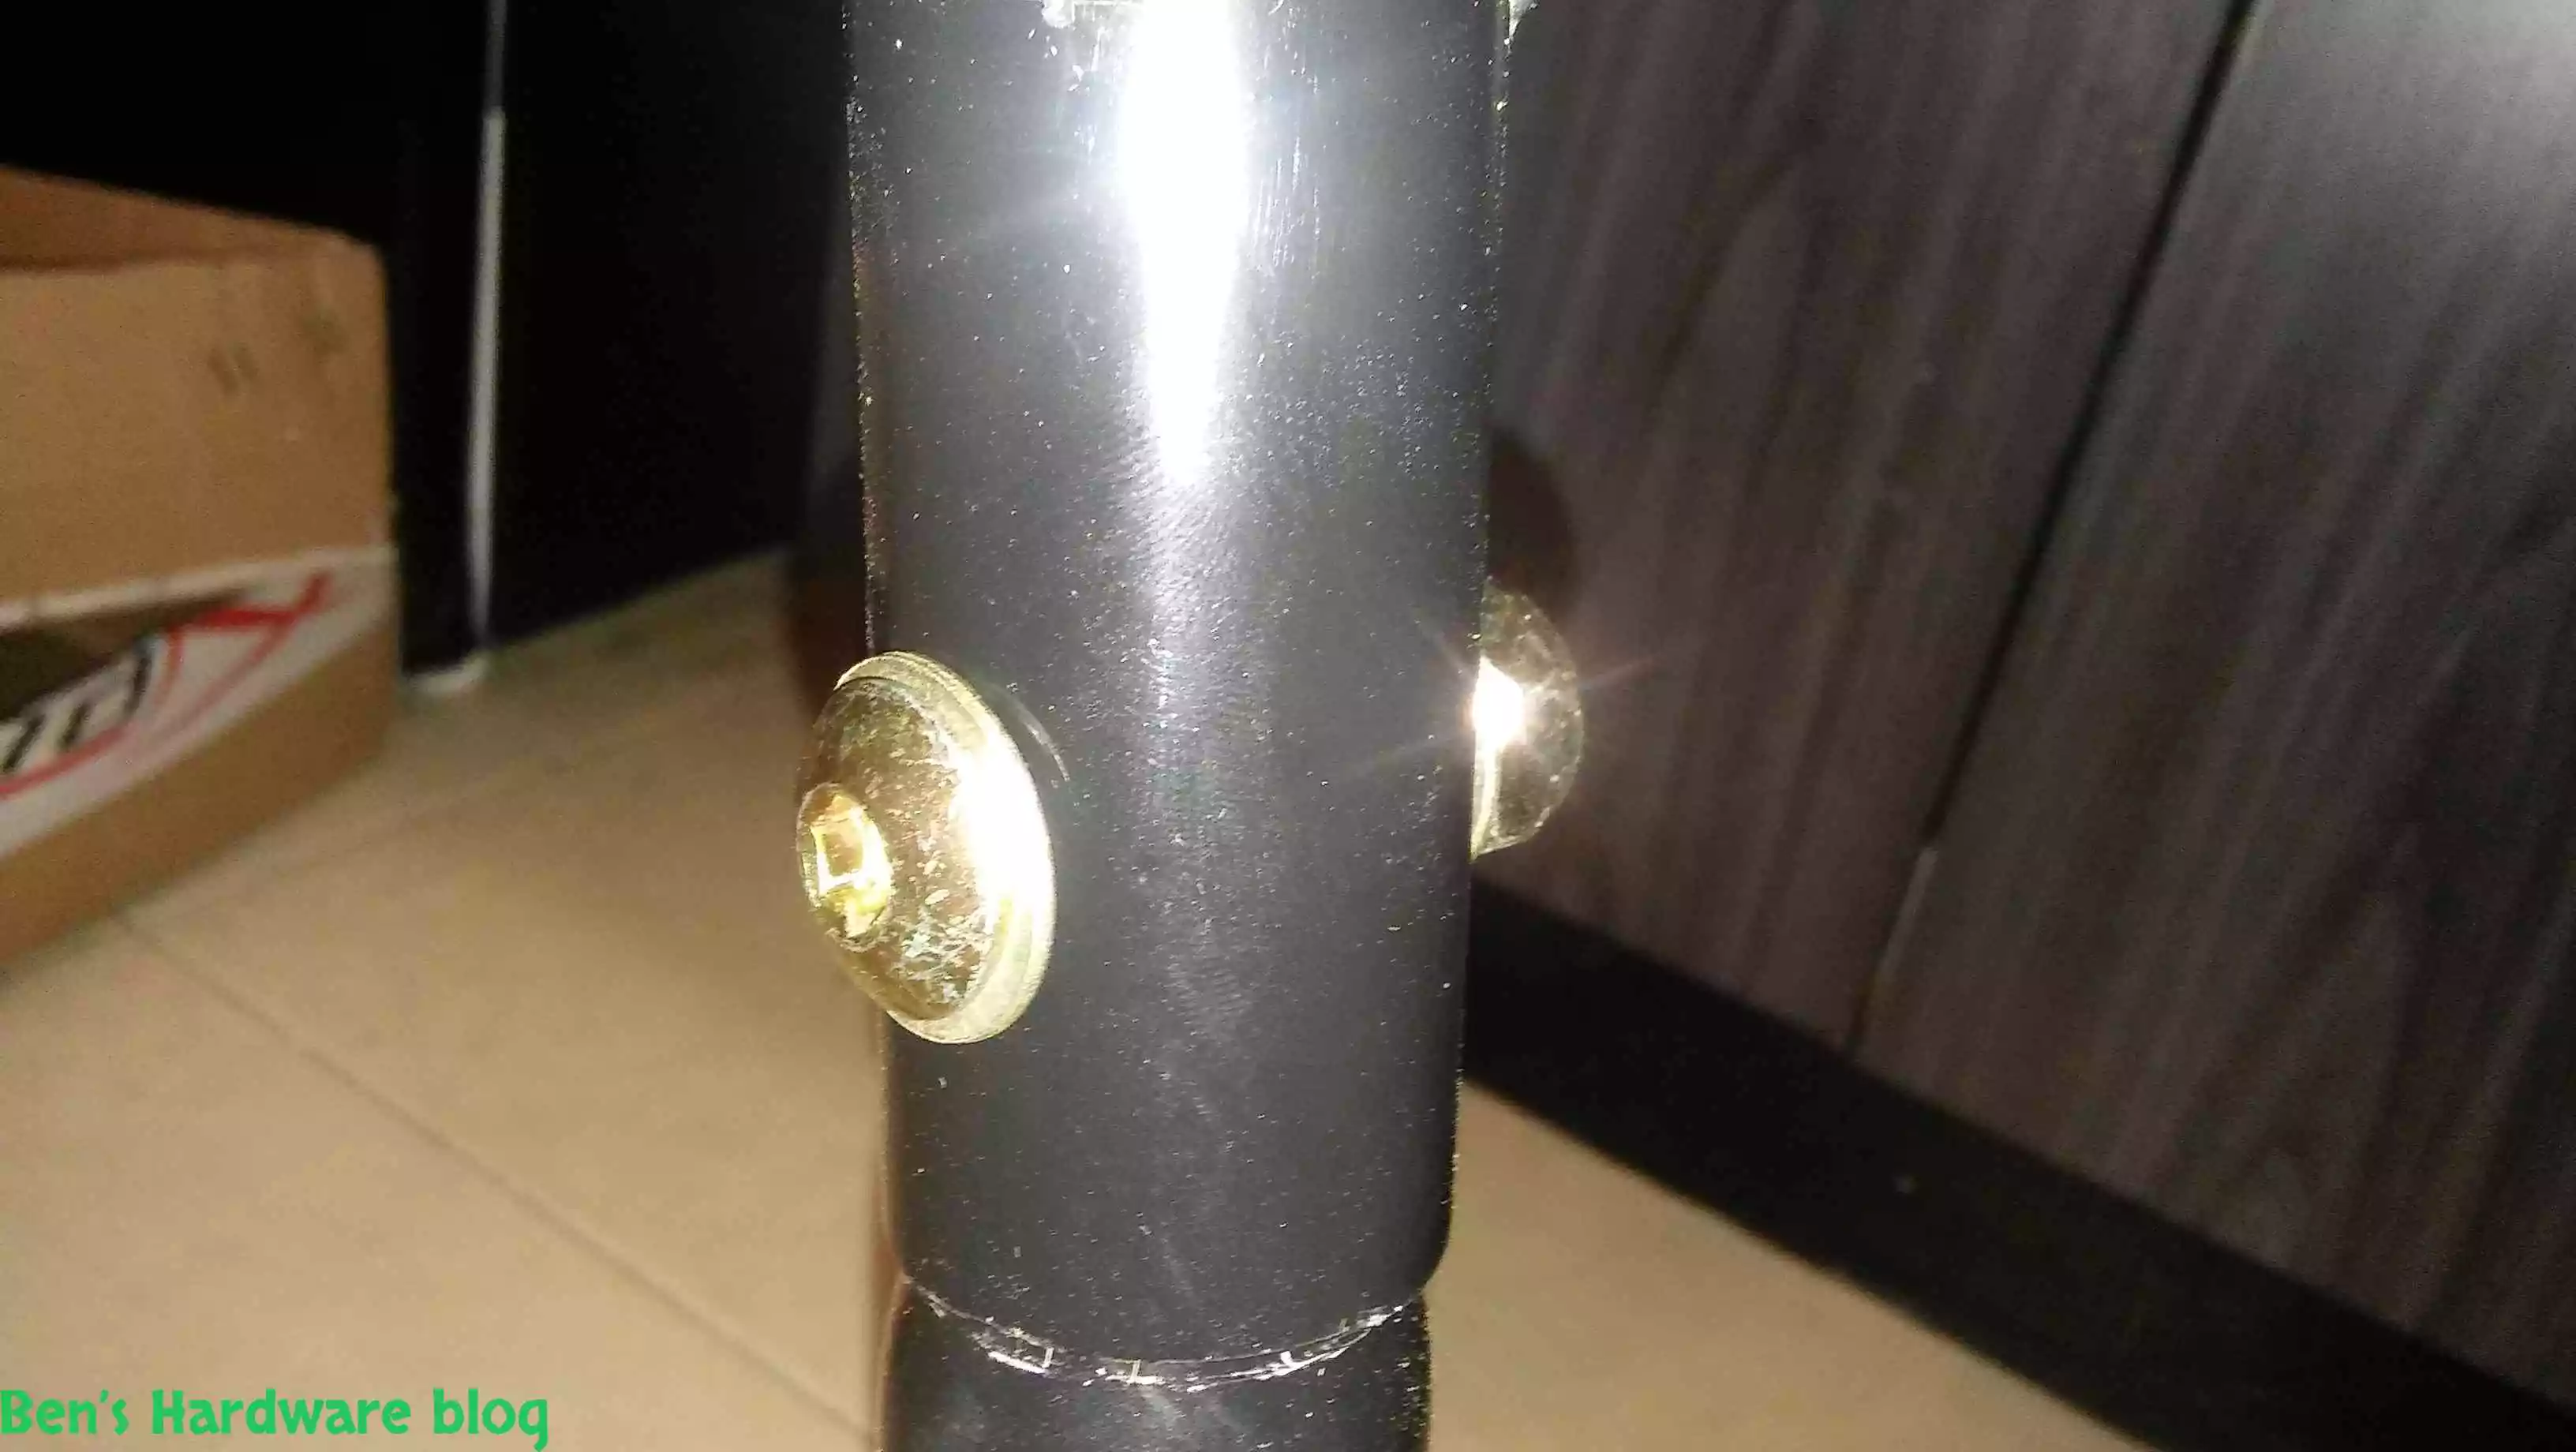
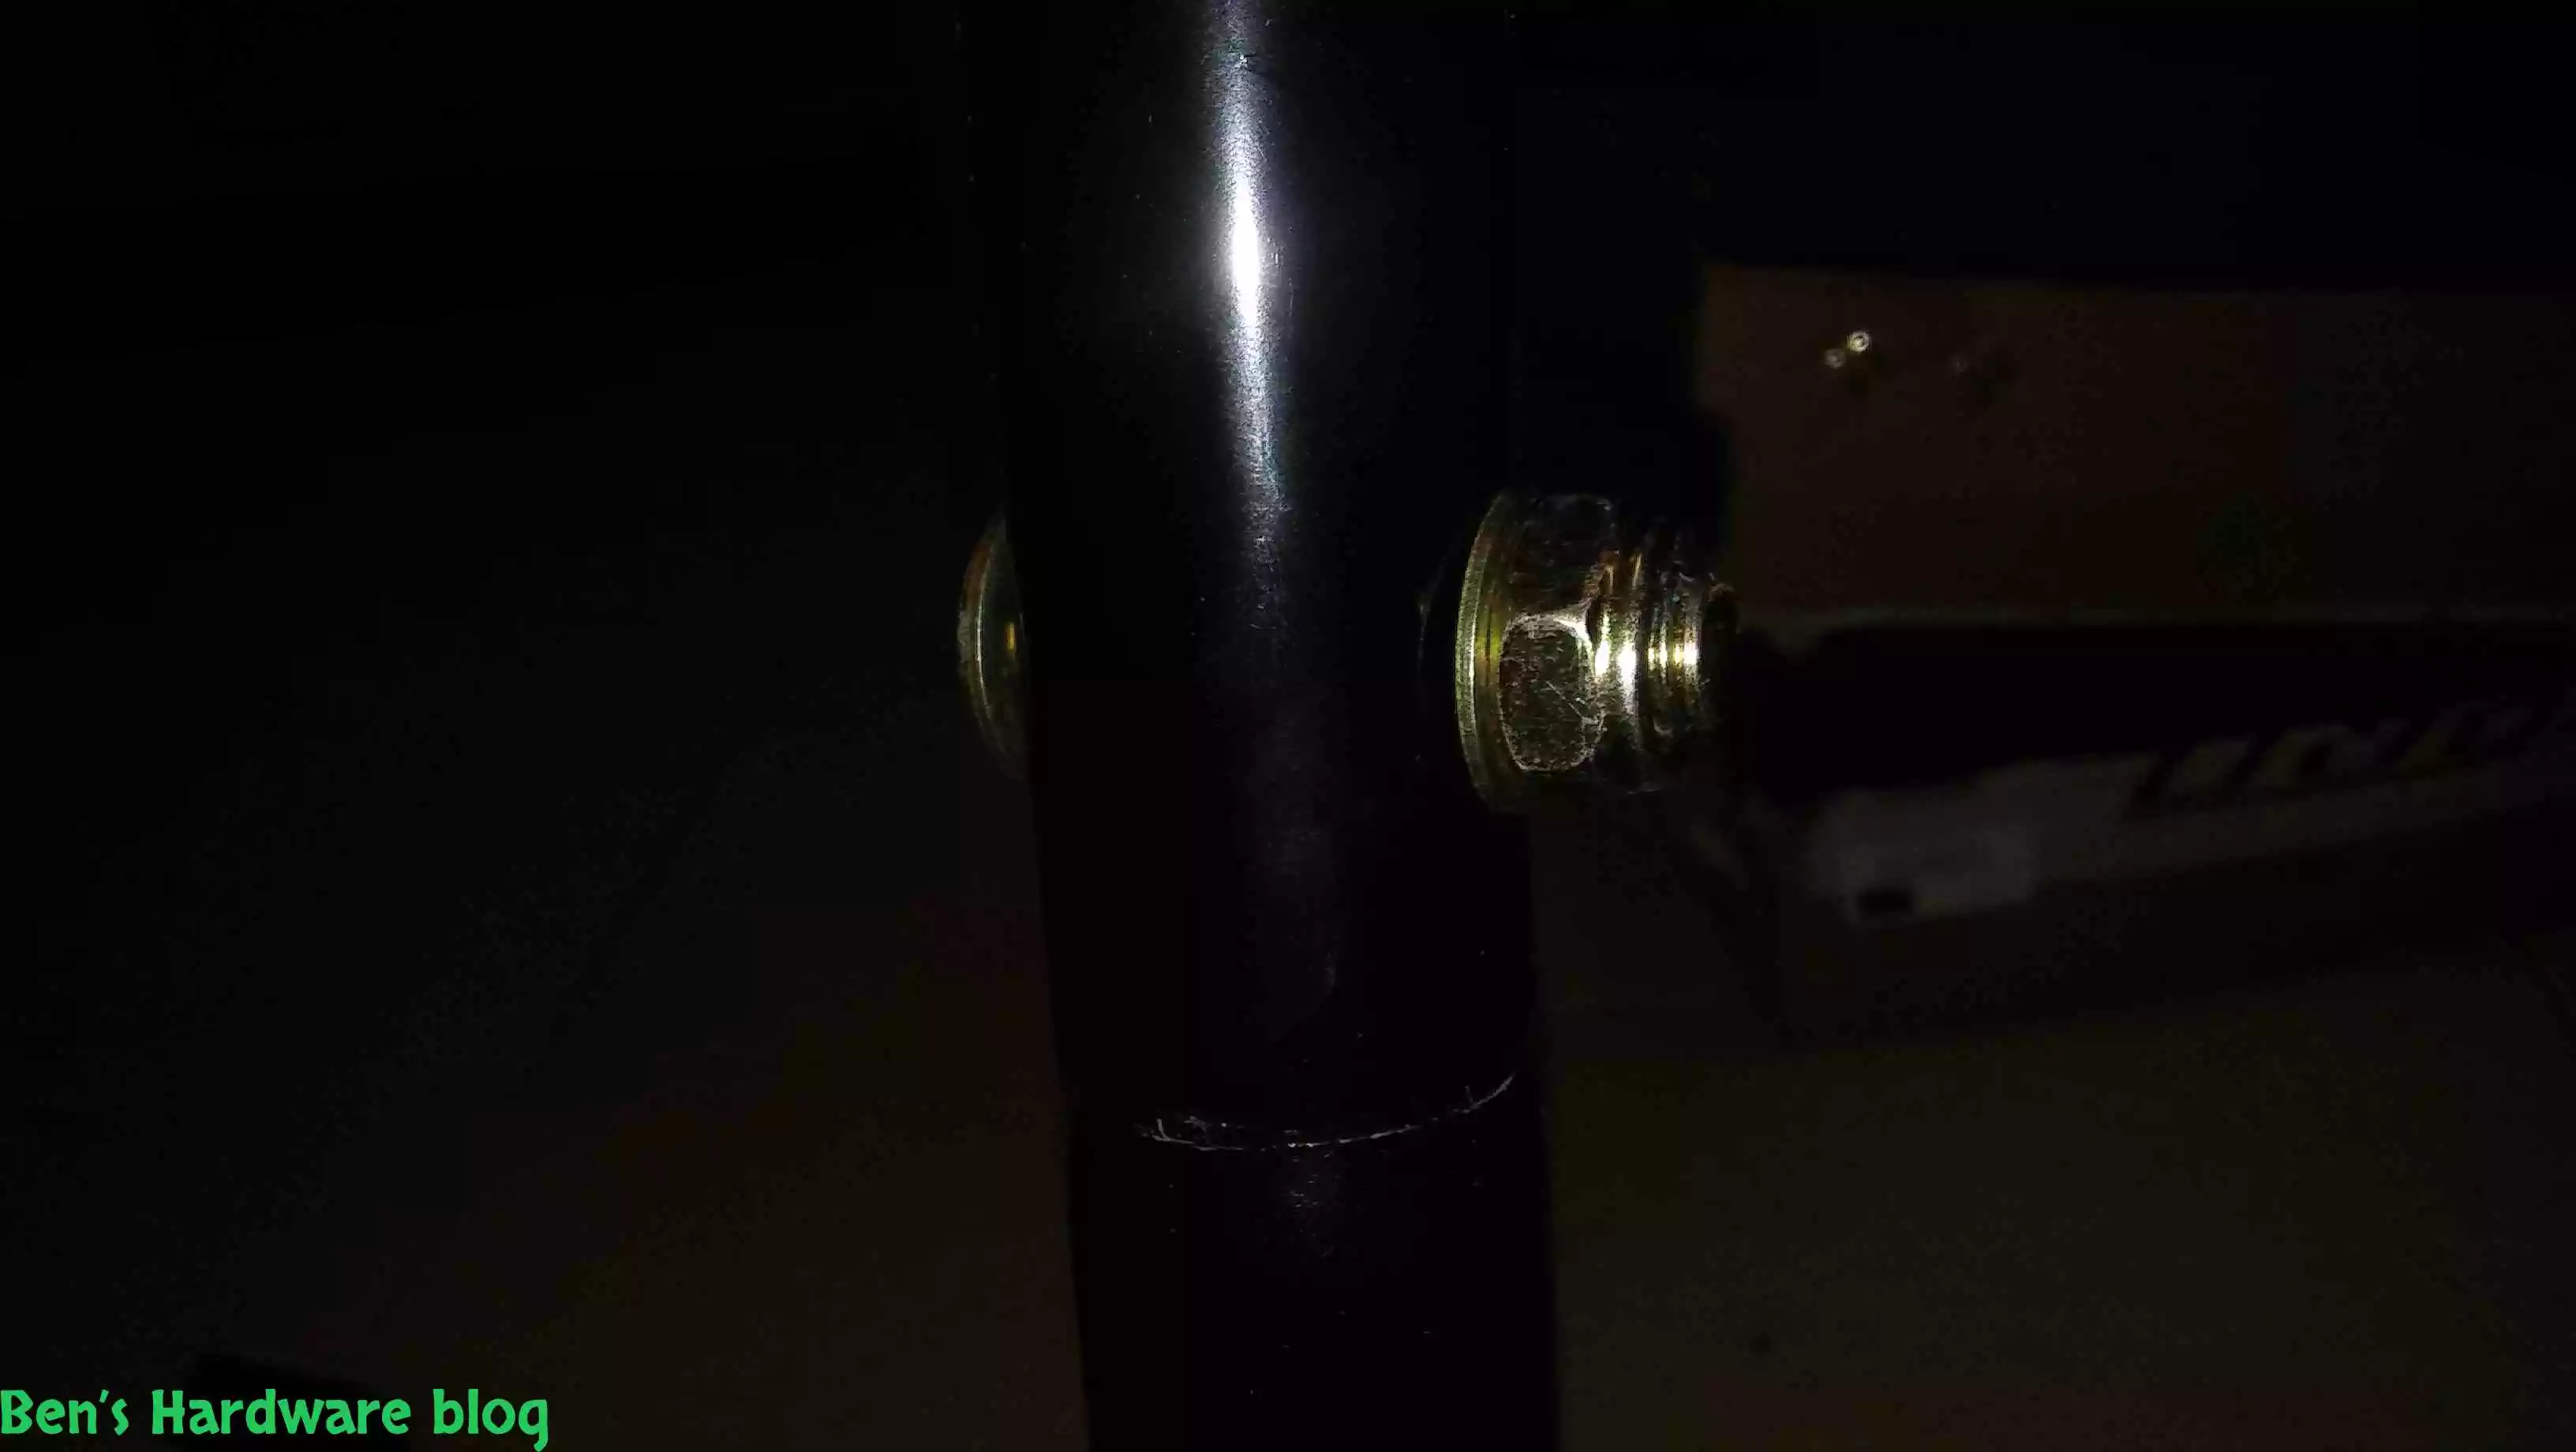
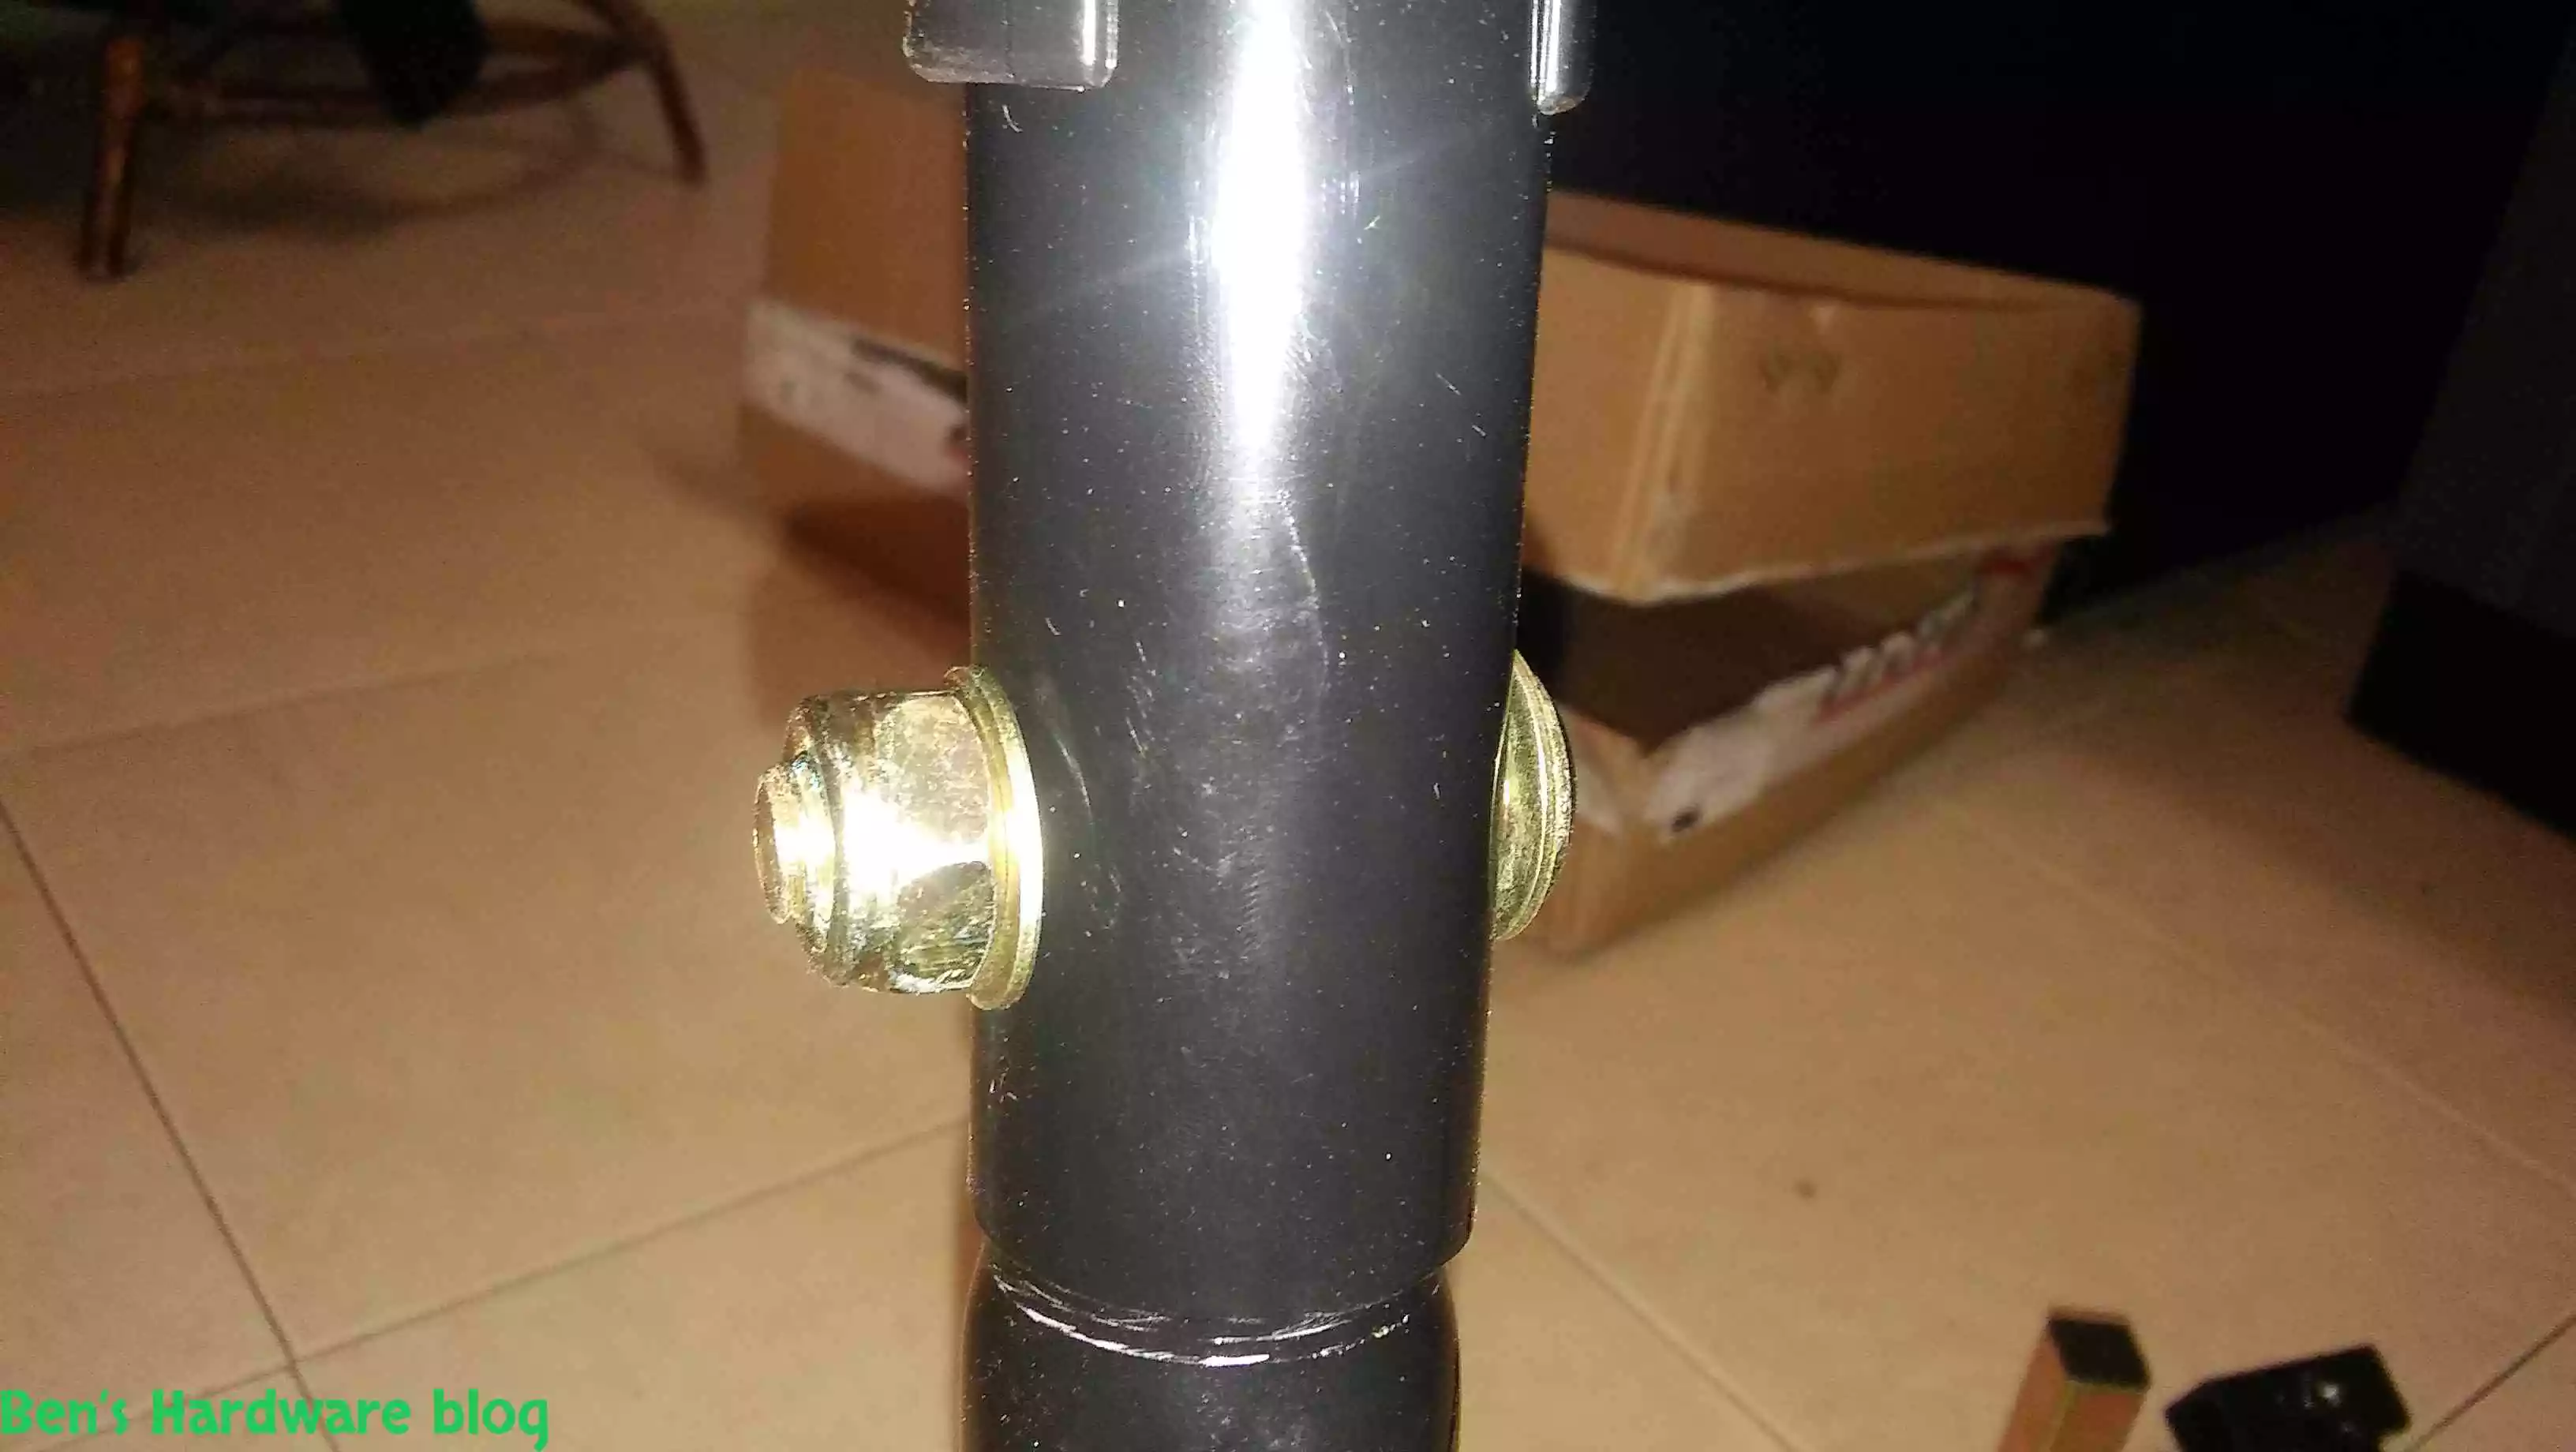
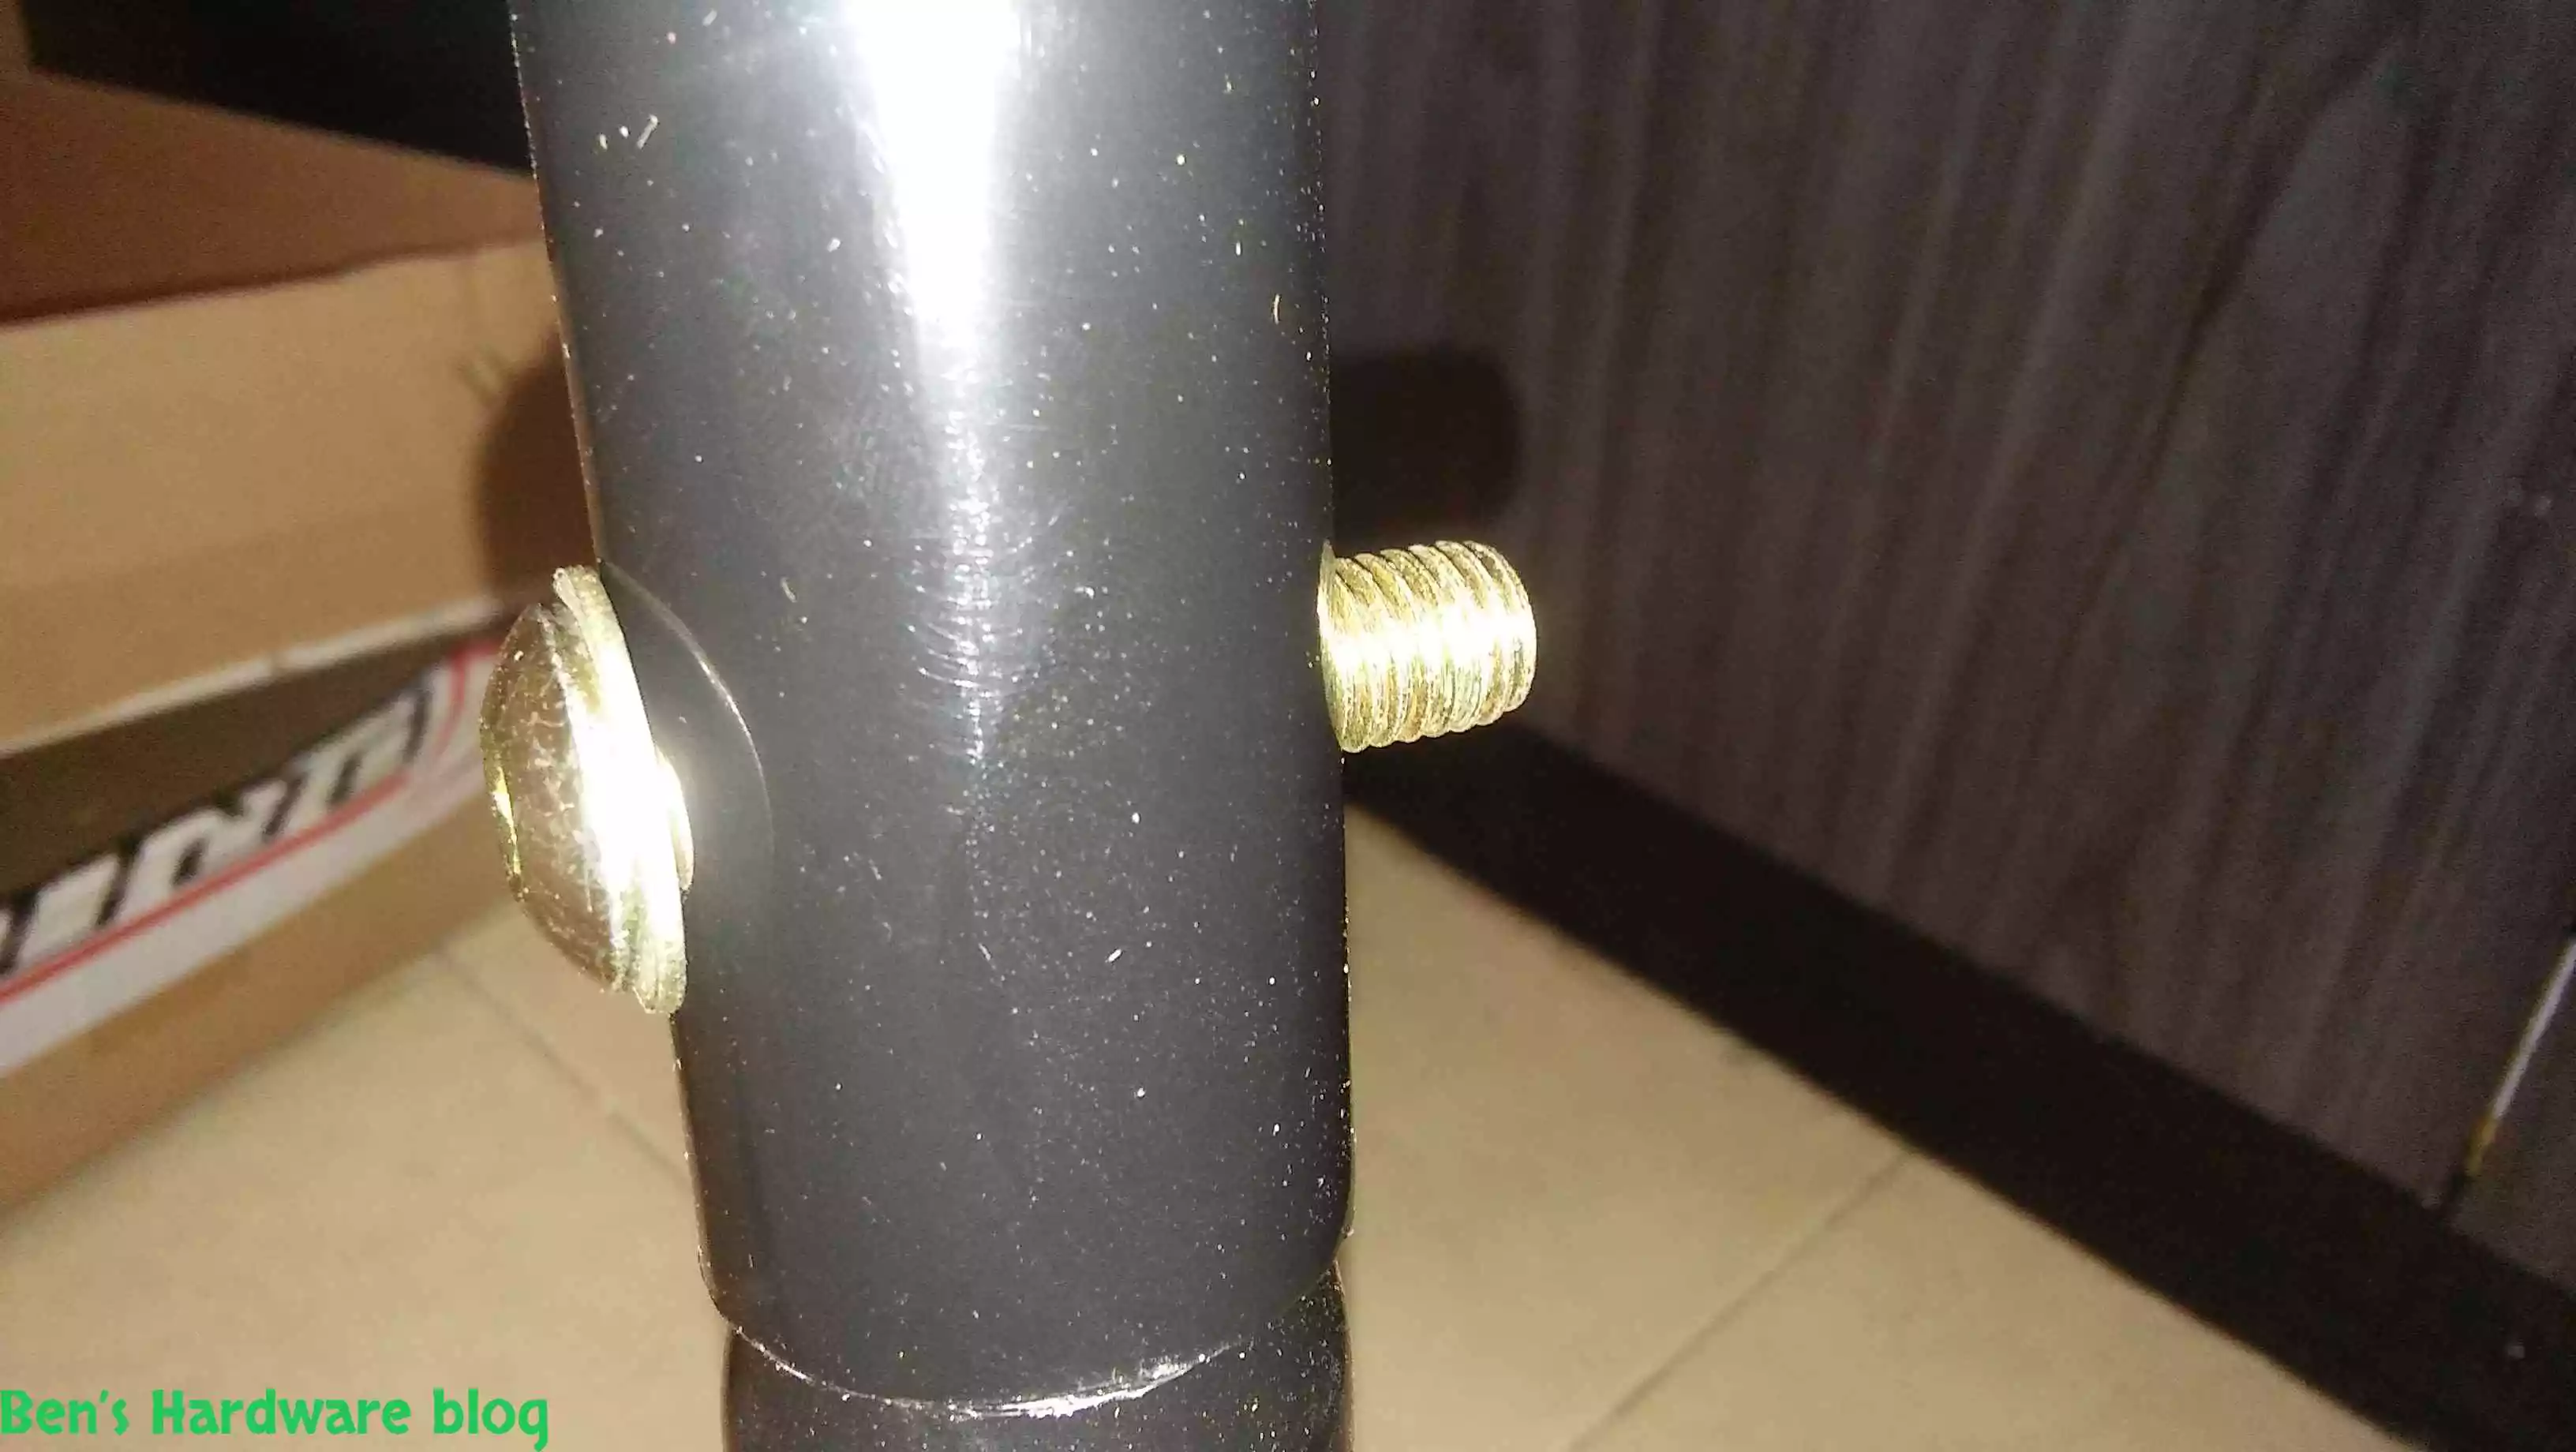
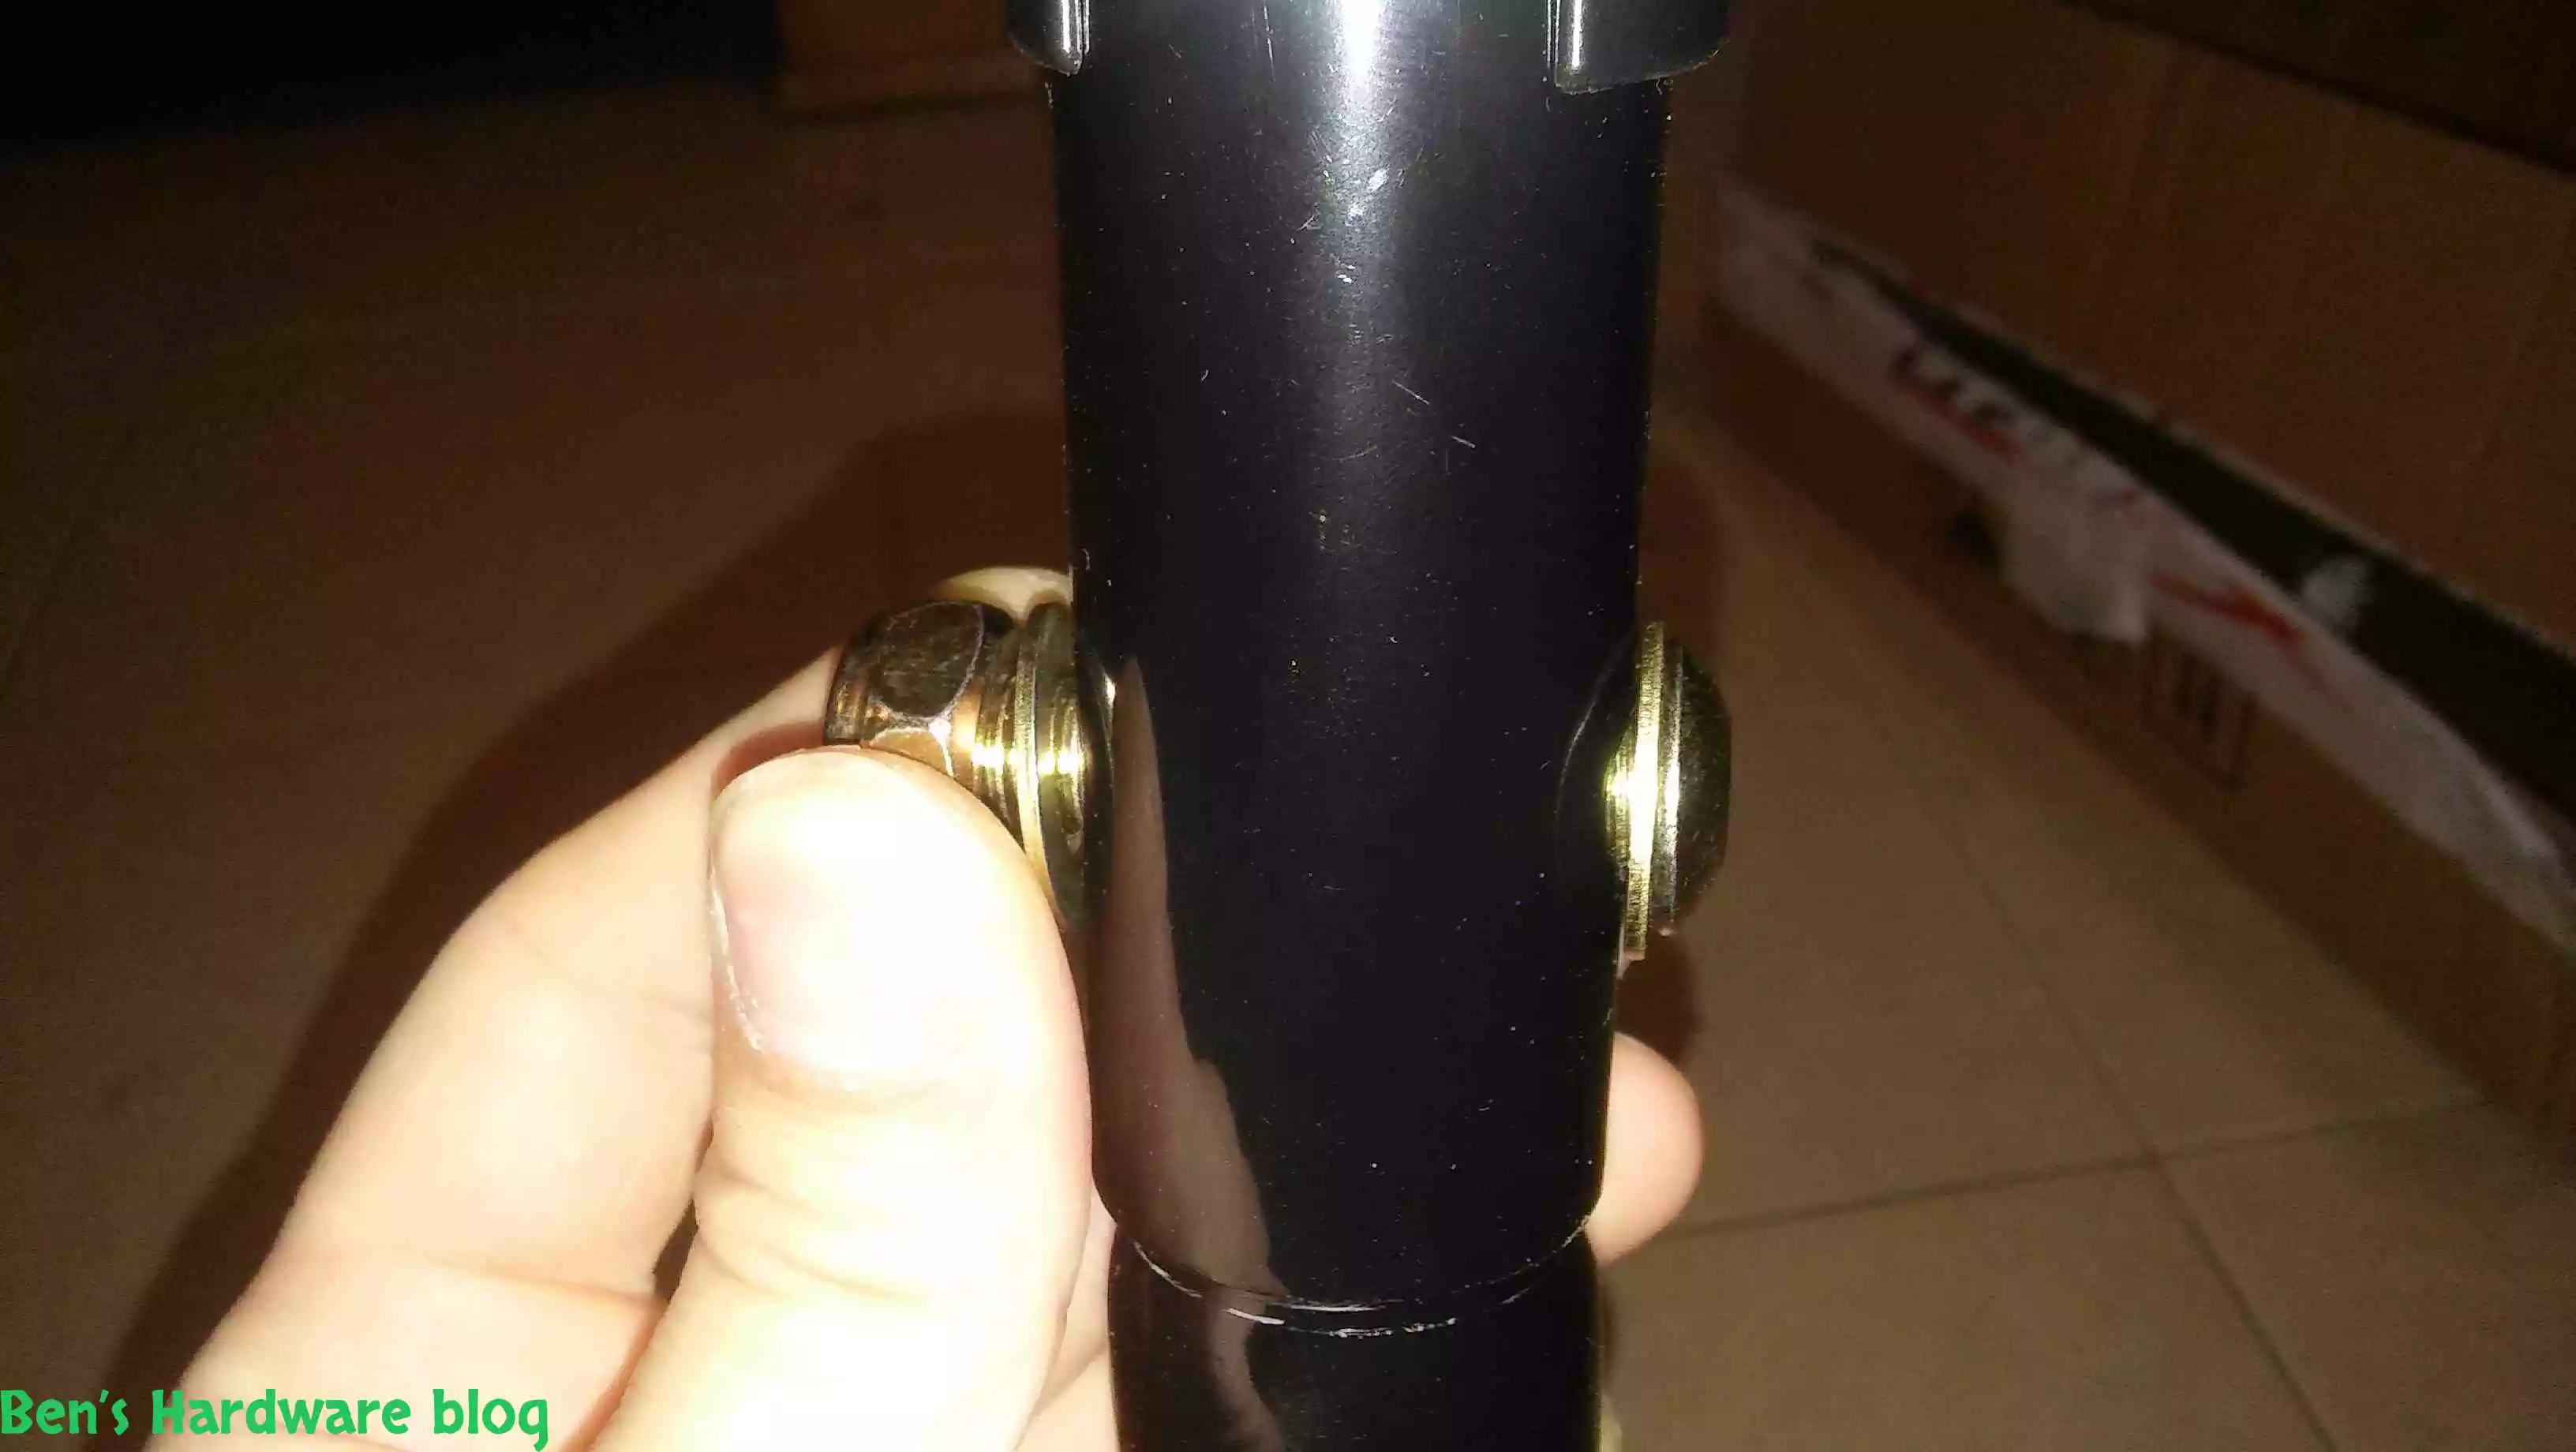
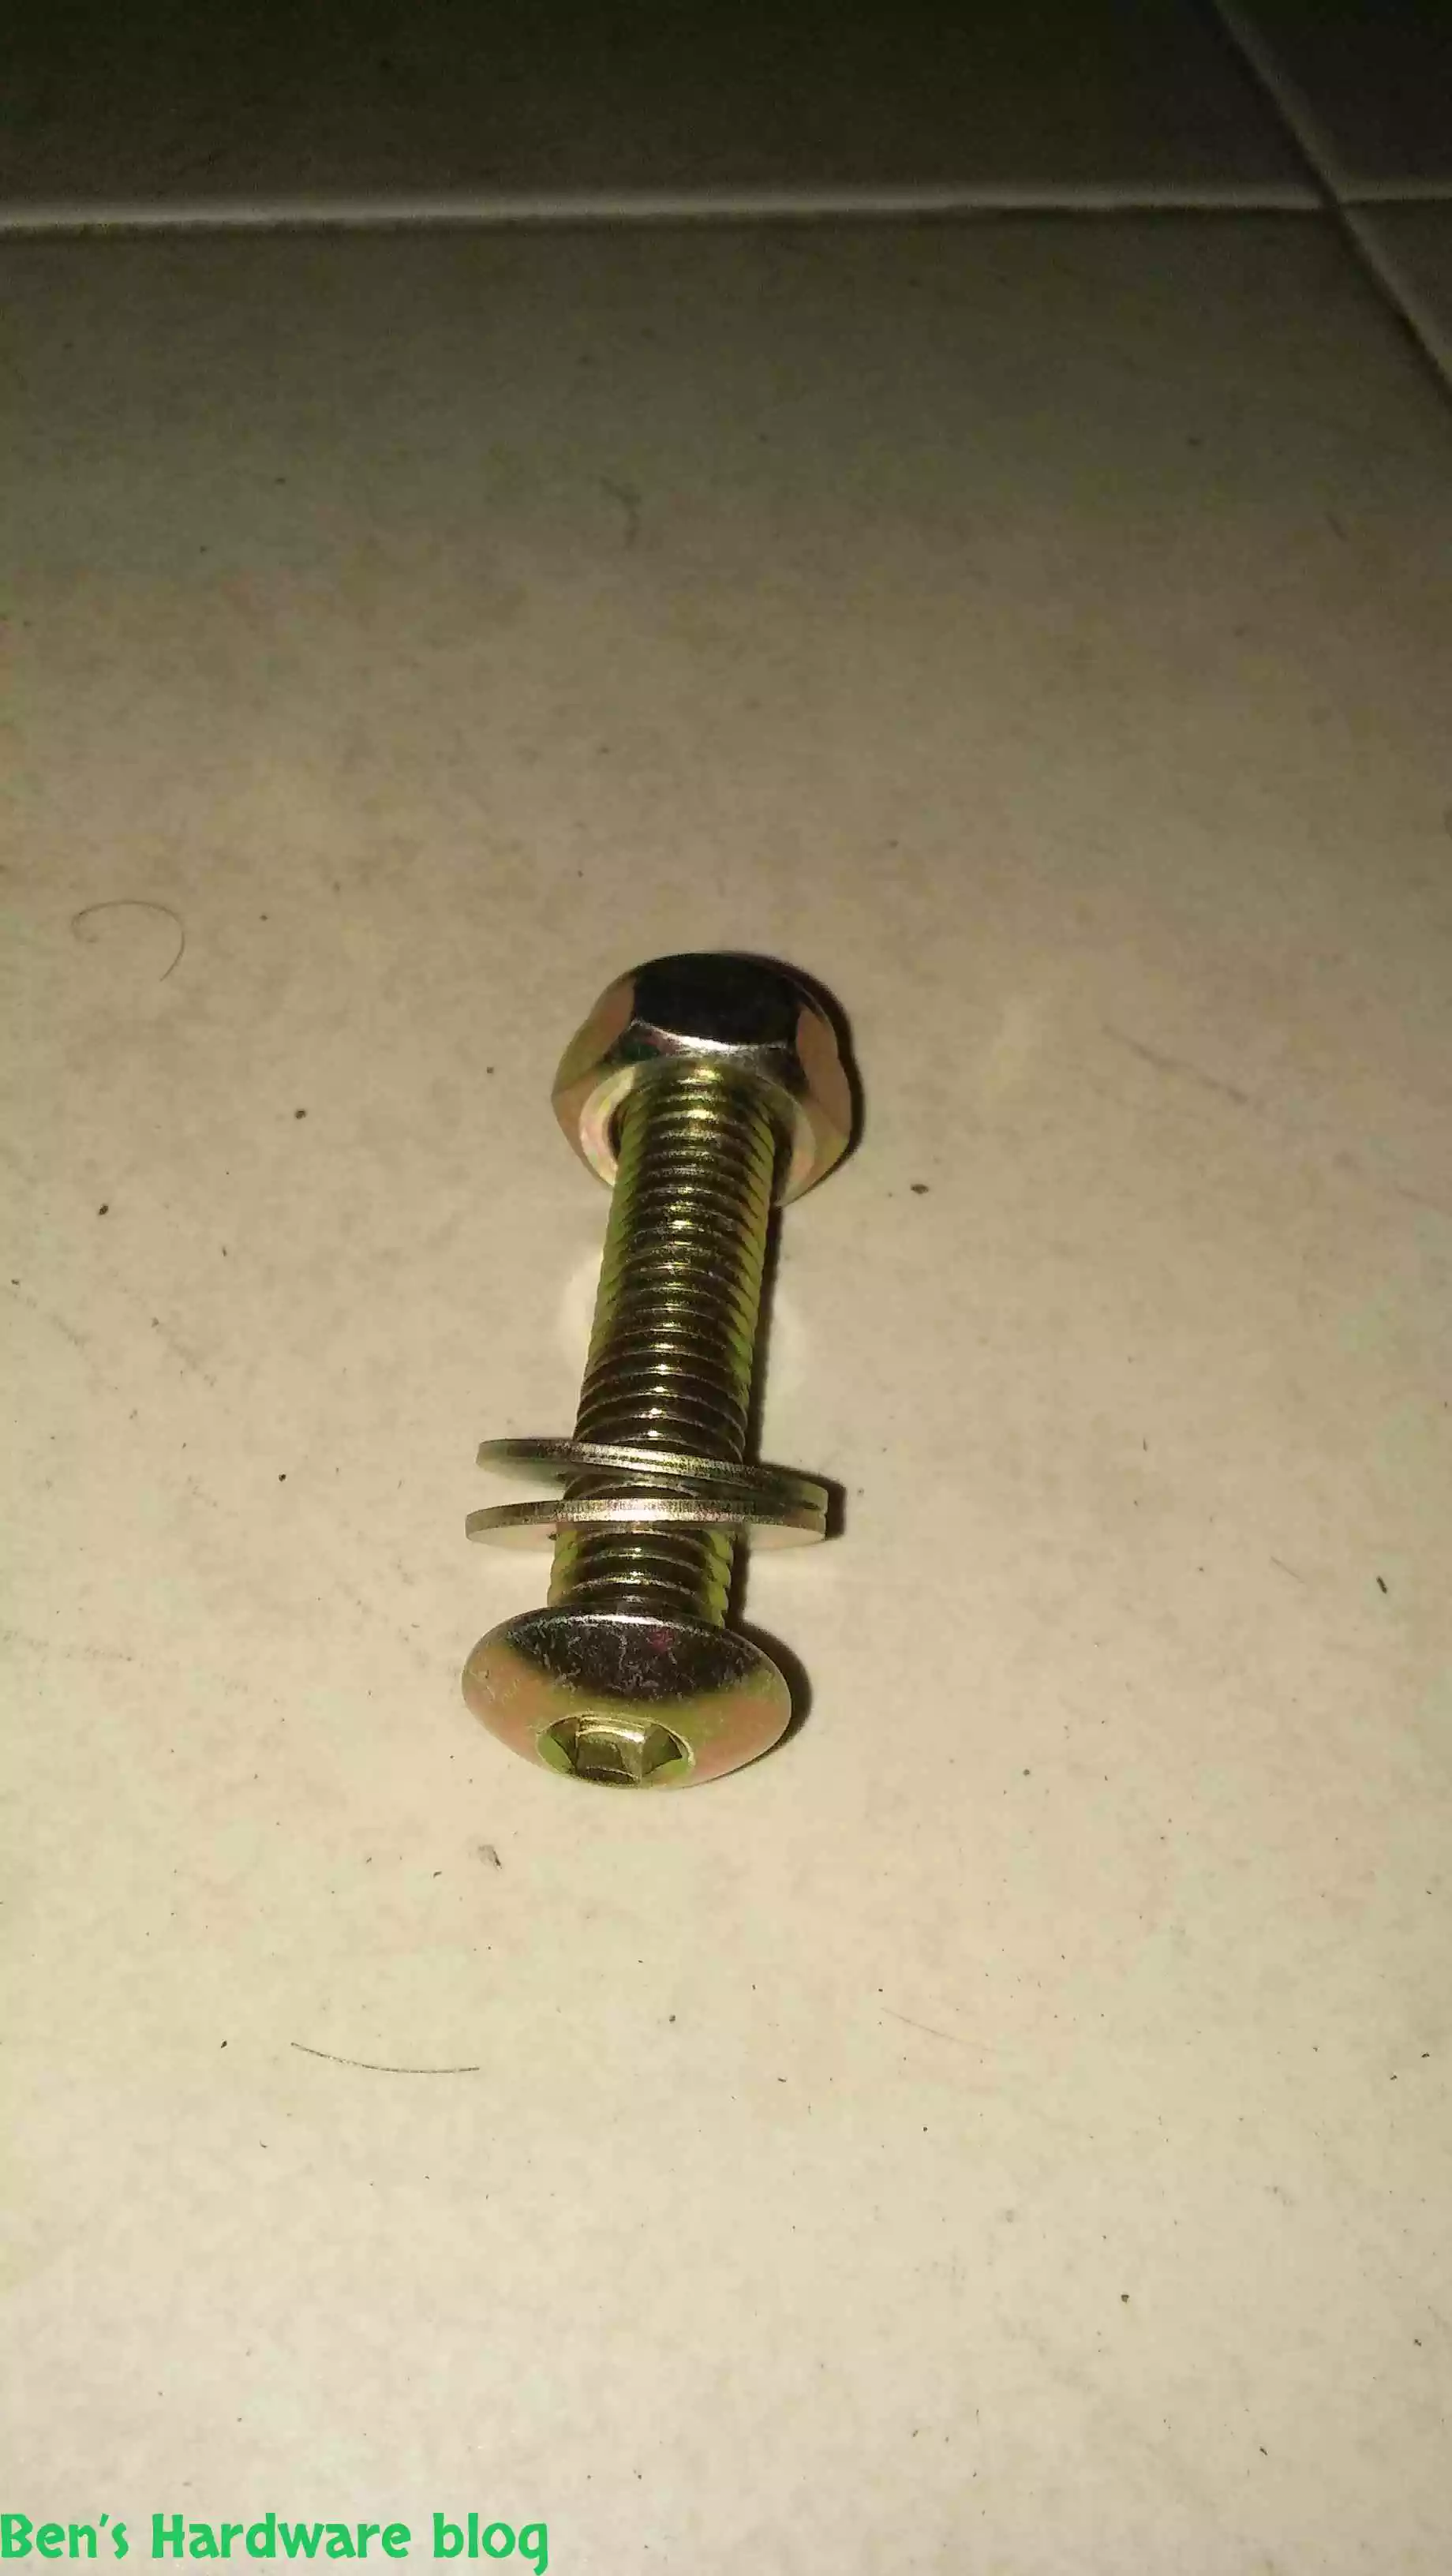
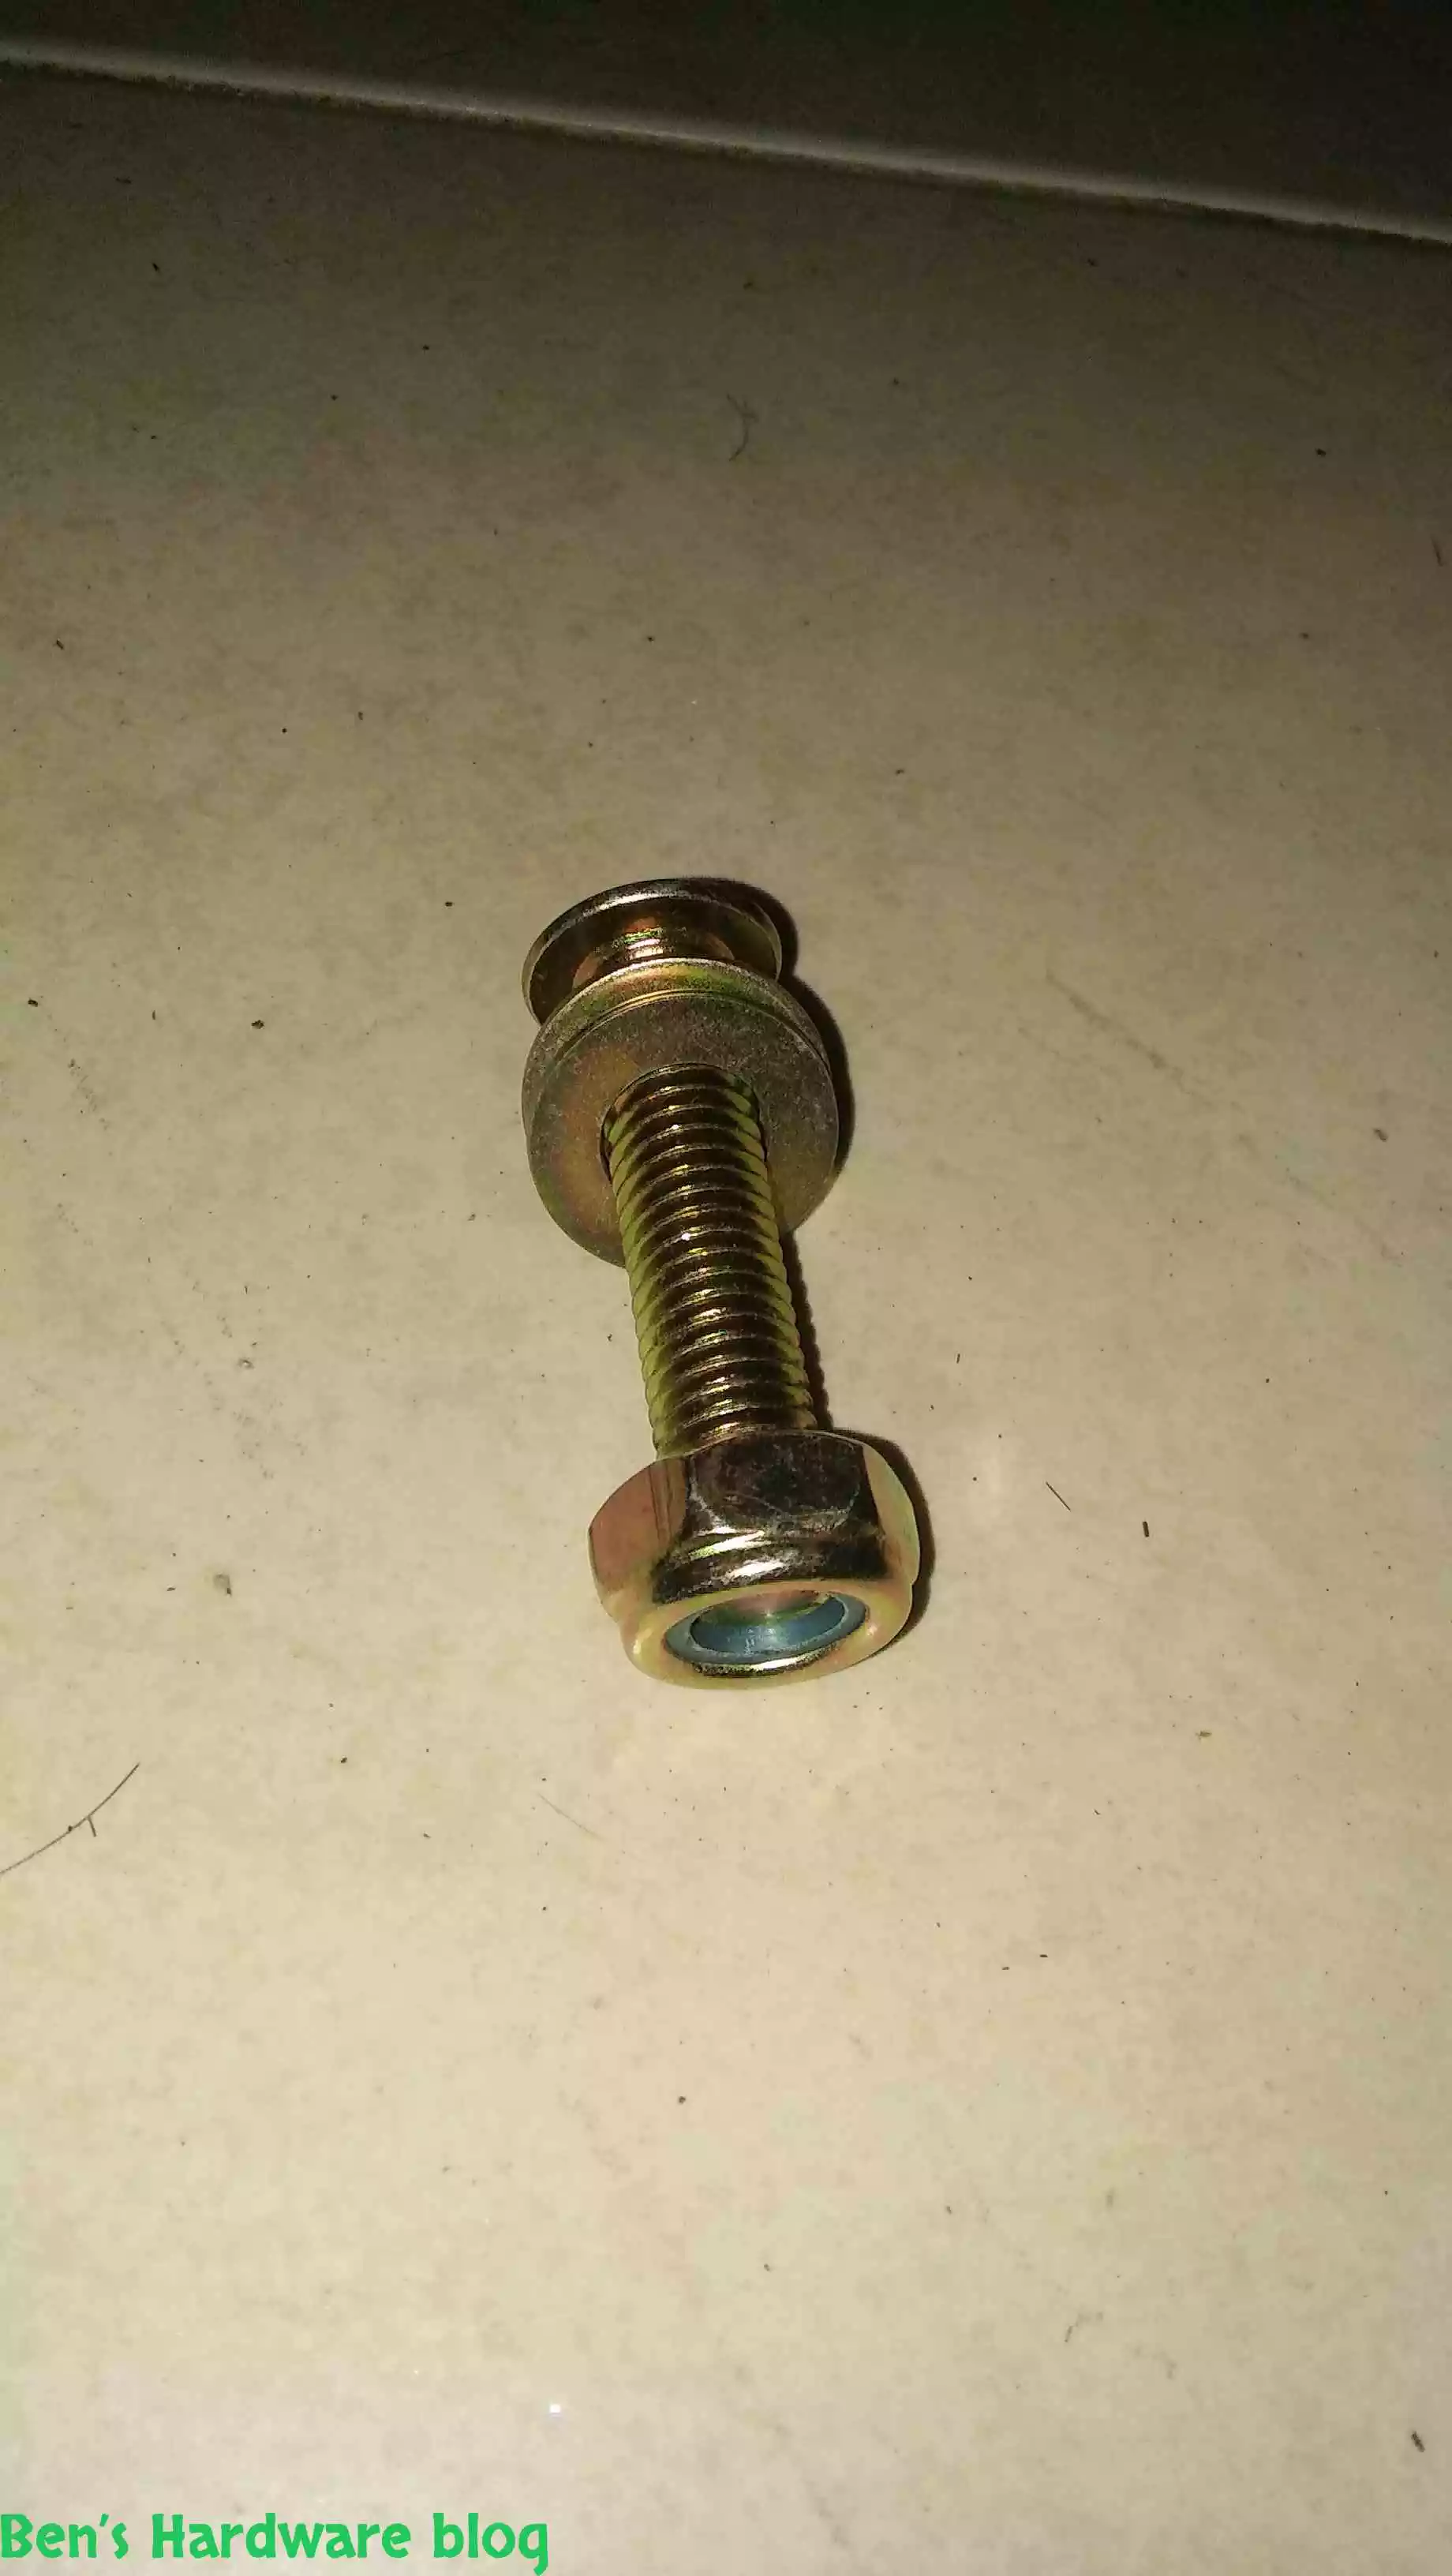
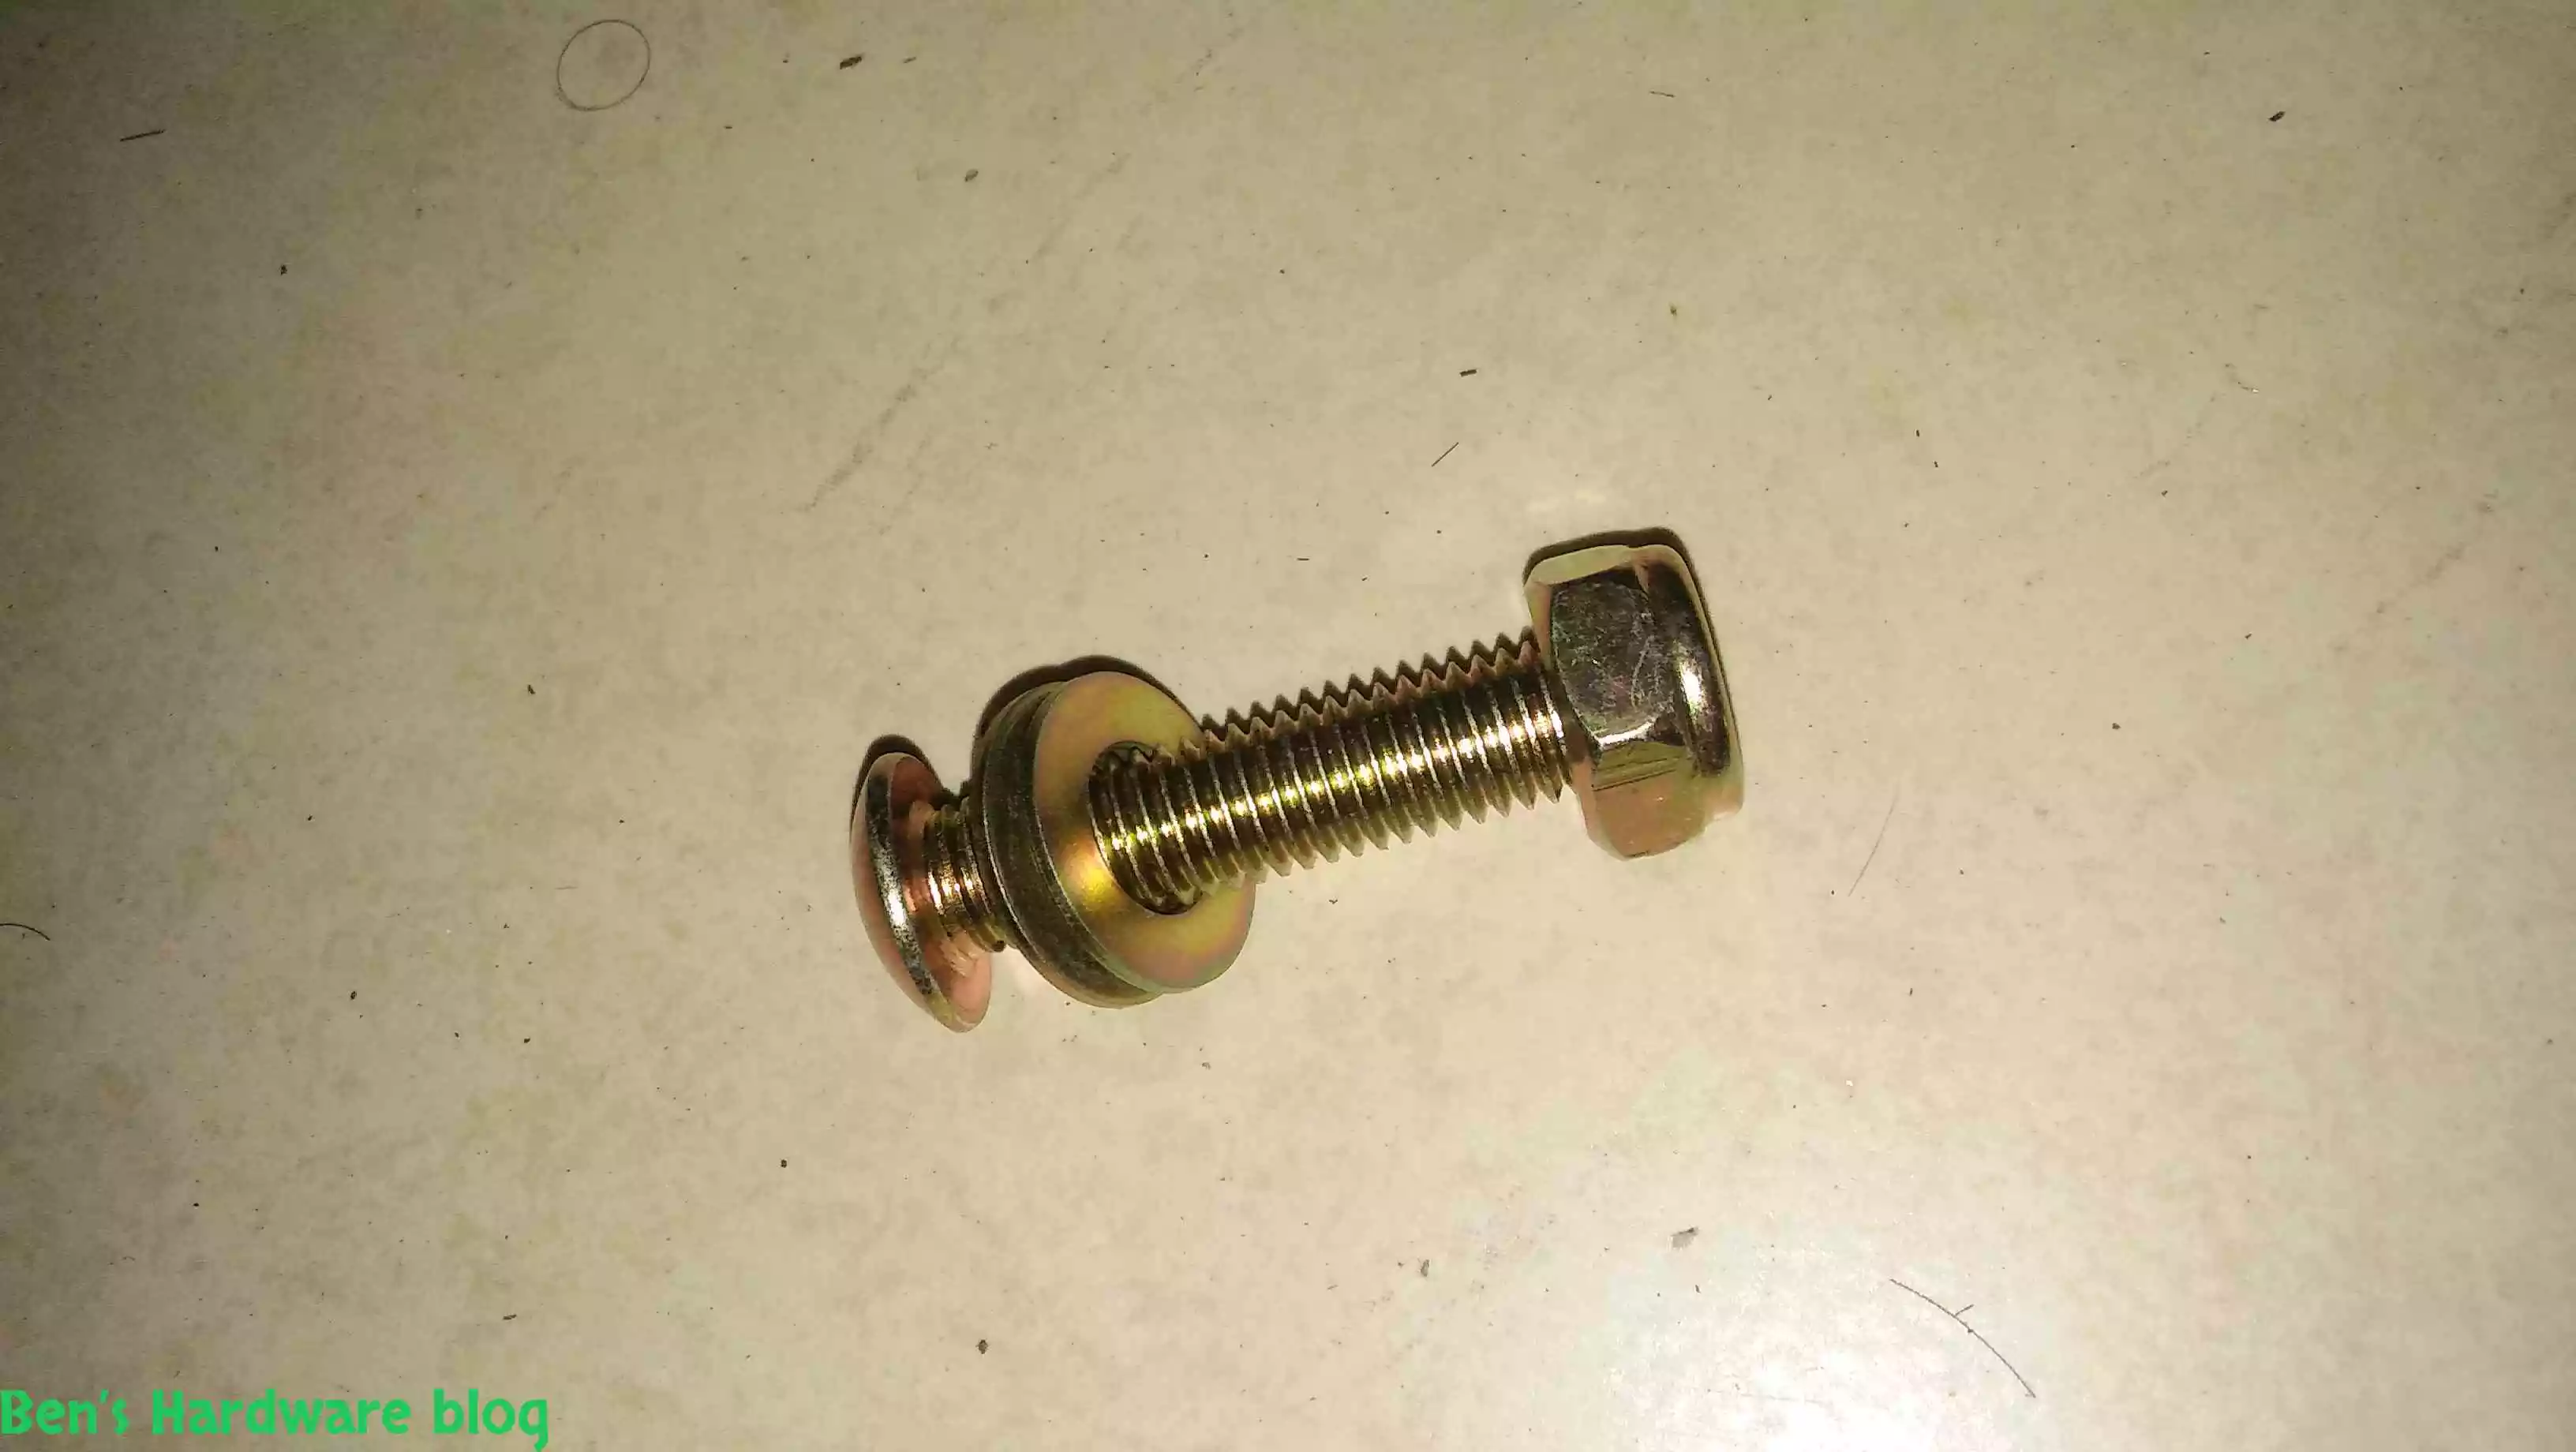
Two screw sets for connecting the wheeled stands to the handlebar part.
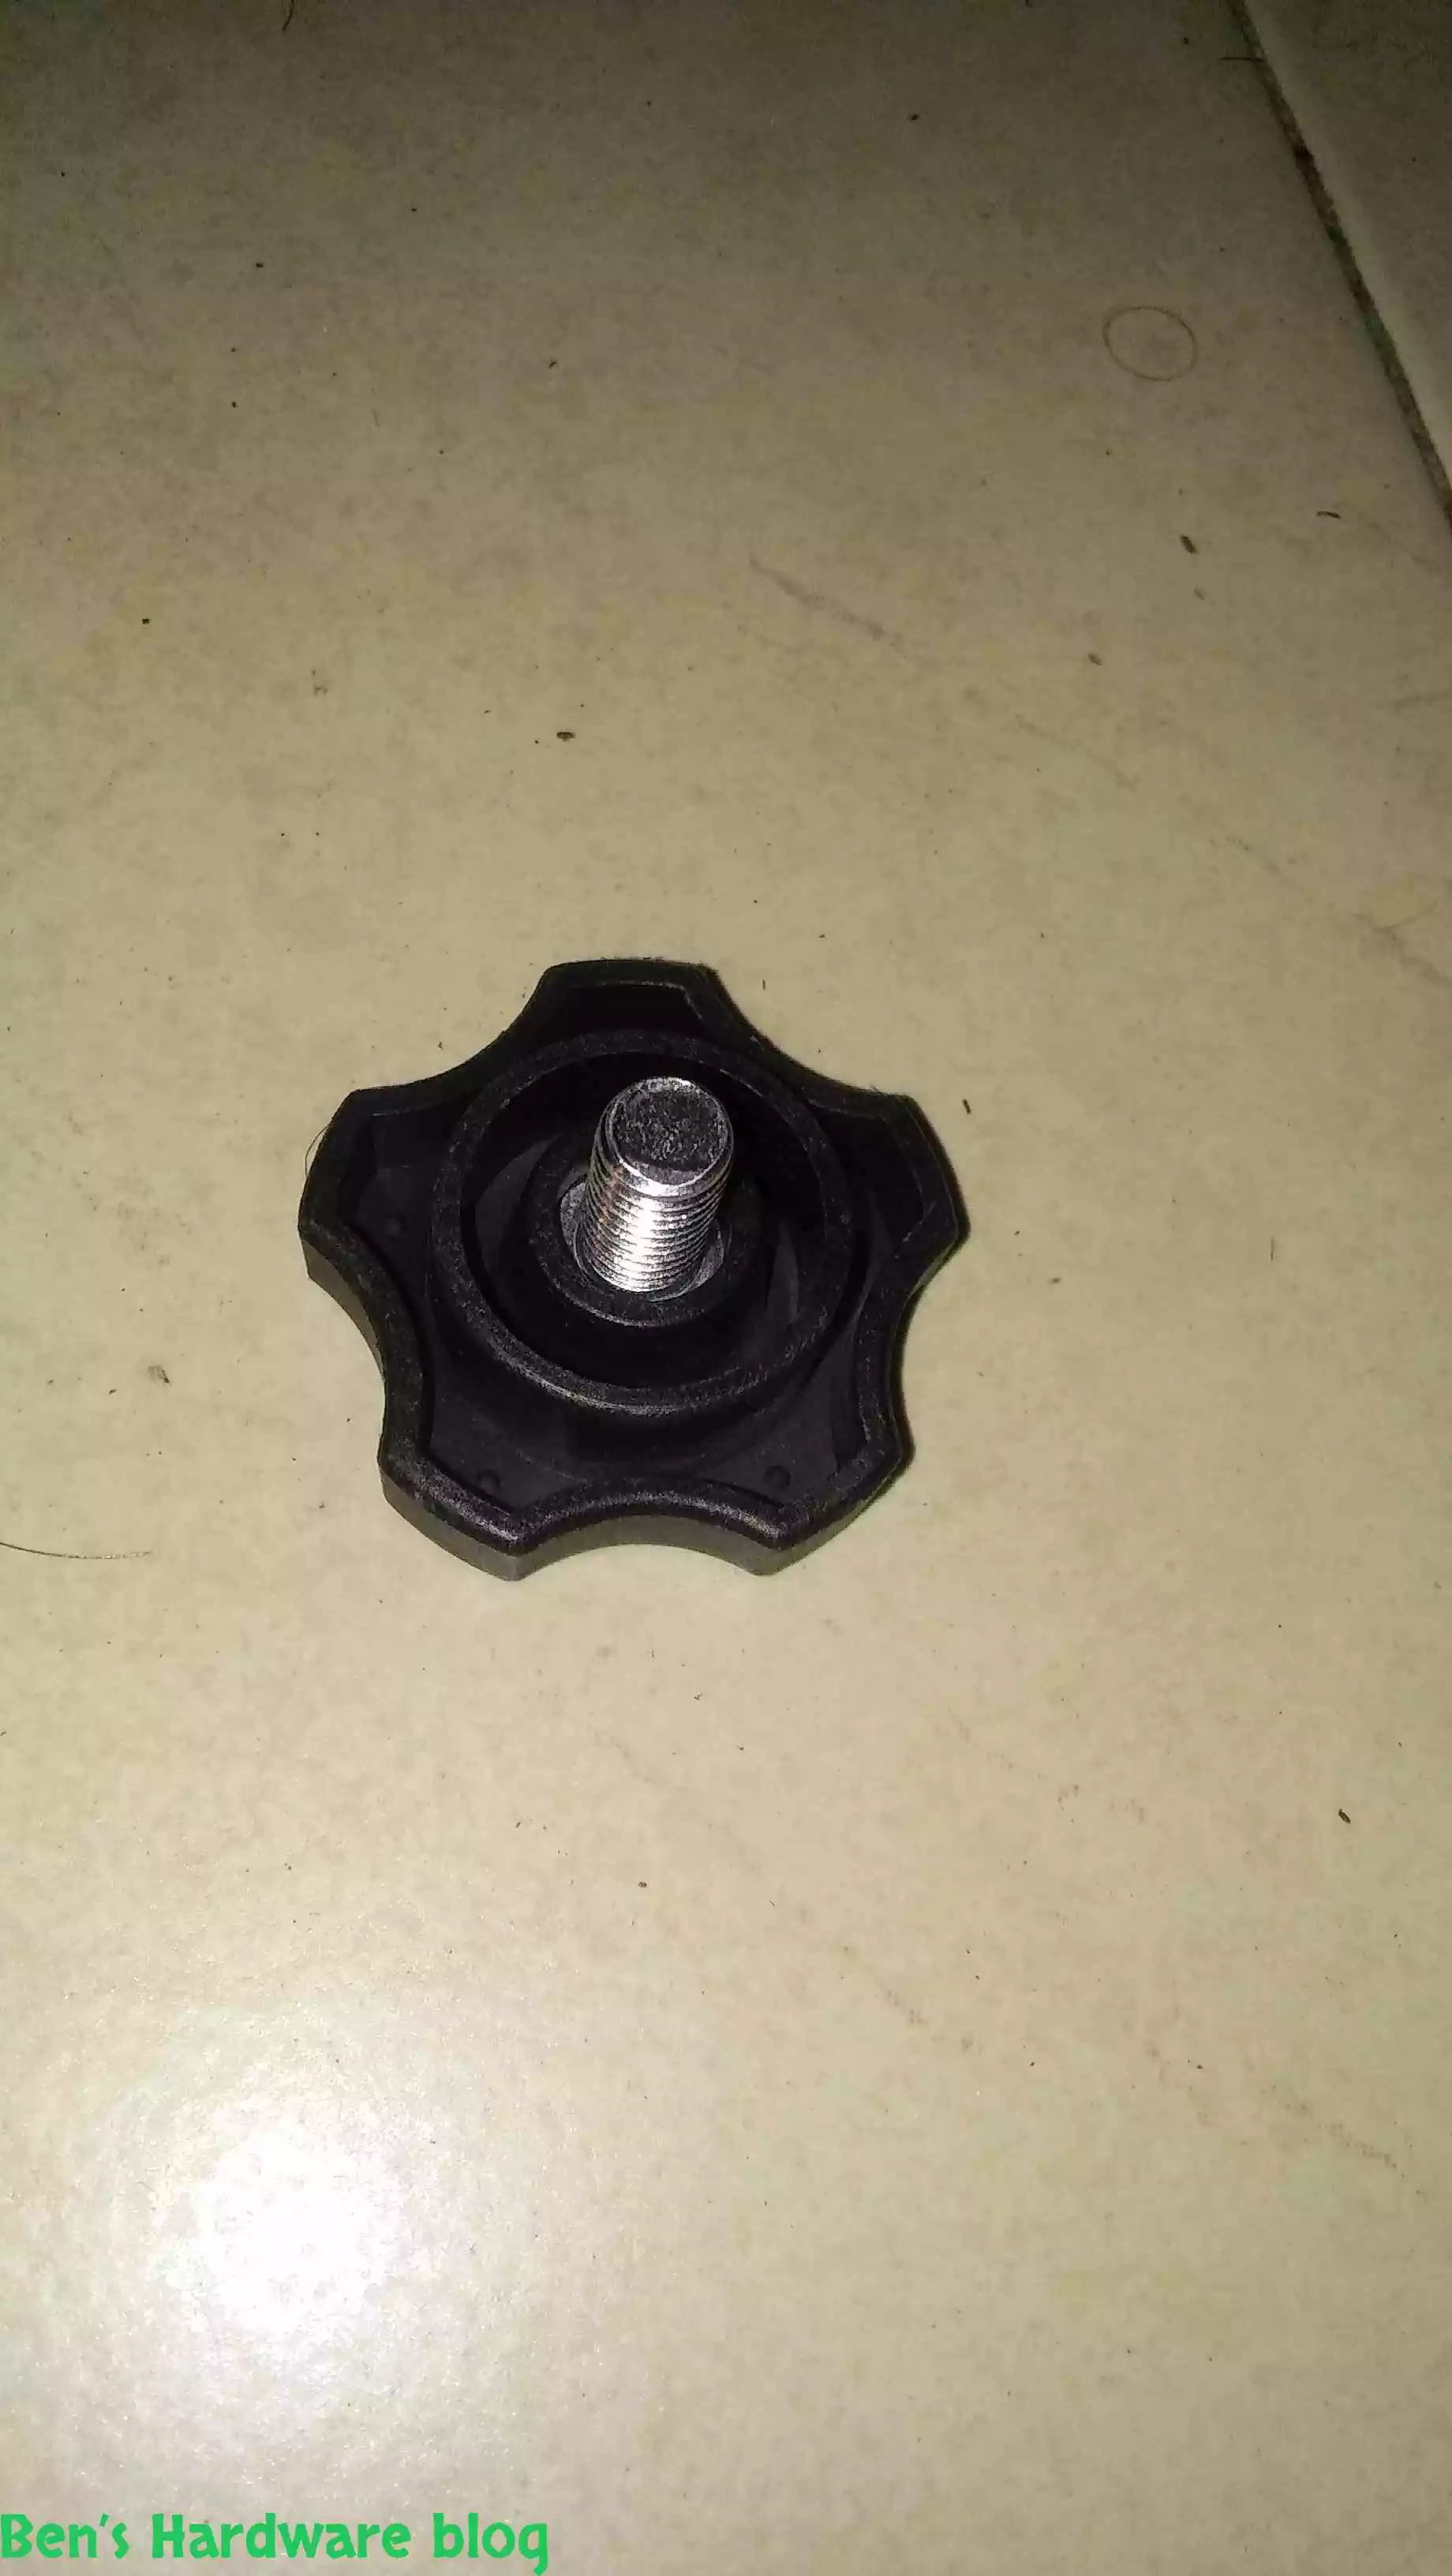
Two pentagon screws for connecting securing the contact endpoints to the wheeled stands parts.
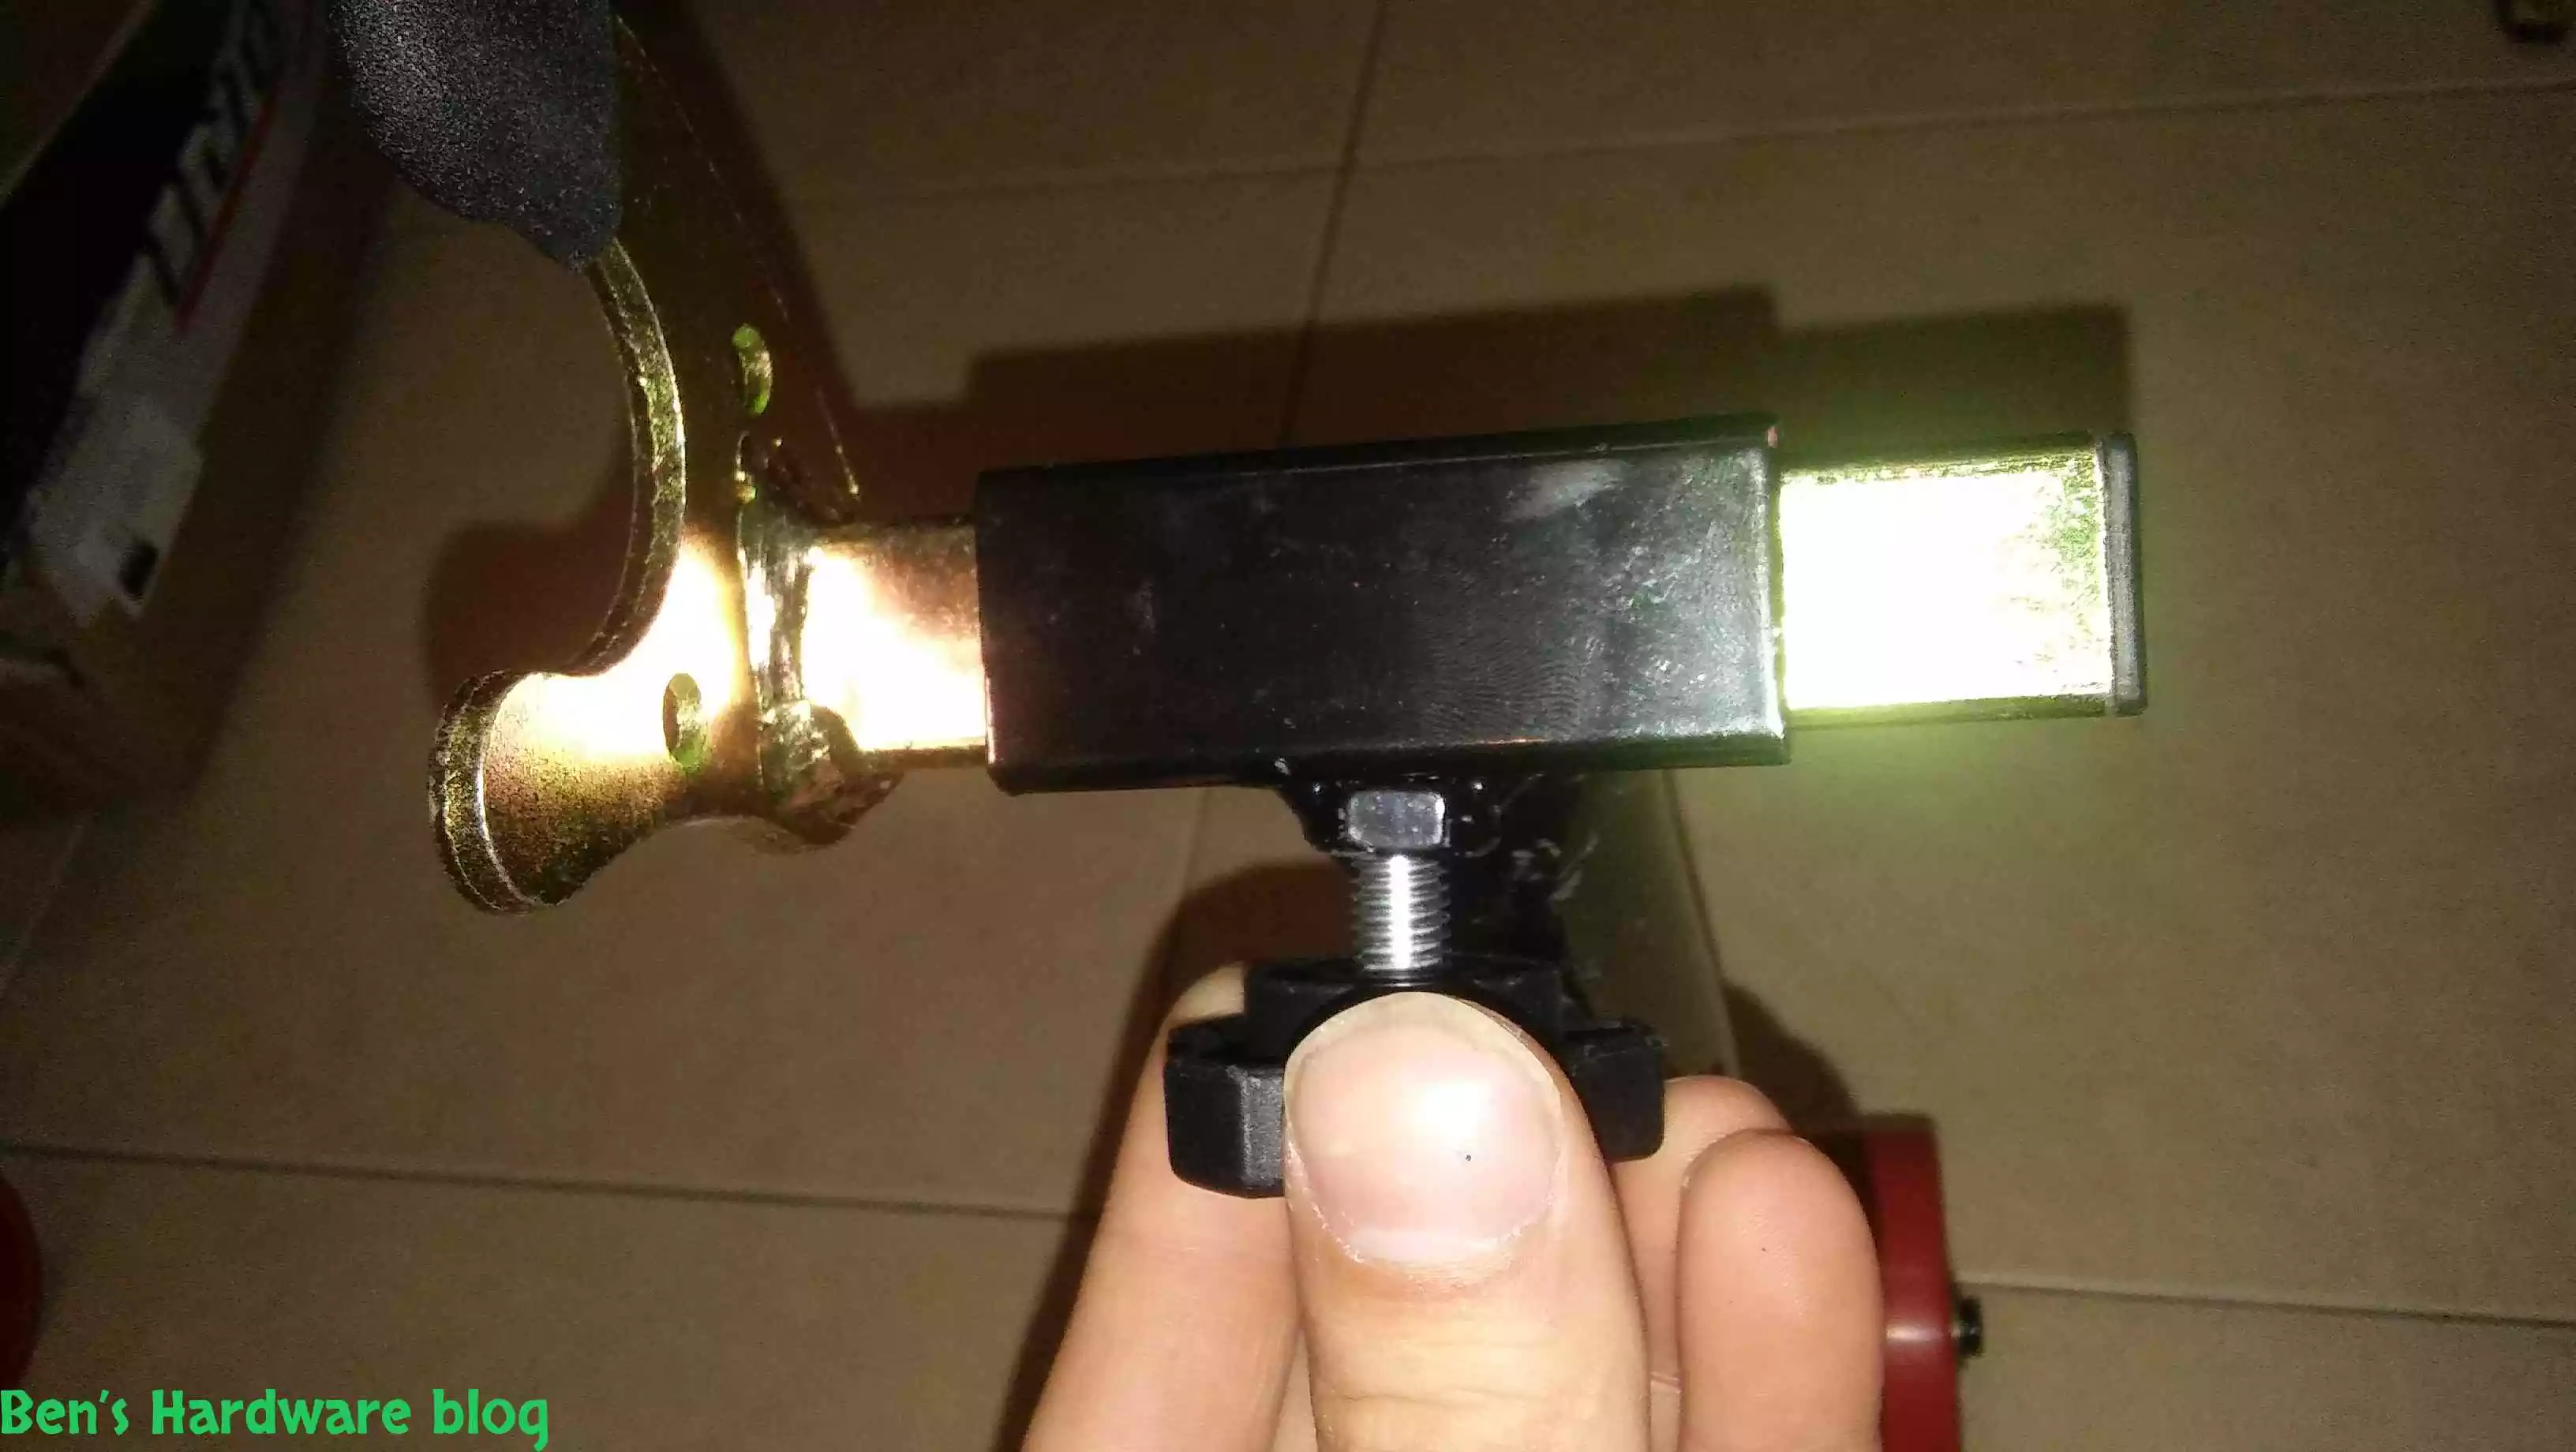
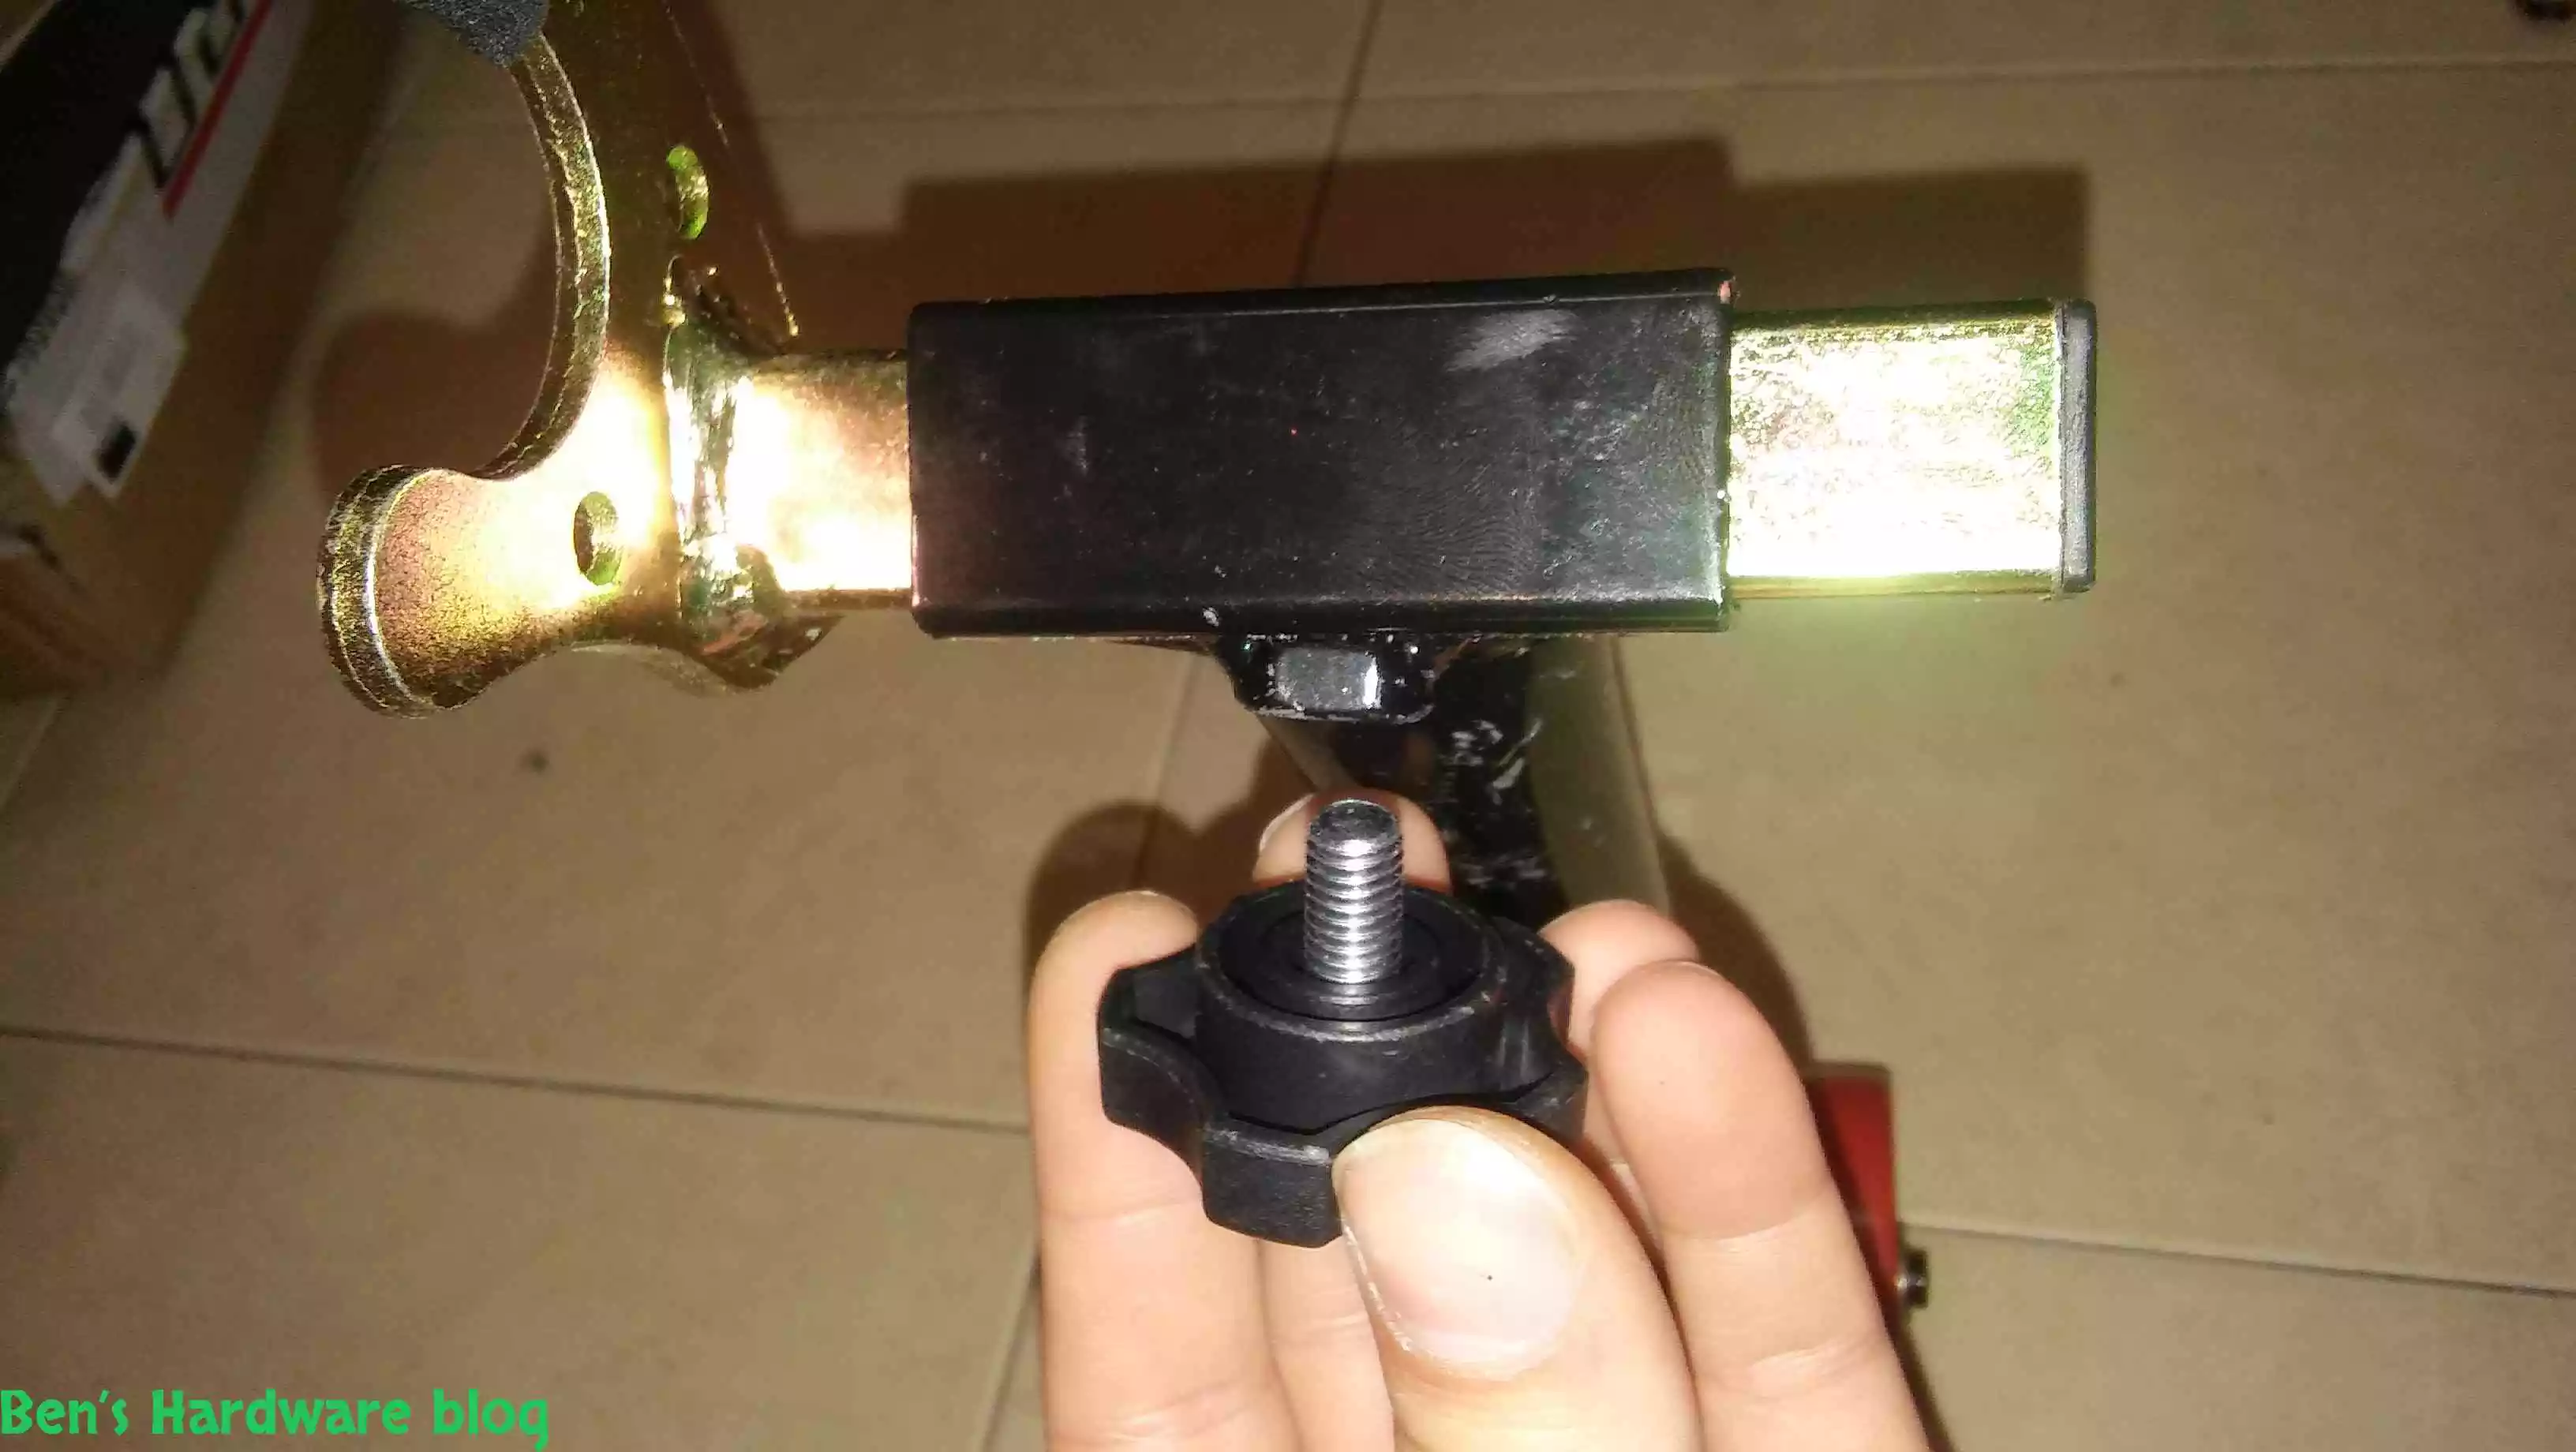
Assembly:
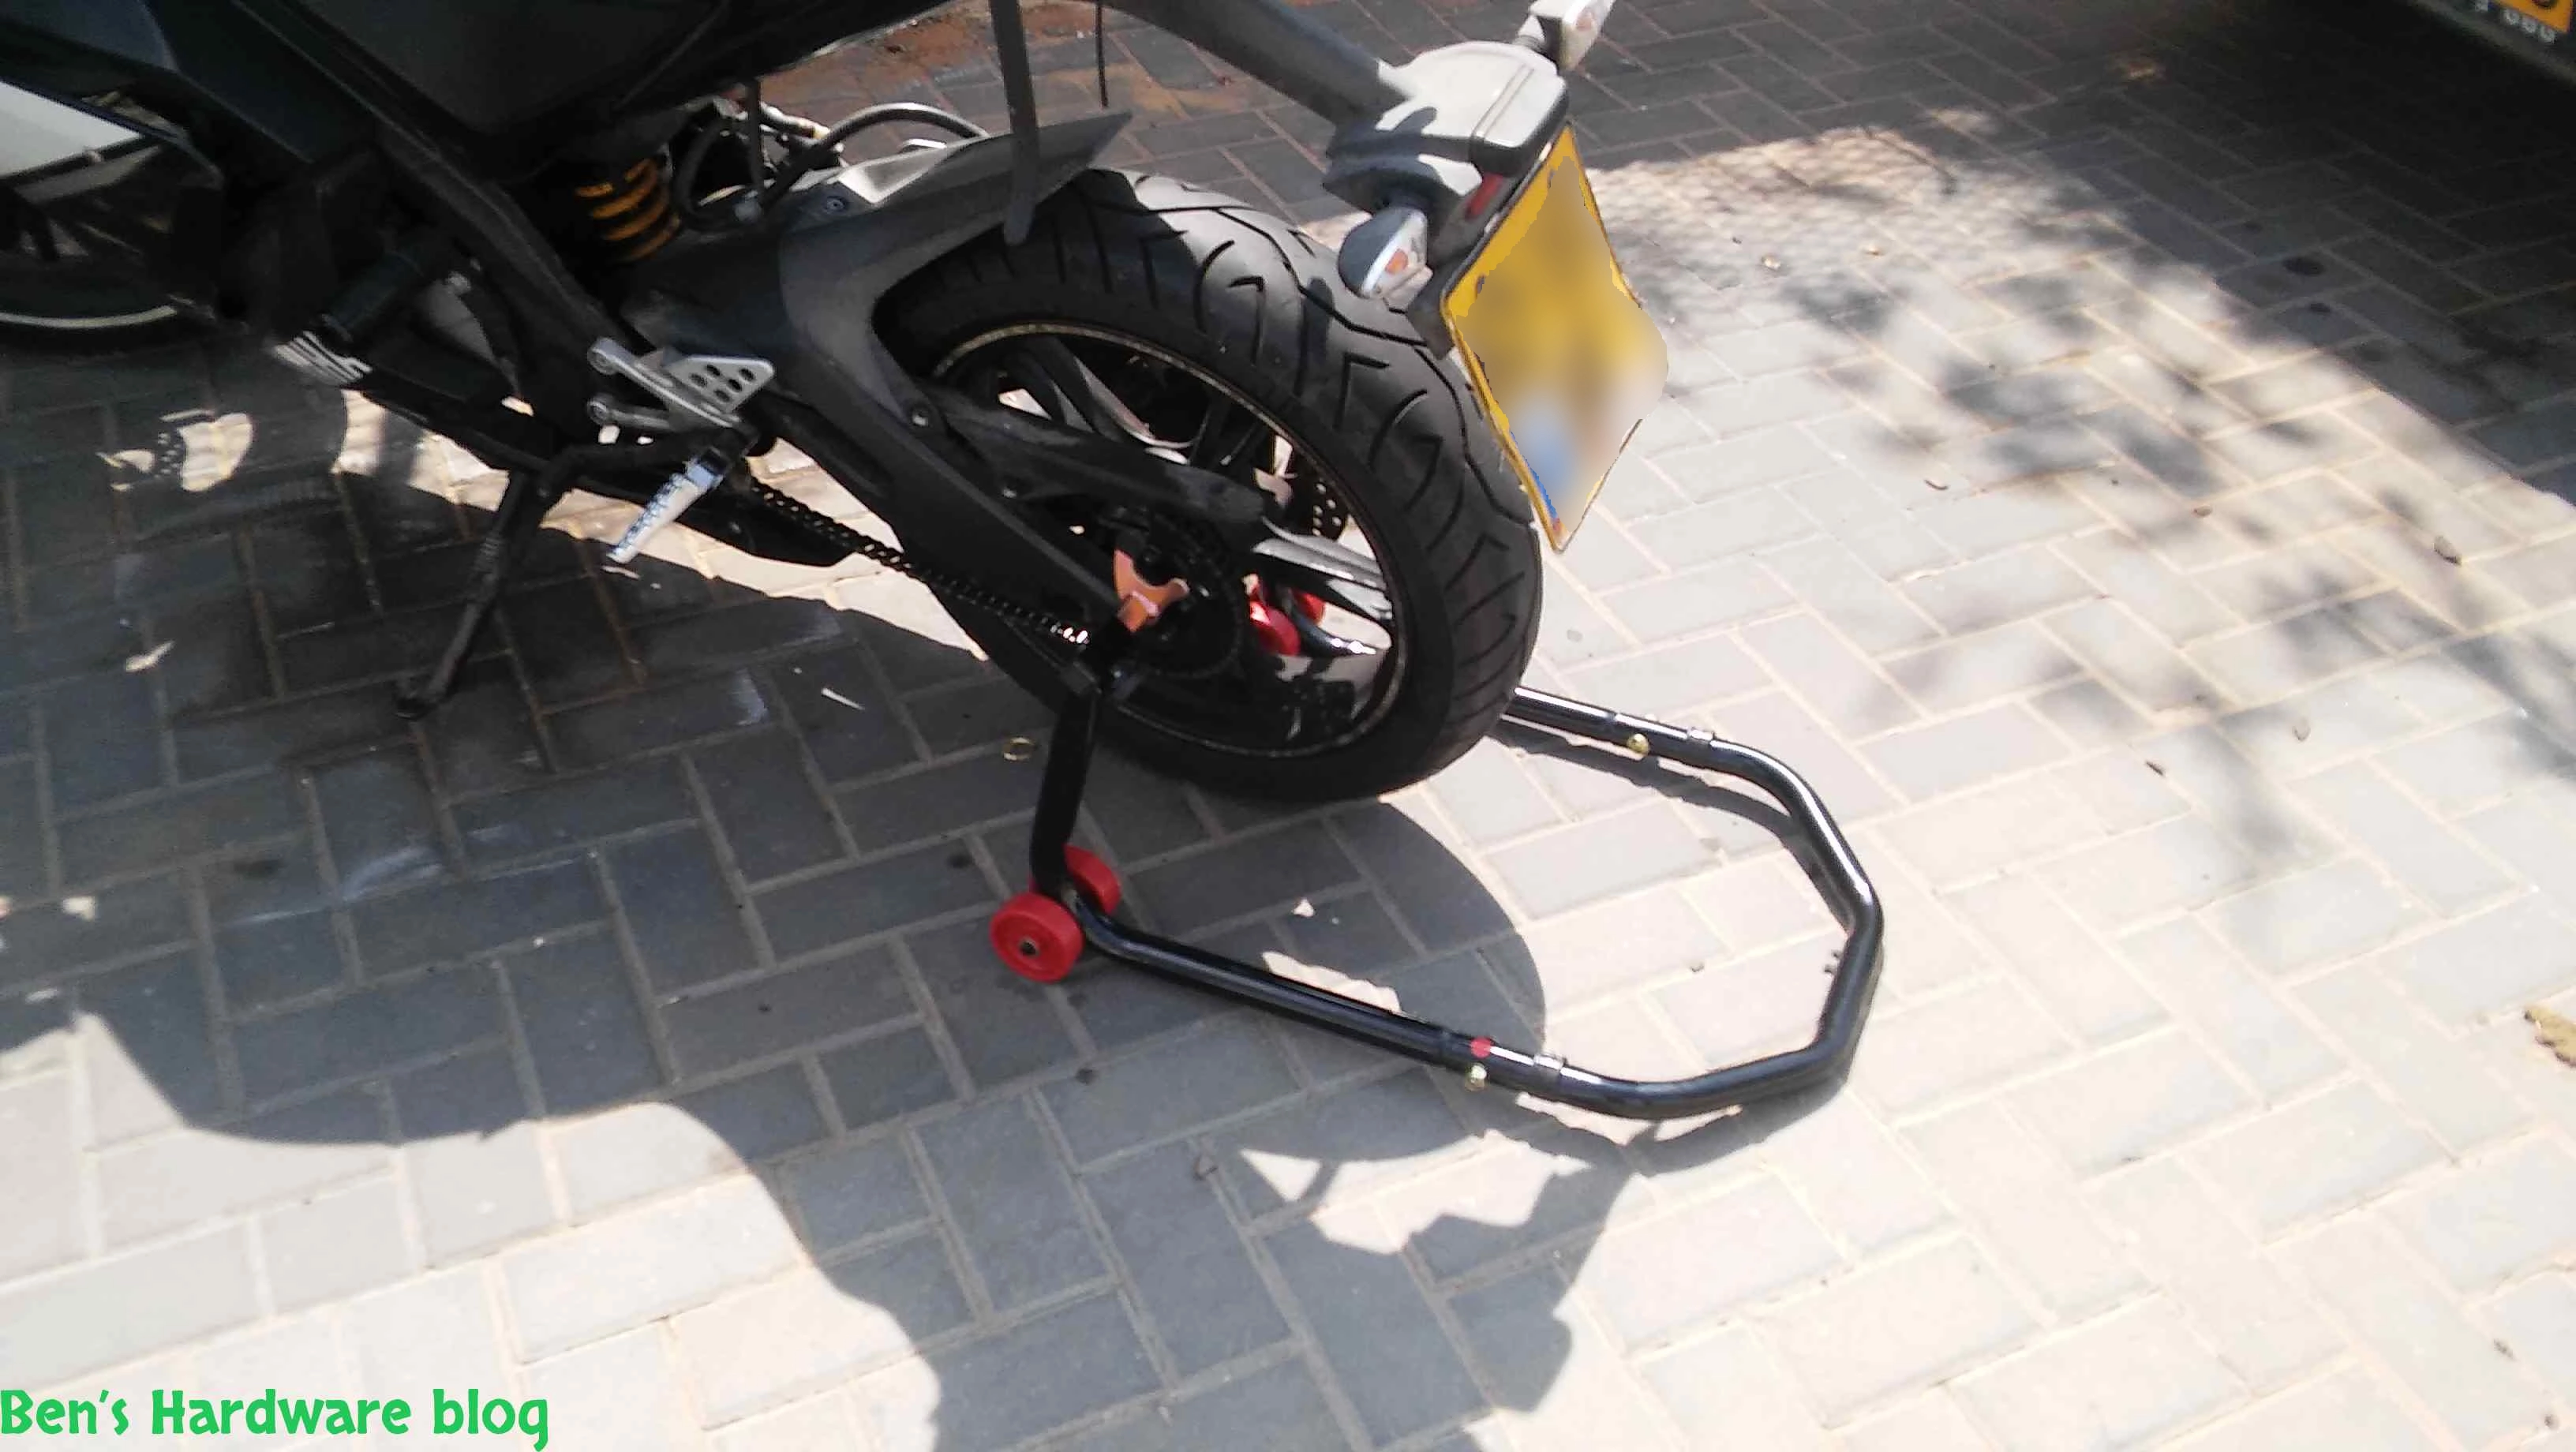
The stand is very simple to assemble due to the simple fact its parts are a few and big. The main part is the arched handlebar part that connects the two parallel wheeled stands. These two wheeled stand eventually connect at their ends to the part that comes into contact with the motorcycle and creates a physical resistance against it. This resistance, when is supplemented with force applied to the handlebar part of the stand, lifts the rear part of the motorcycle upwards.
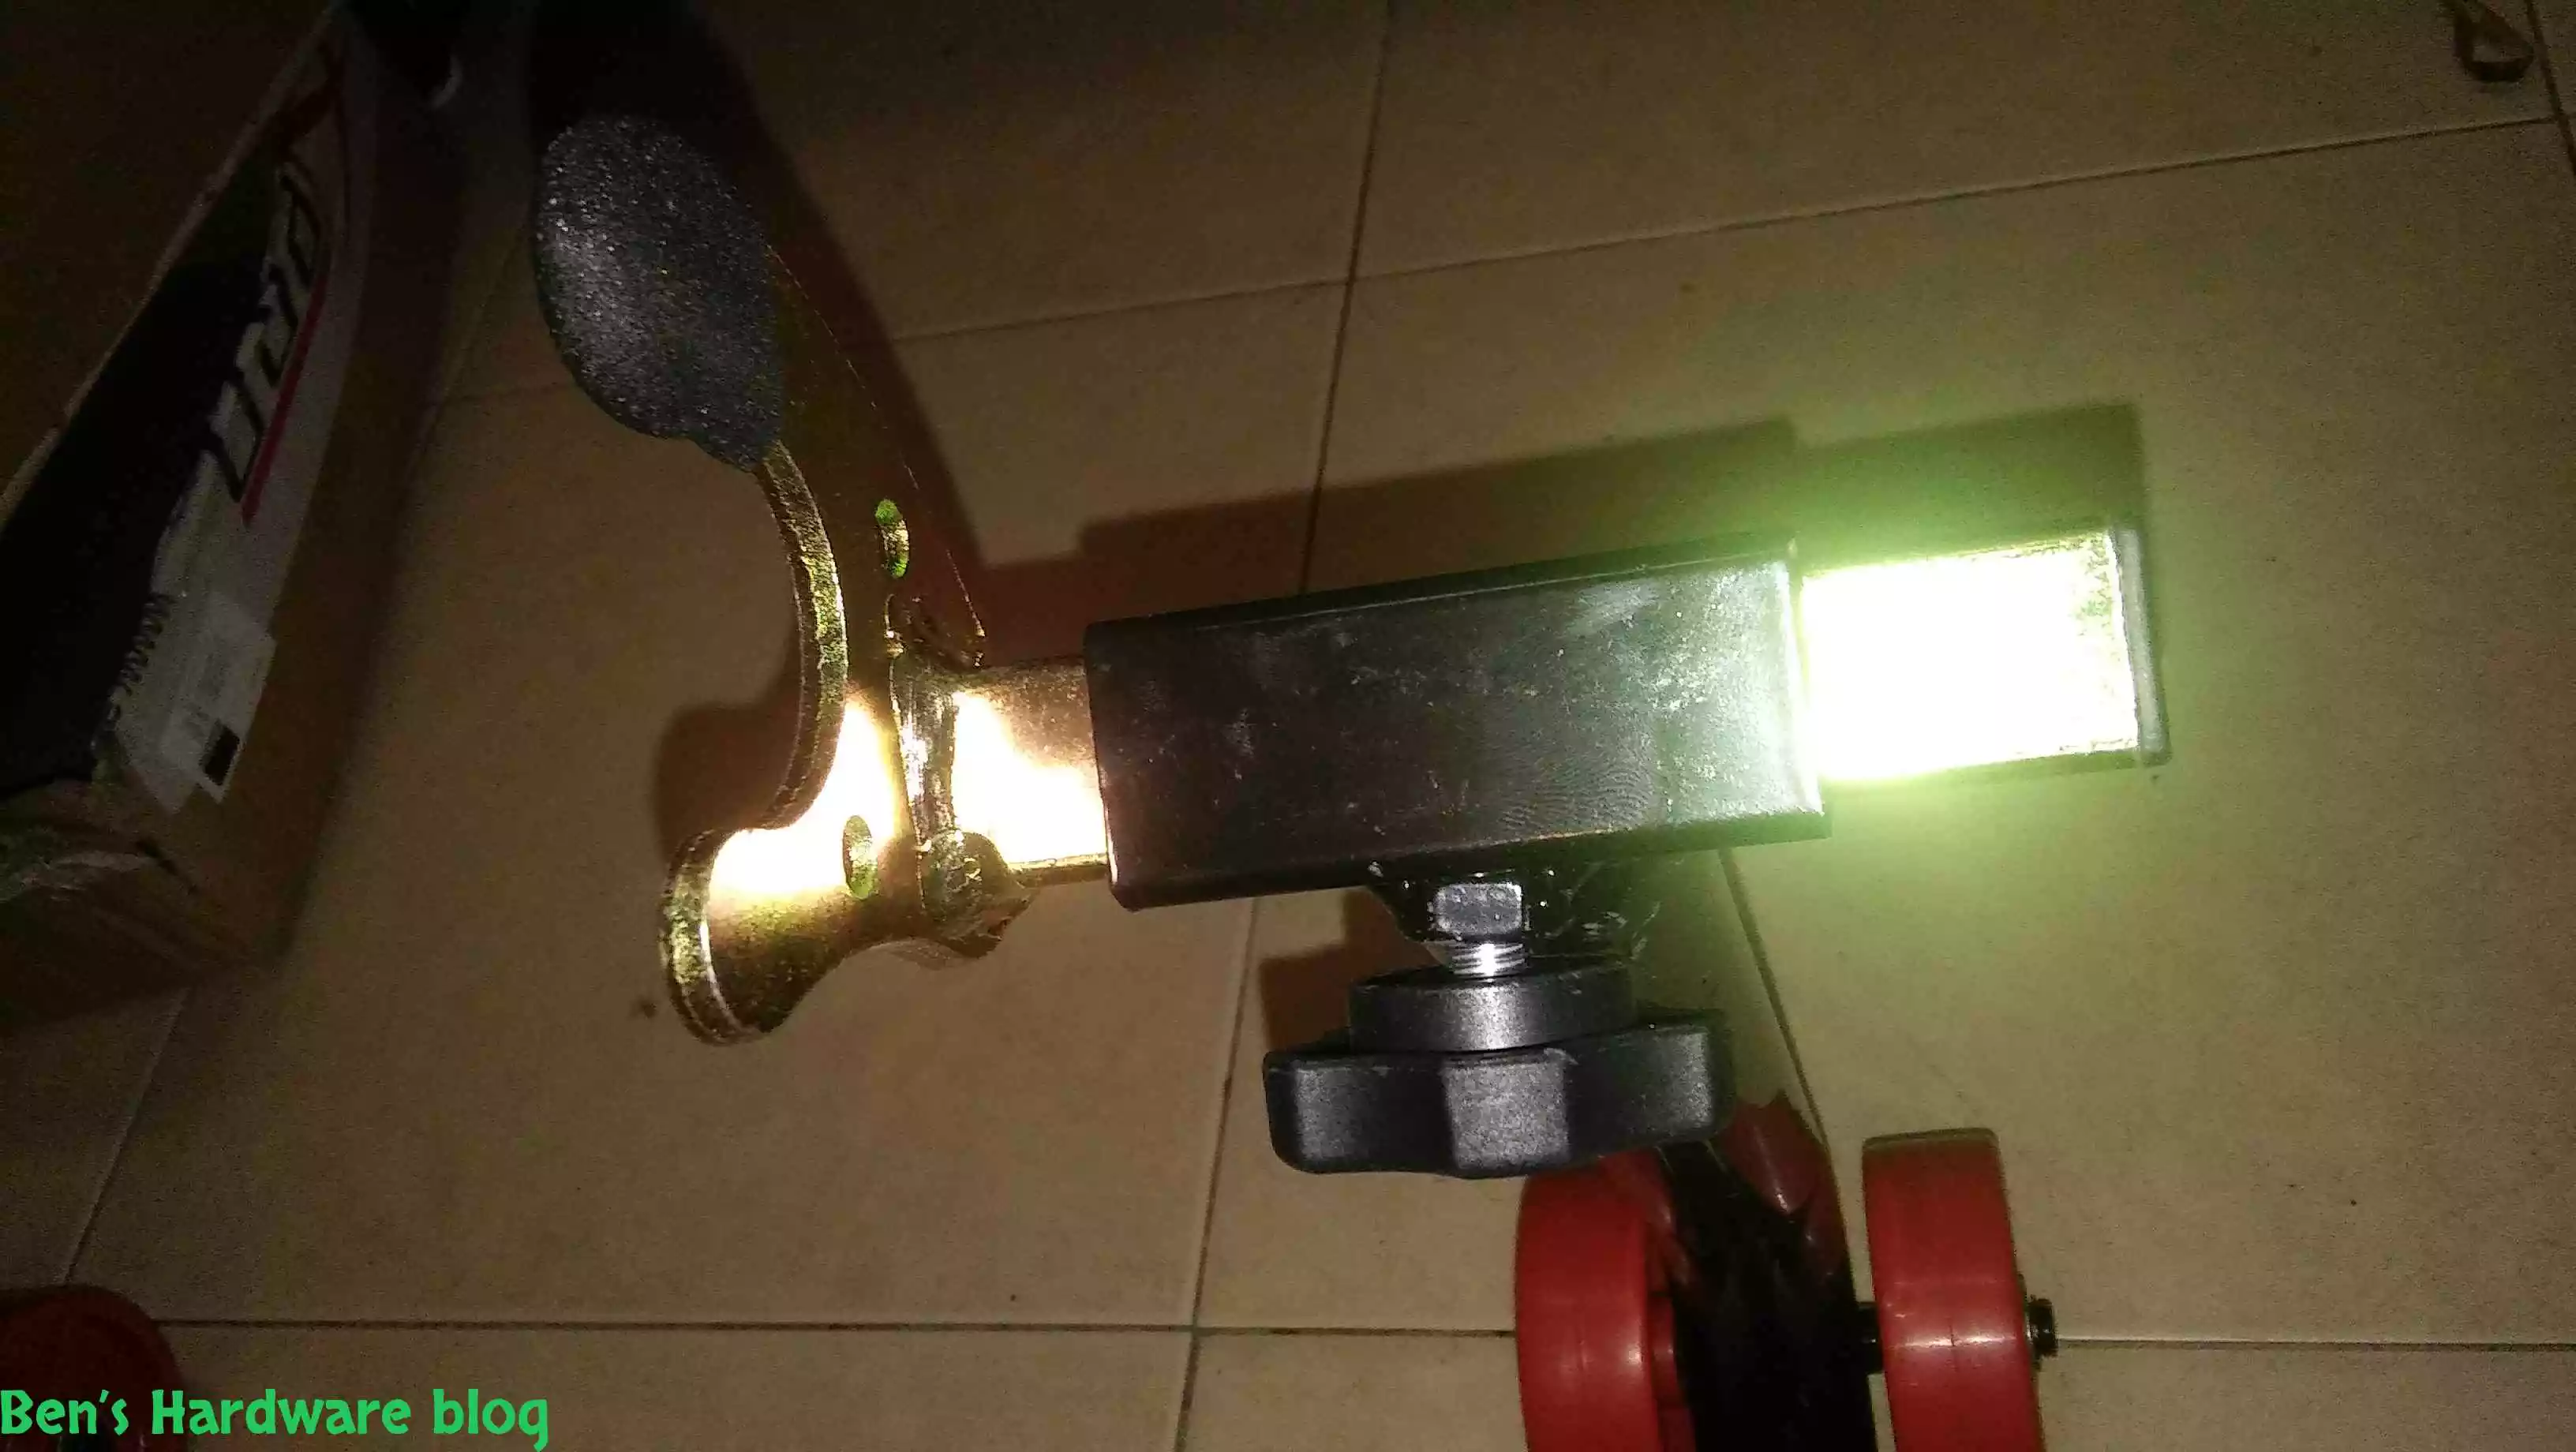
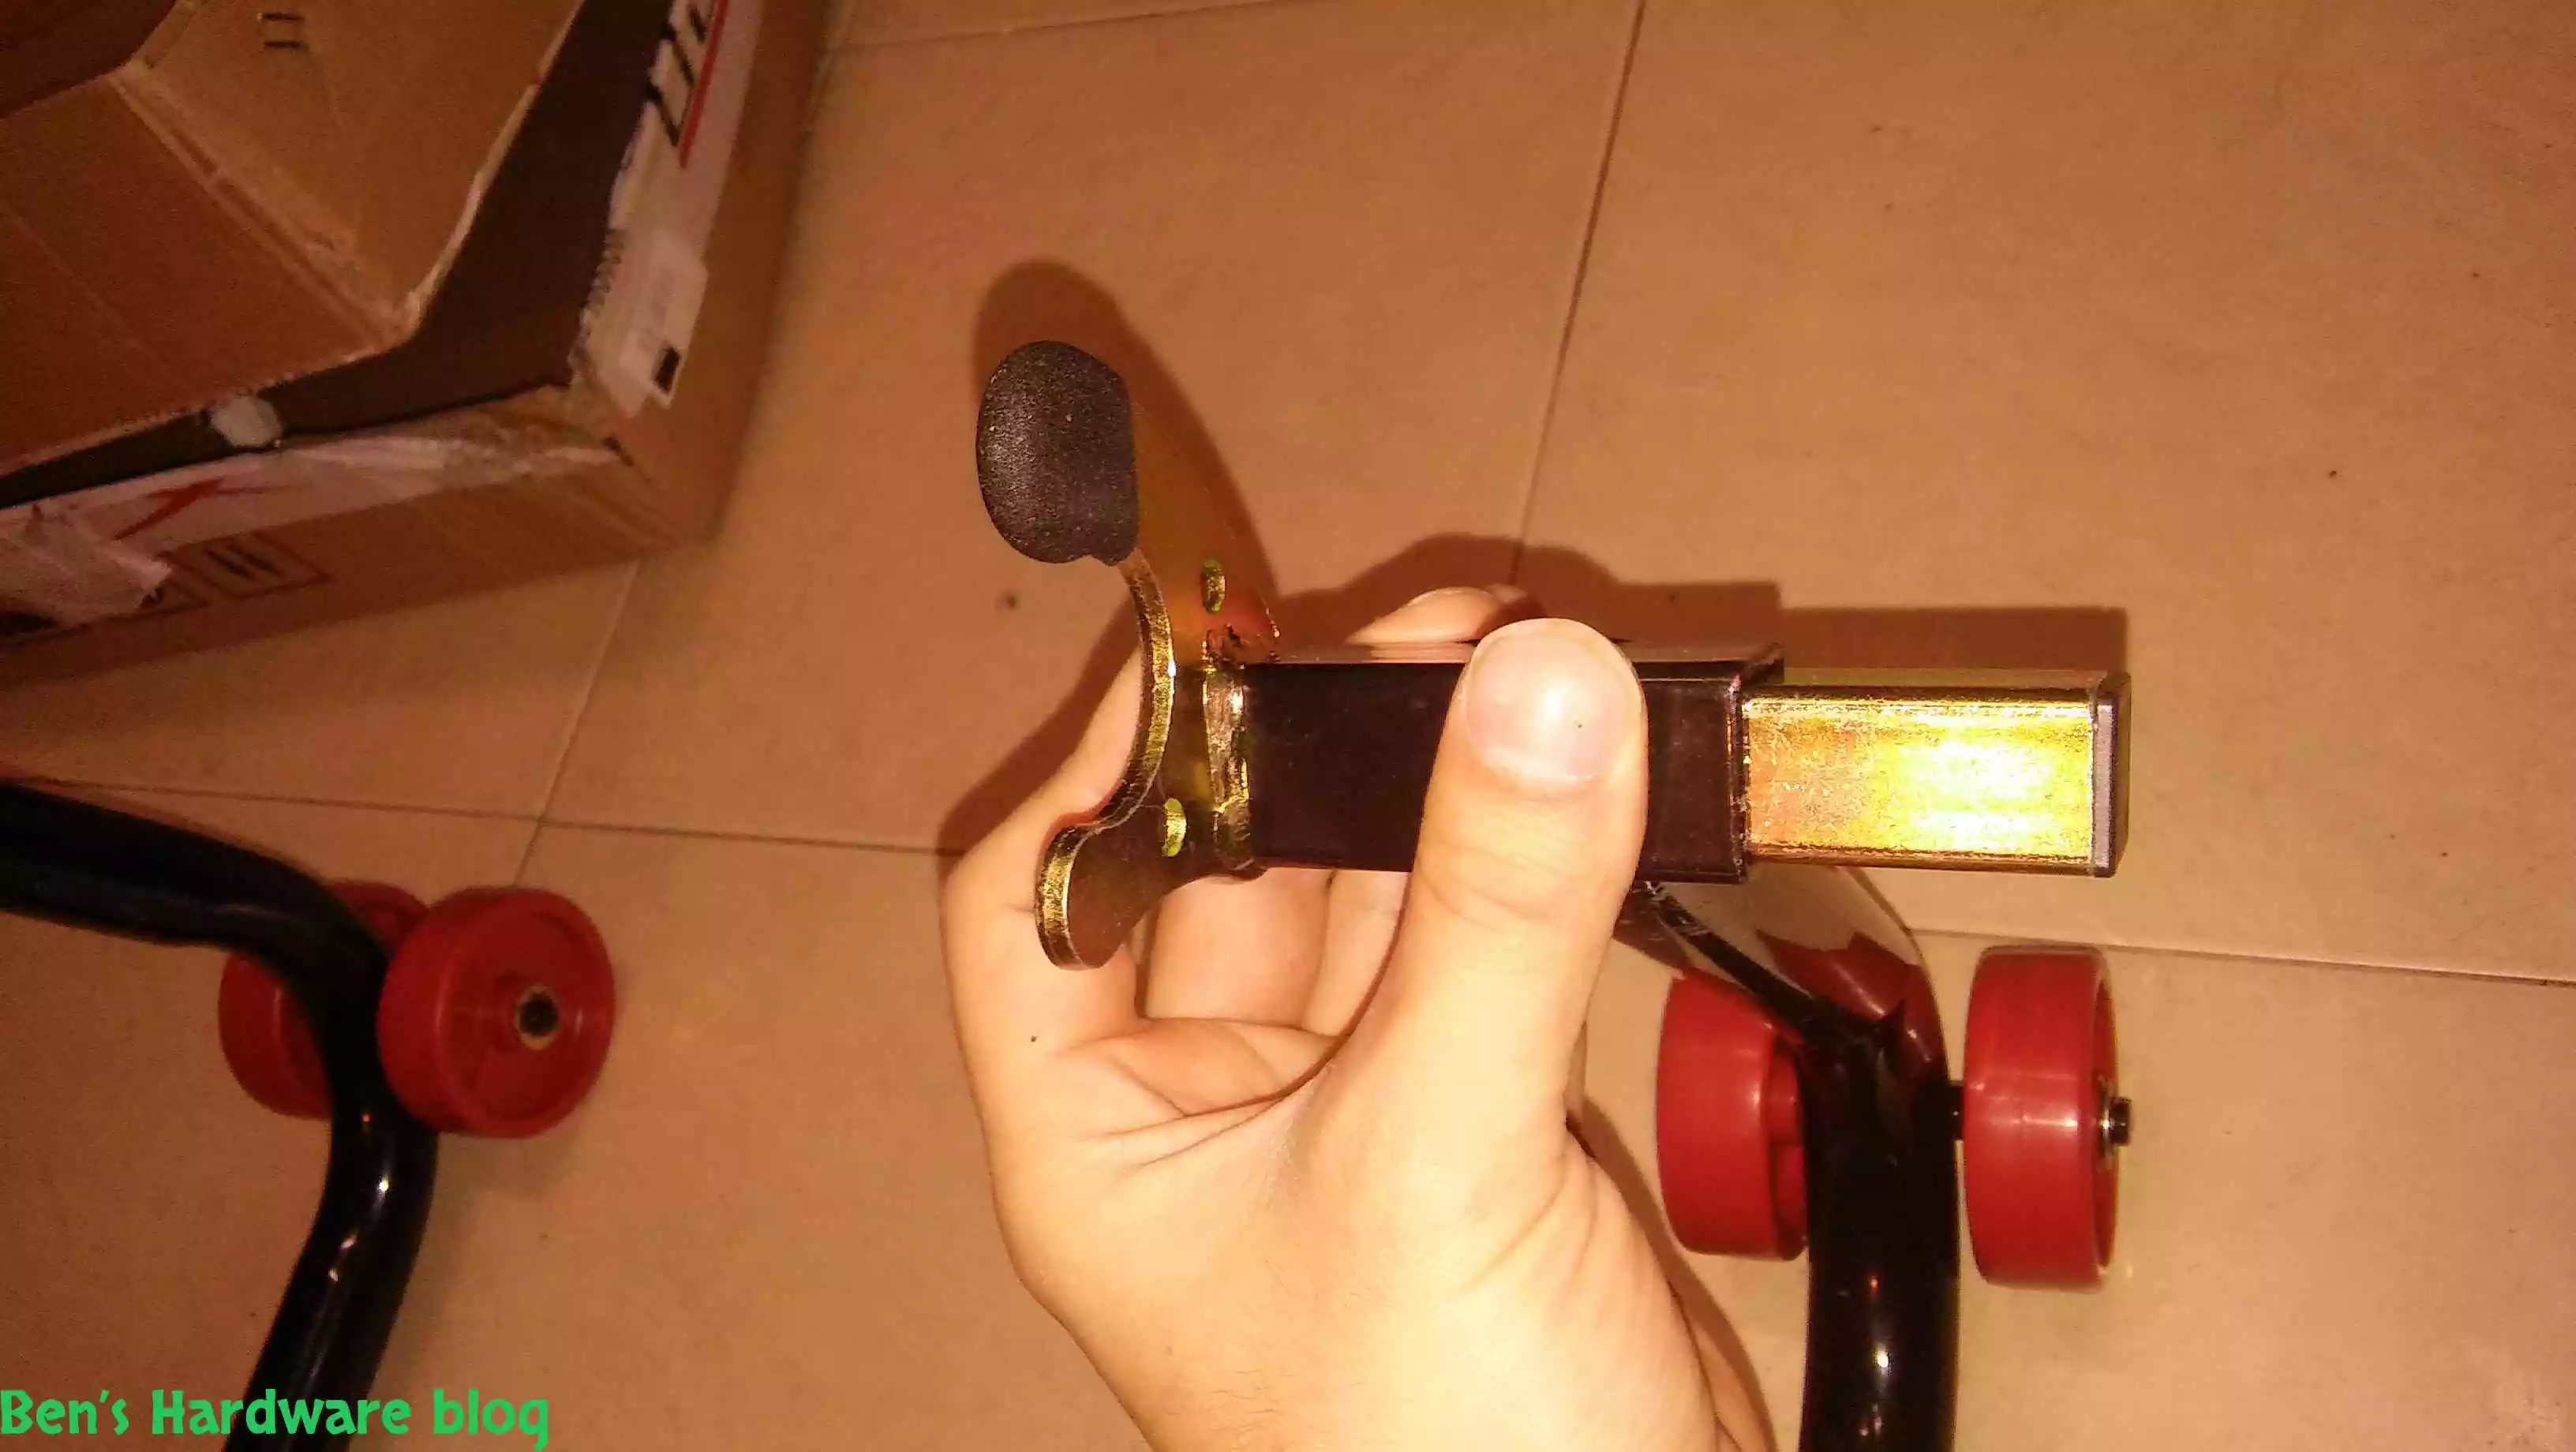
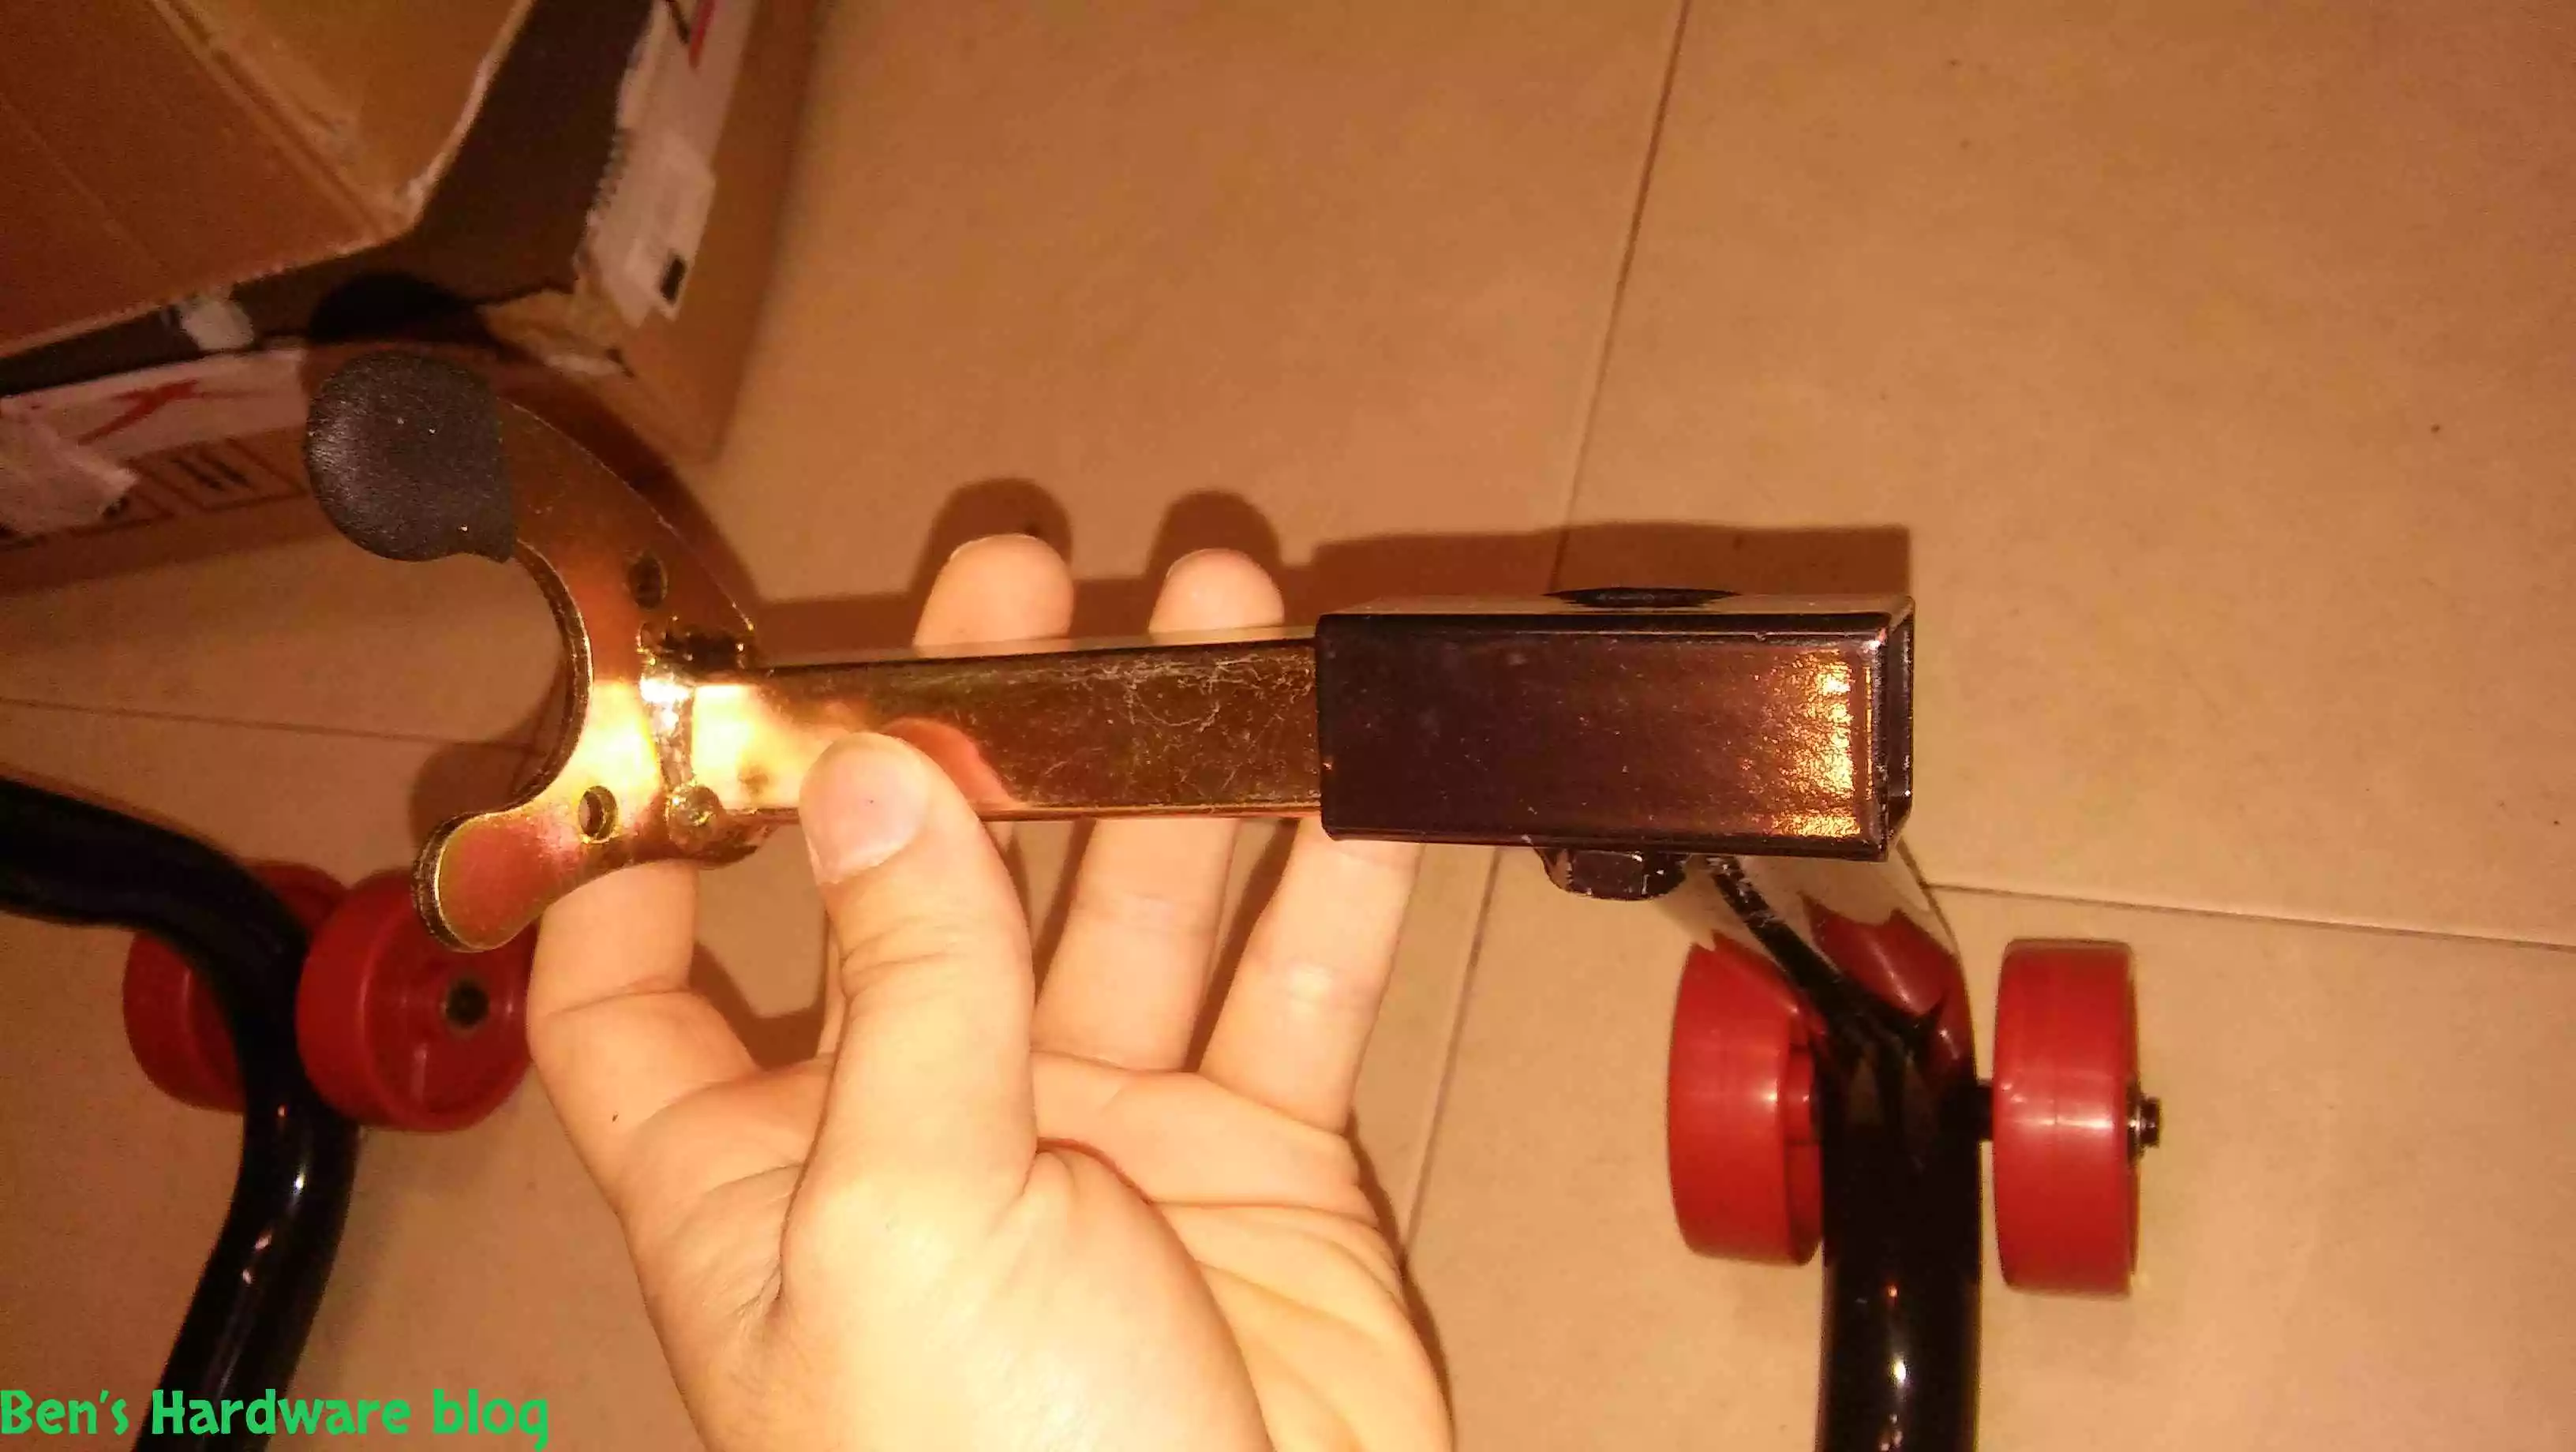
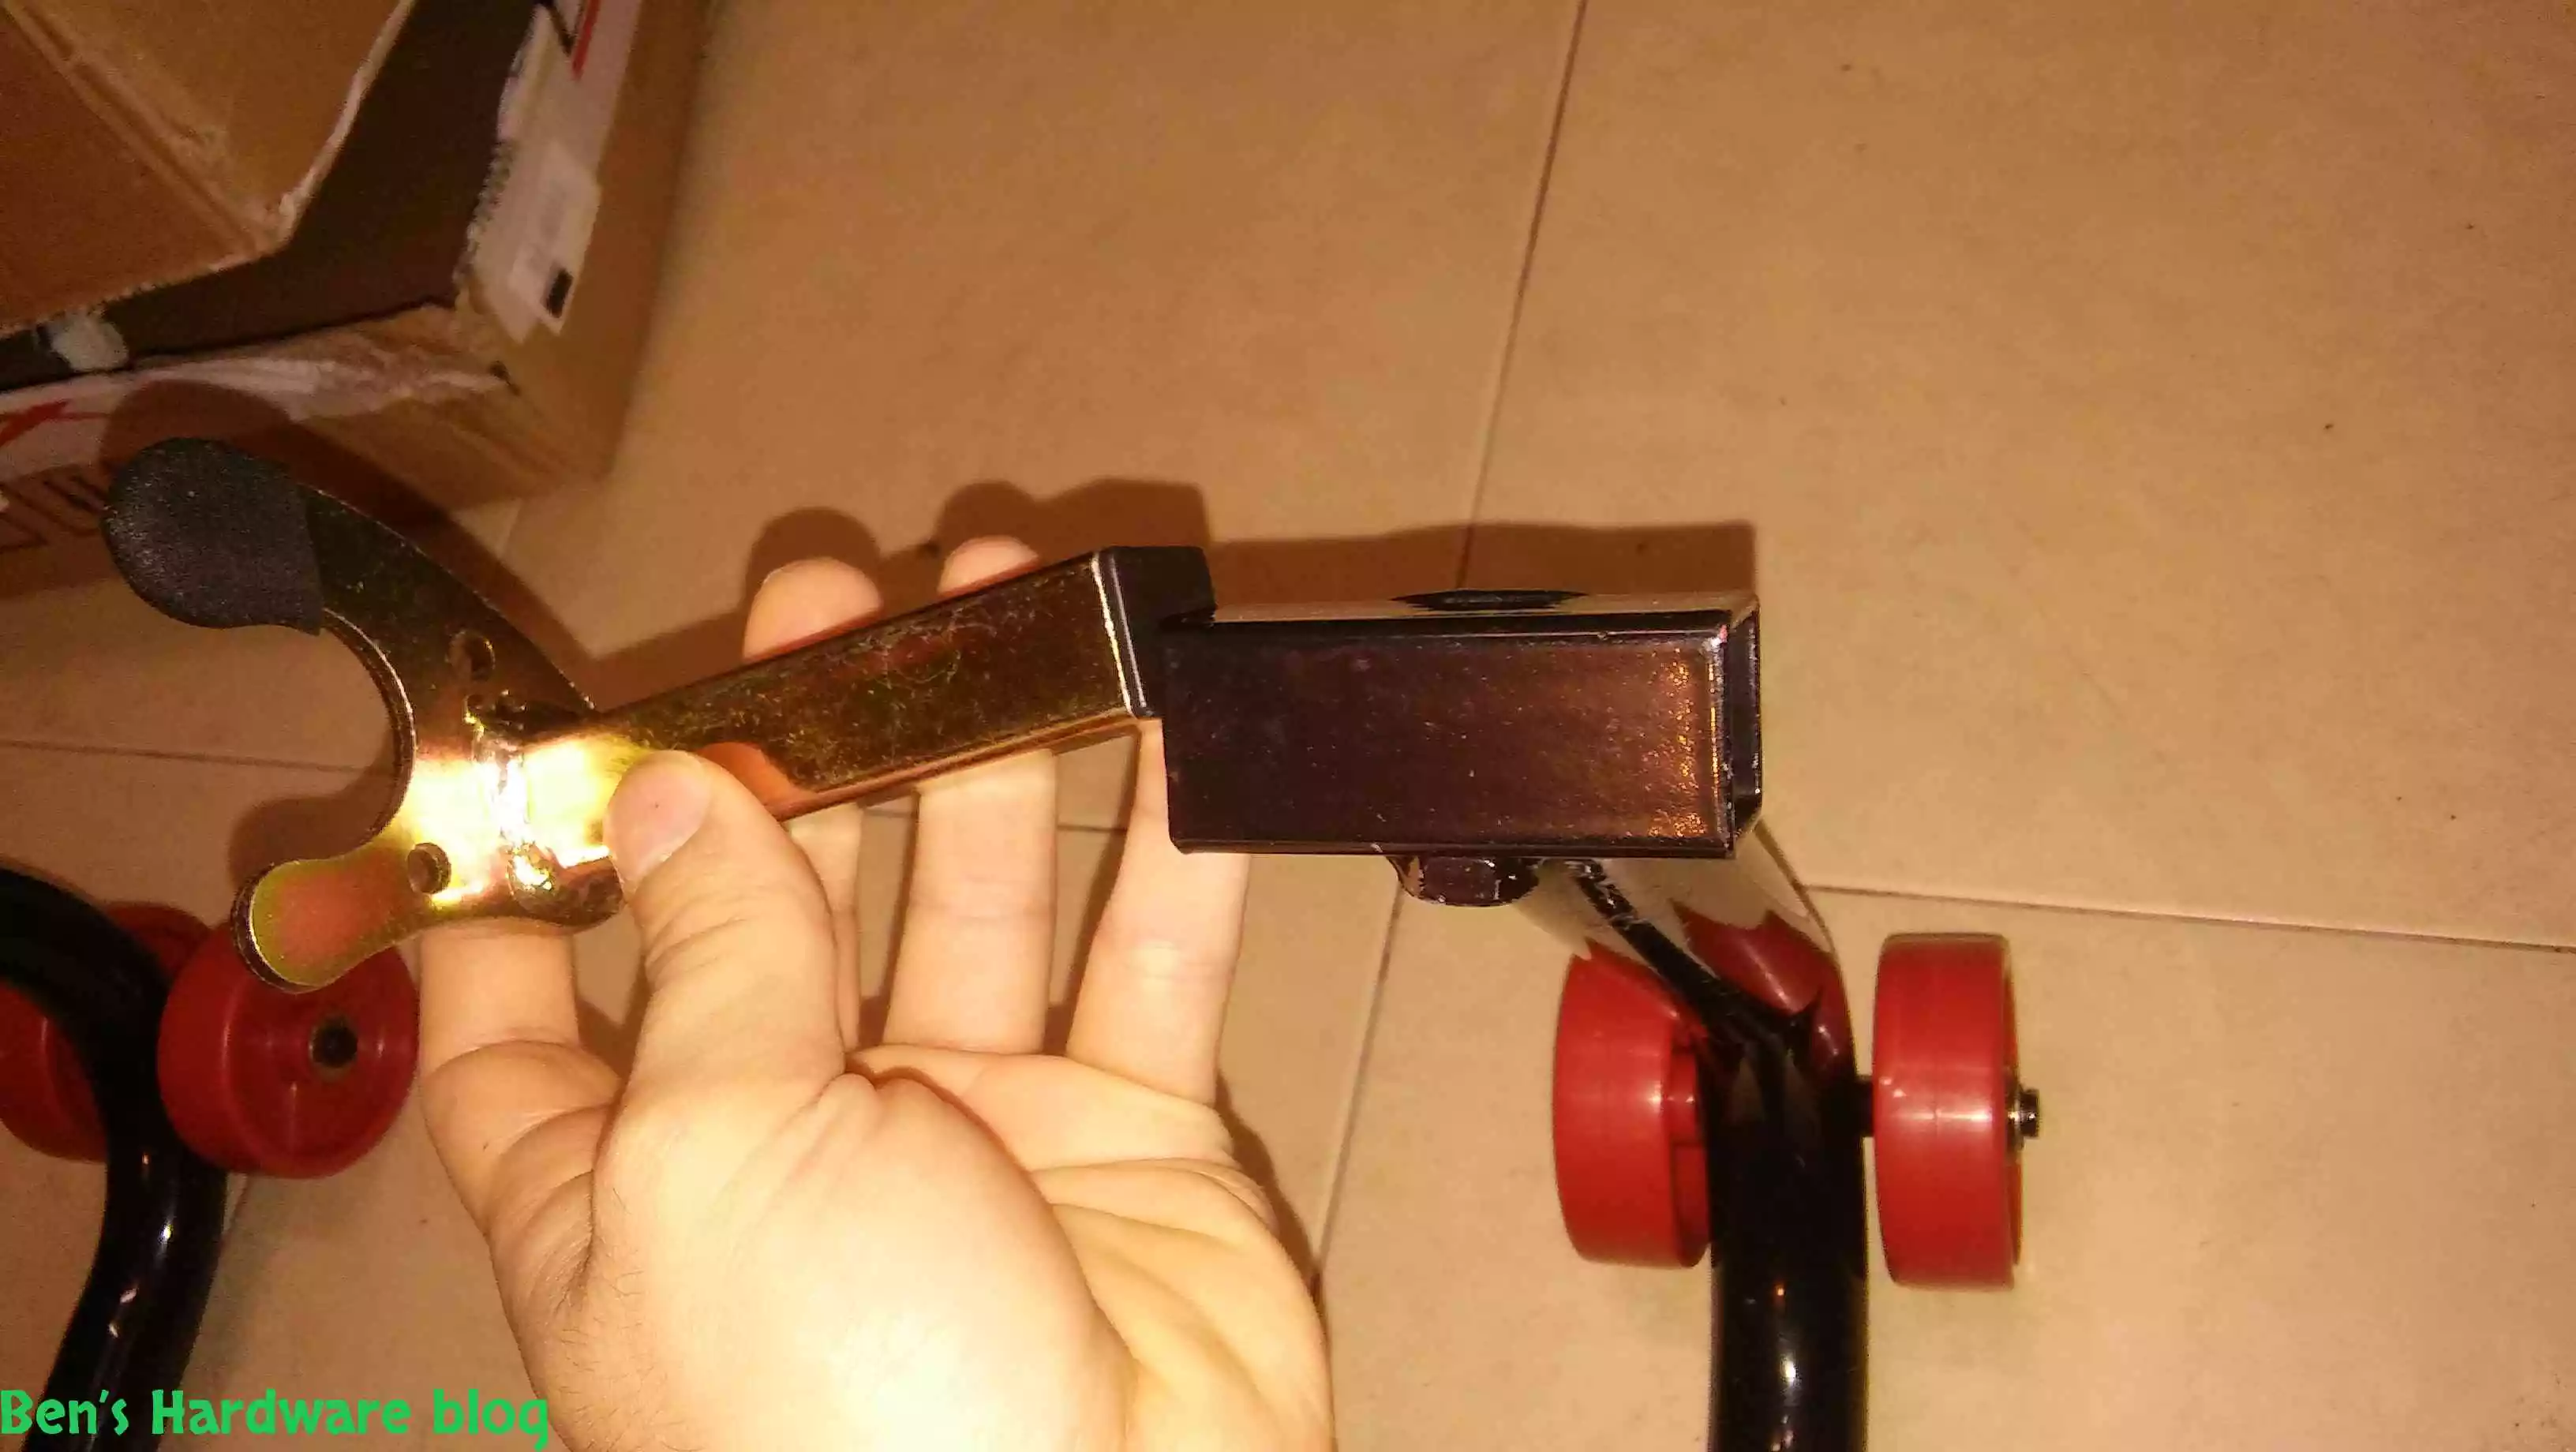
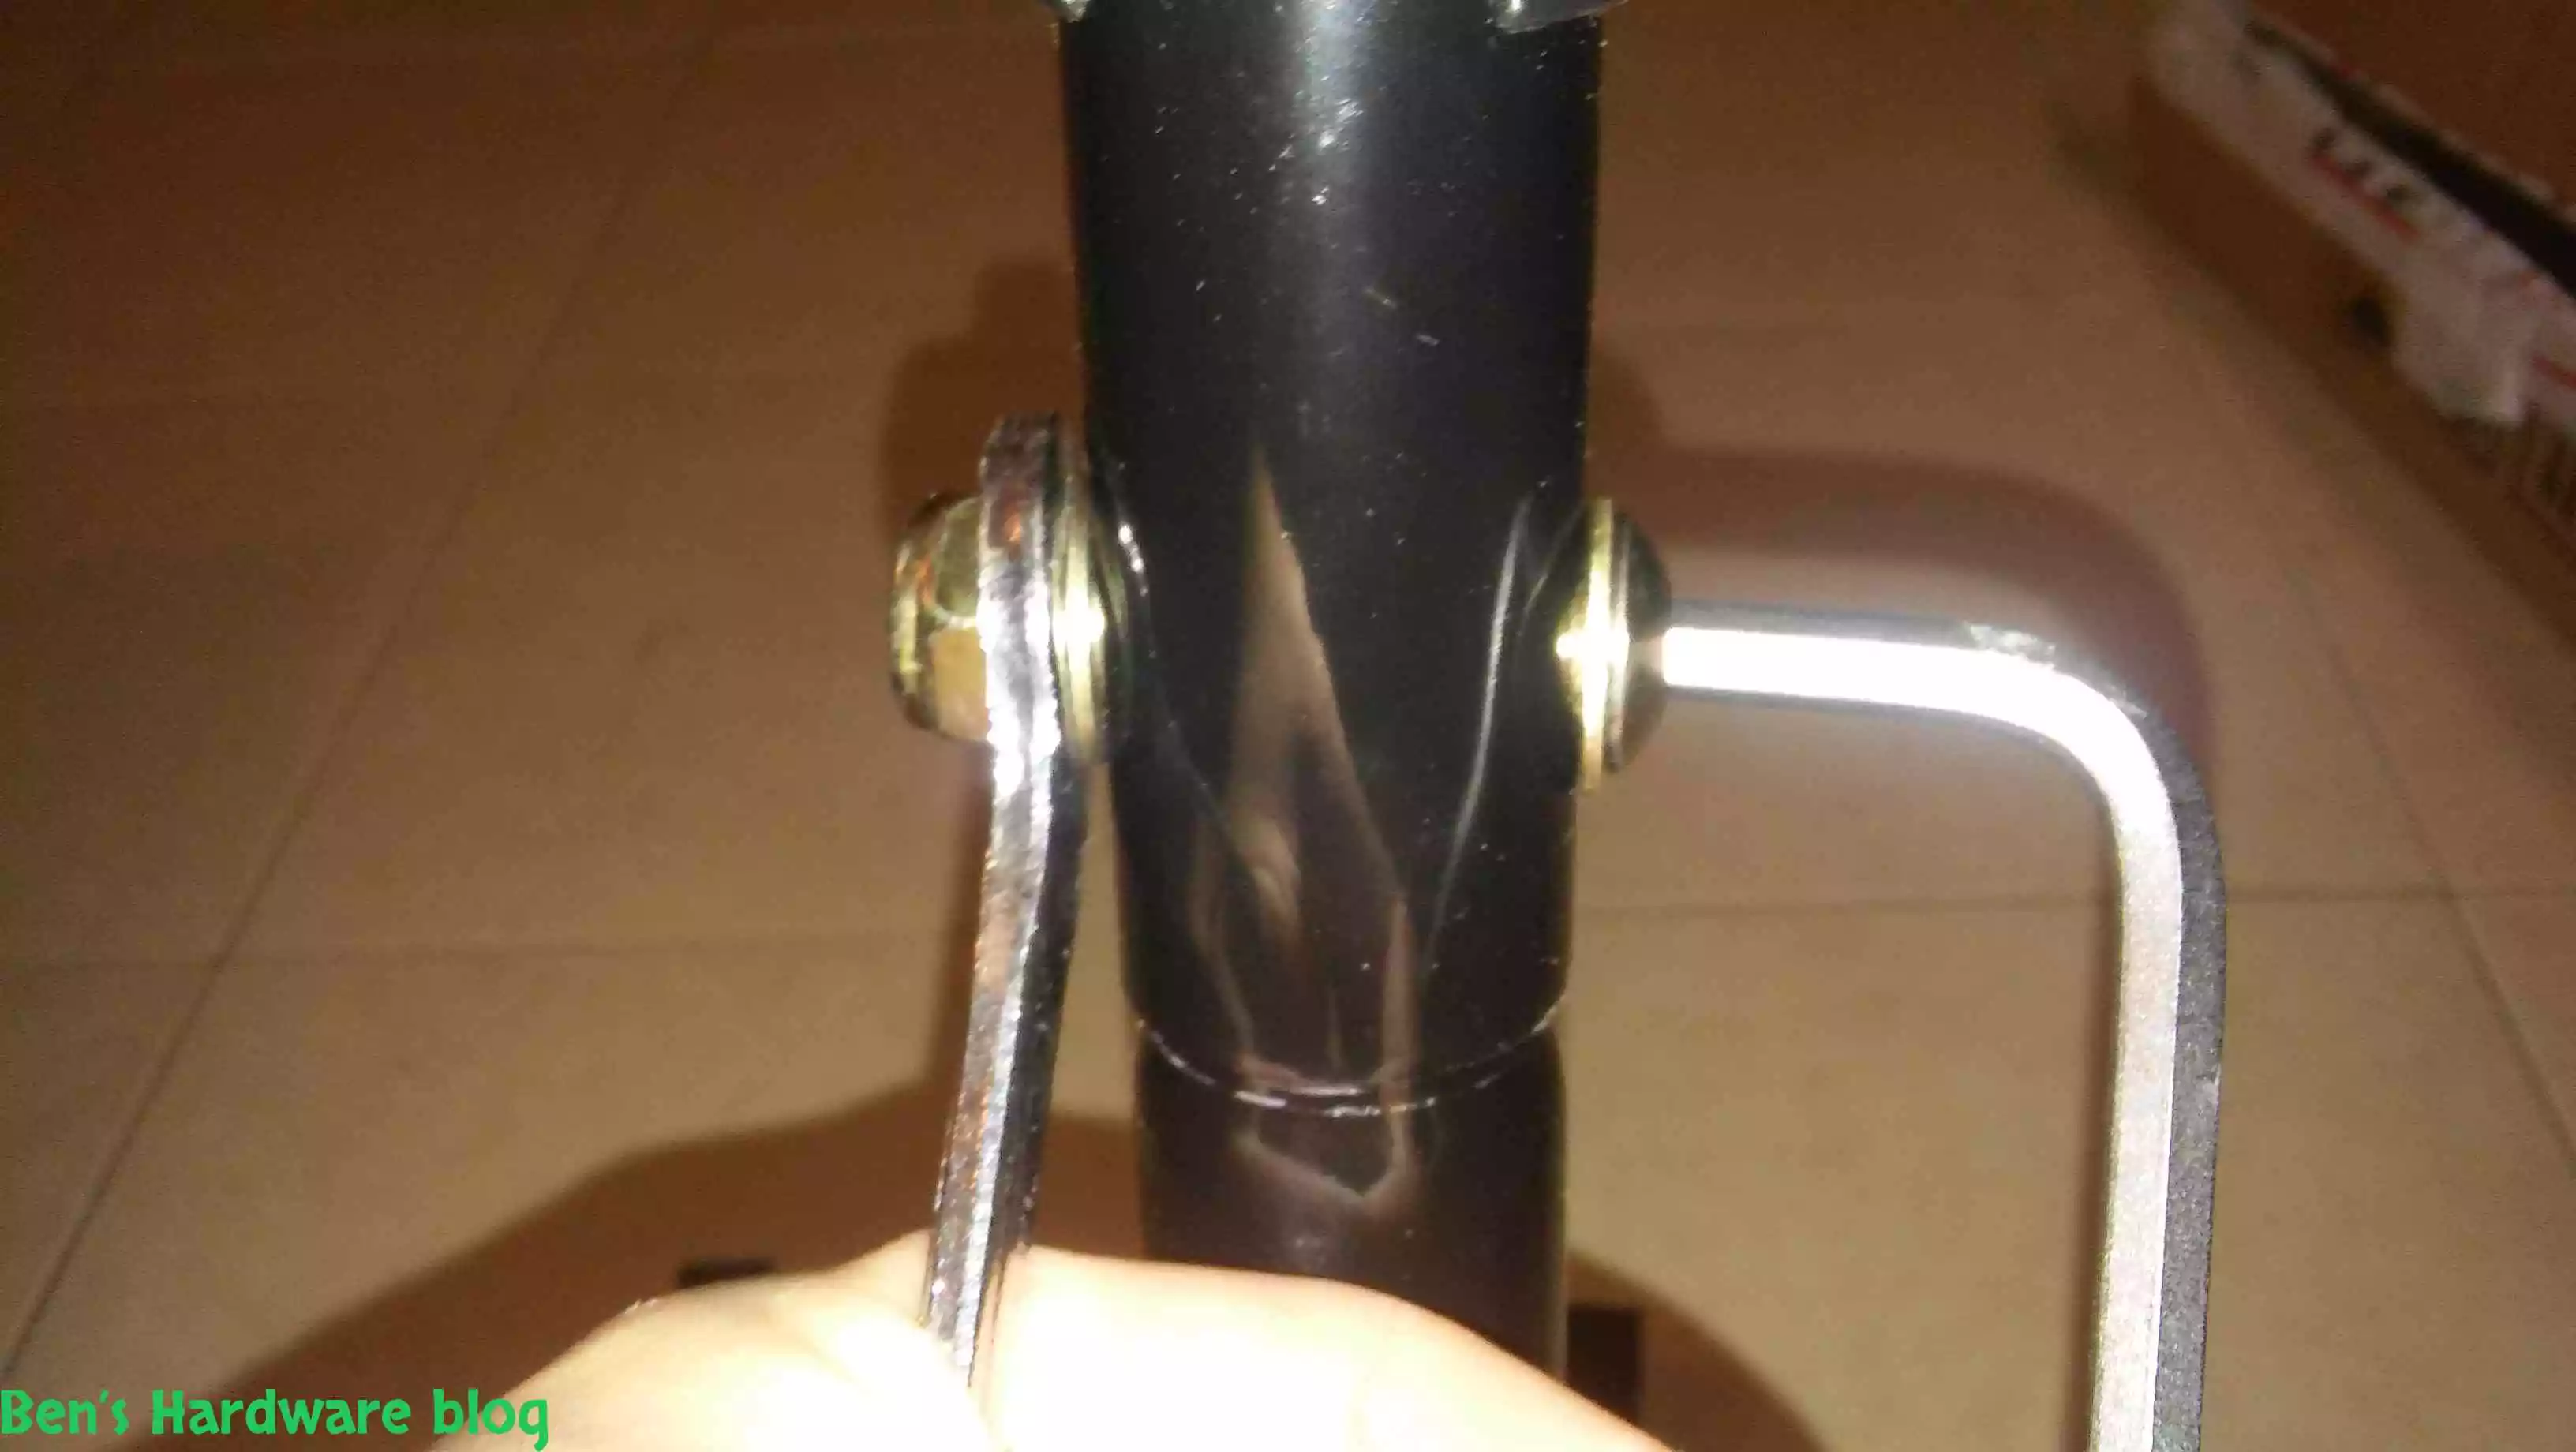
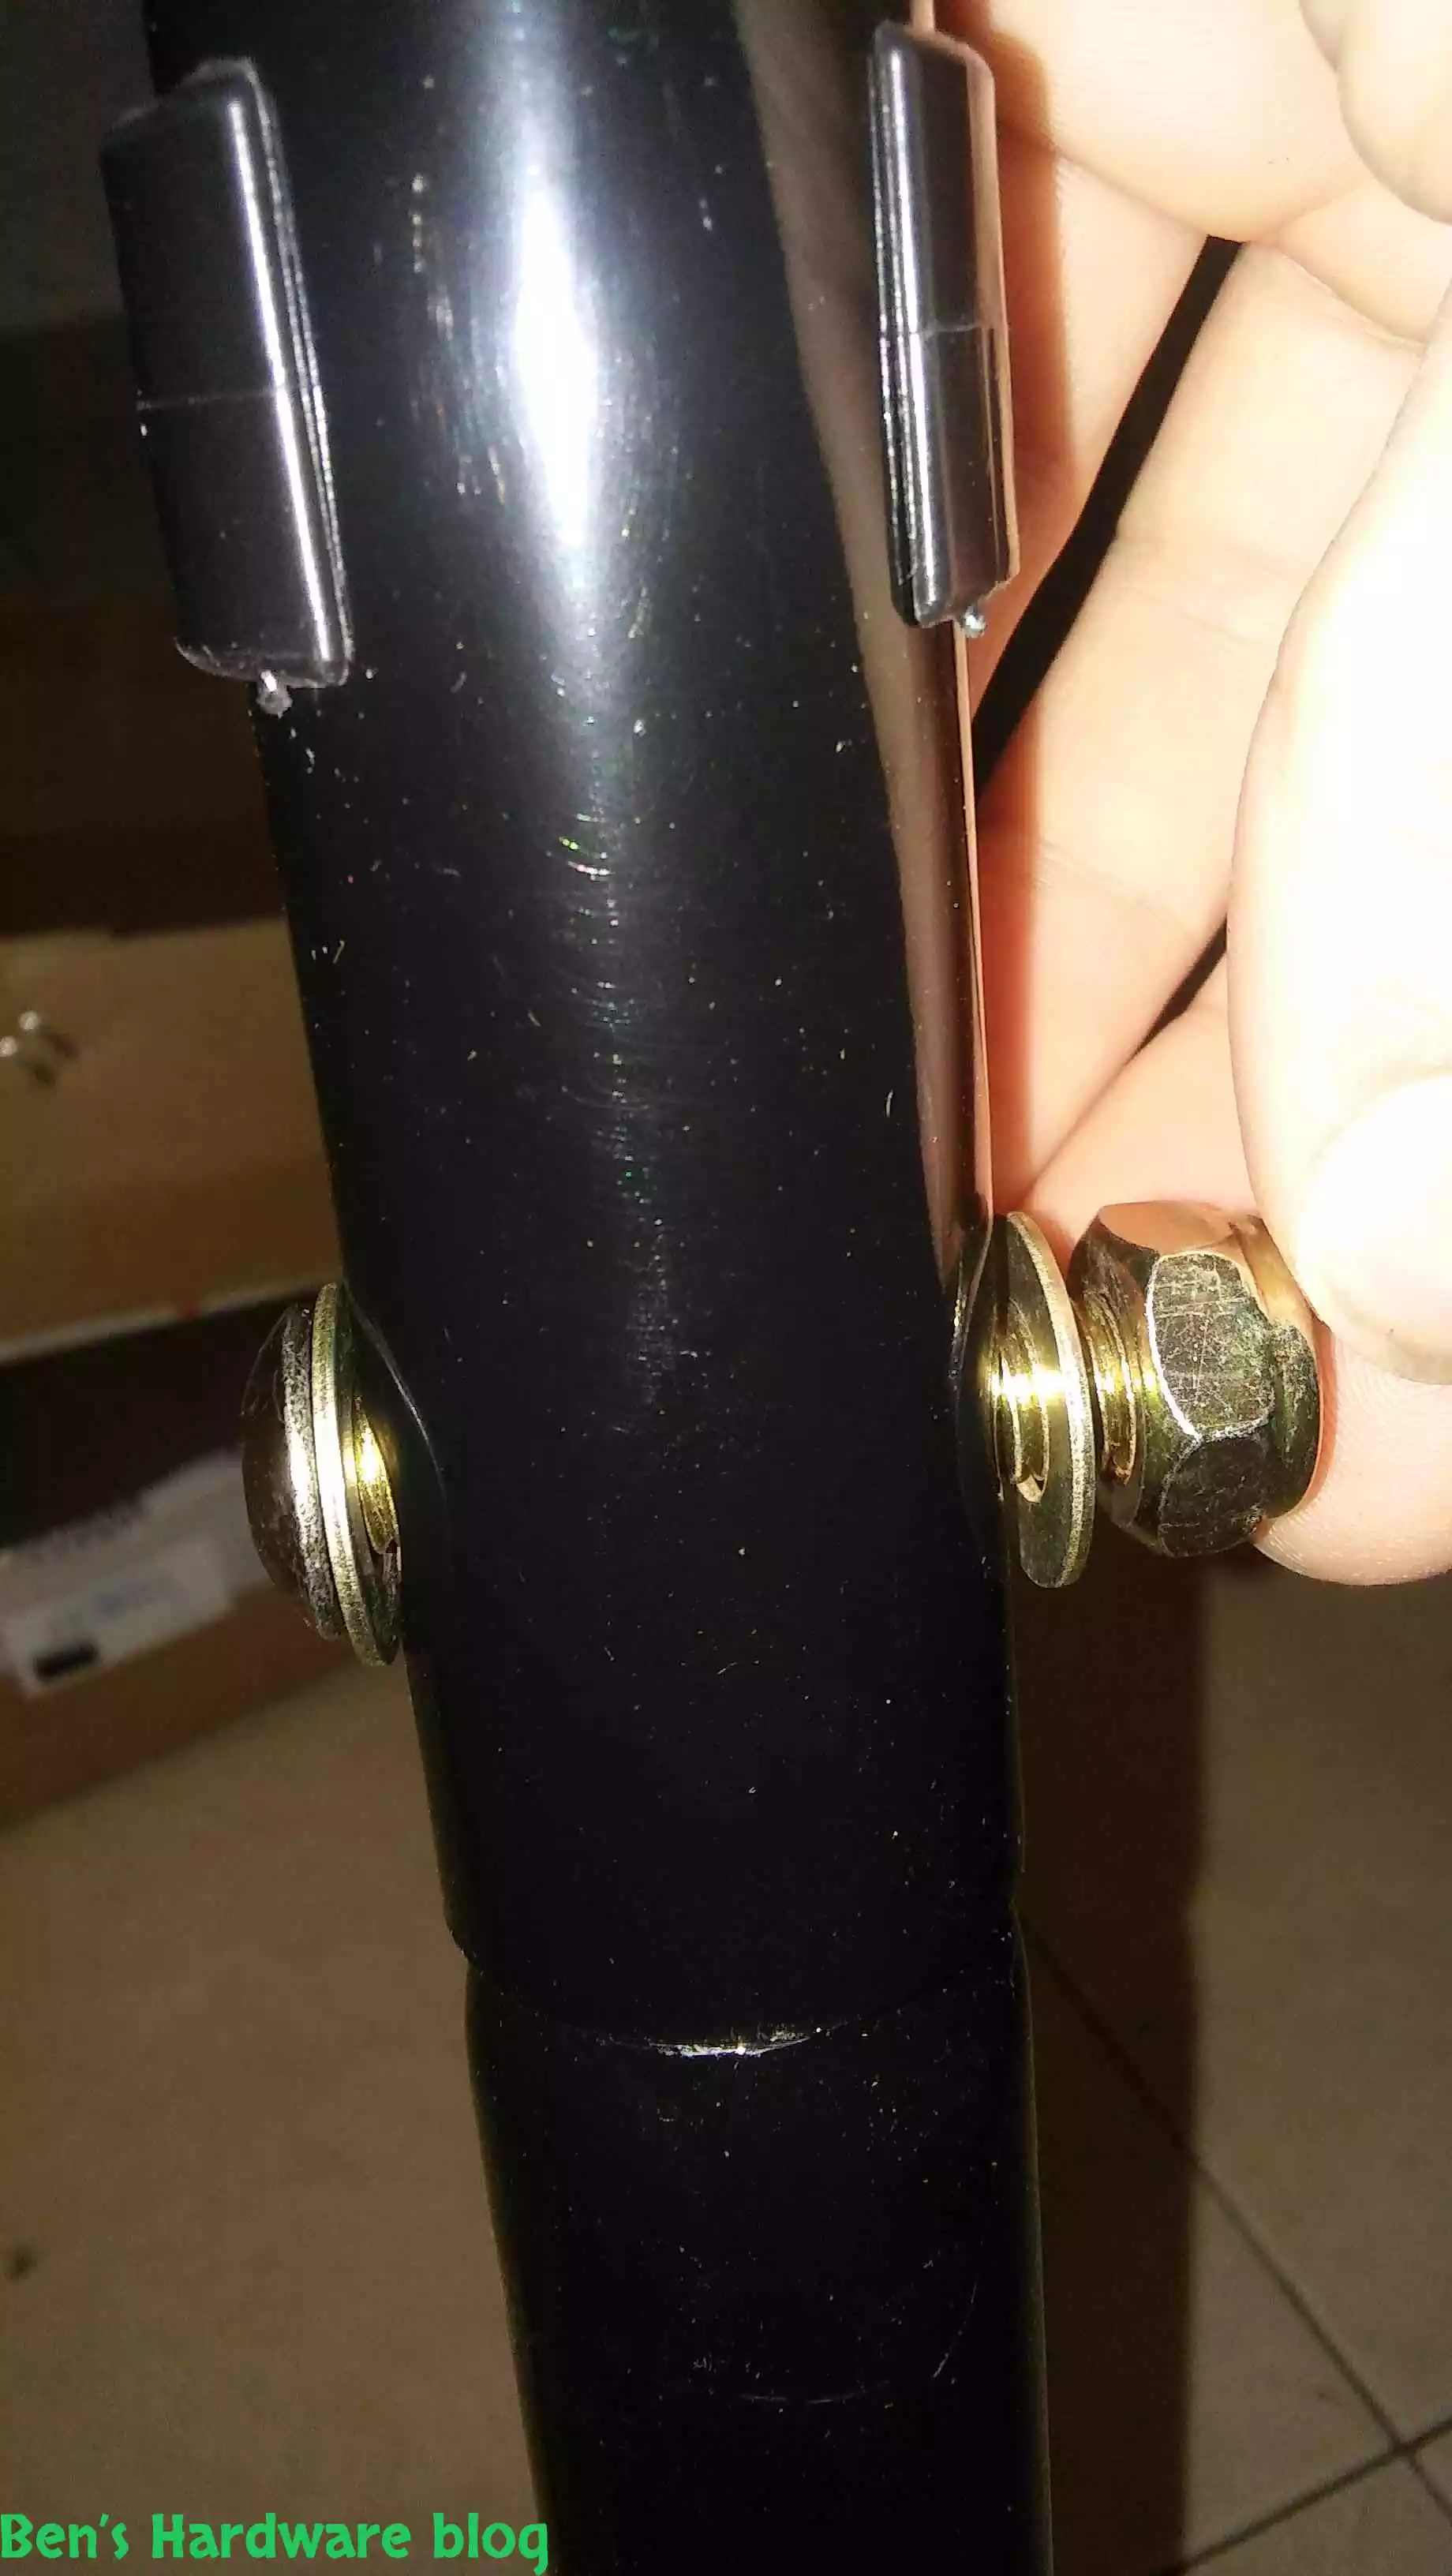
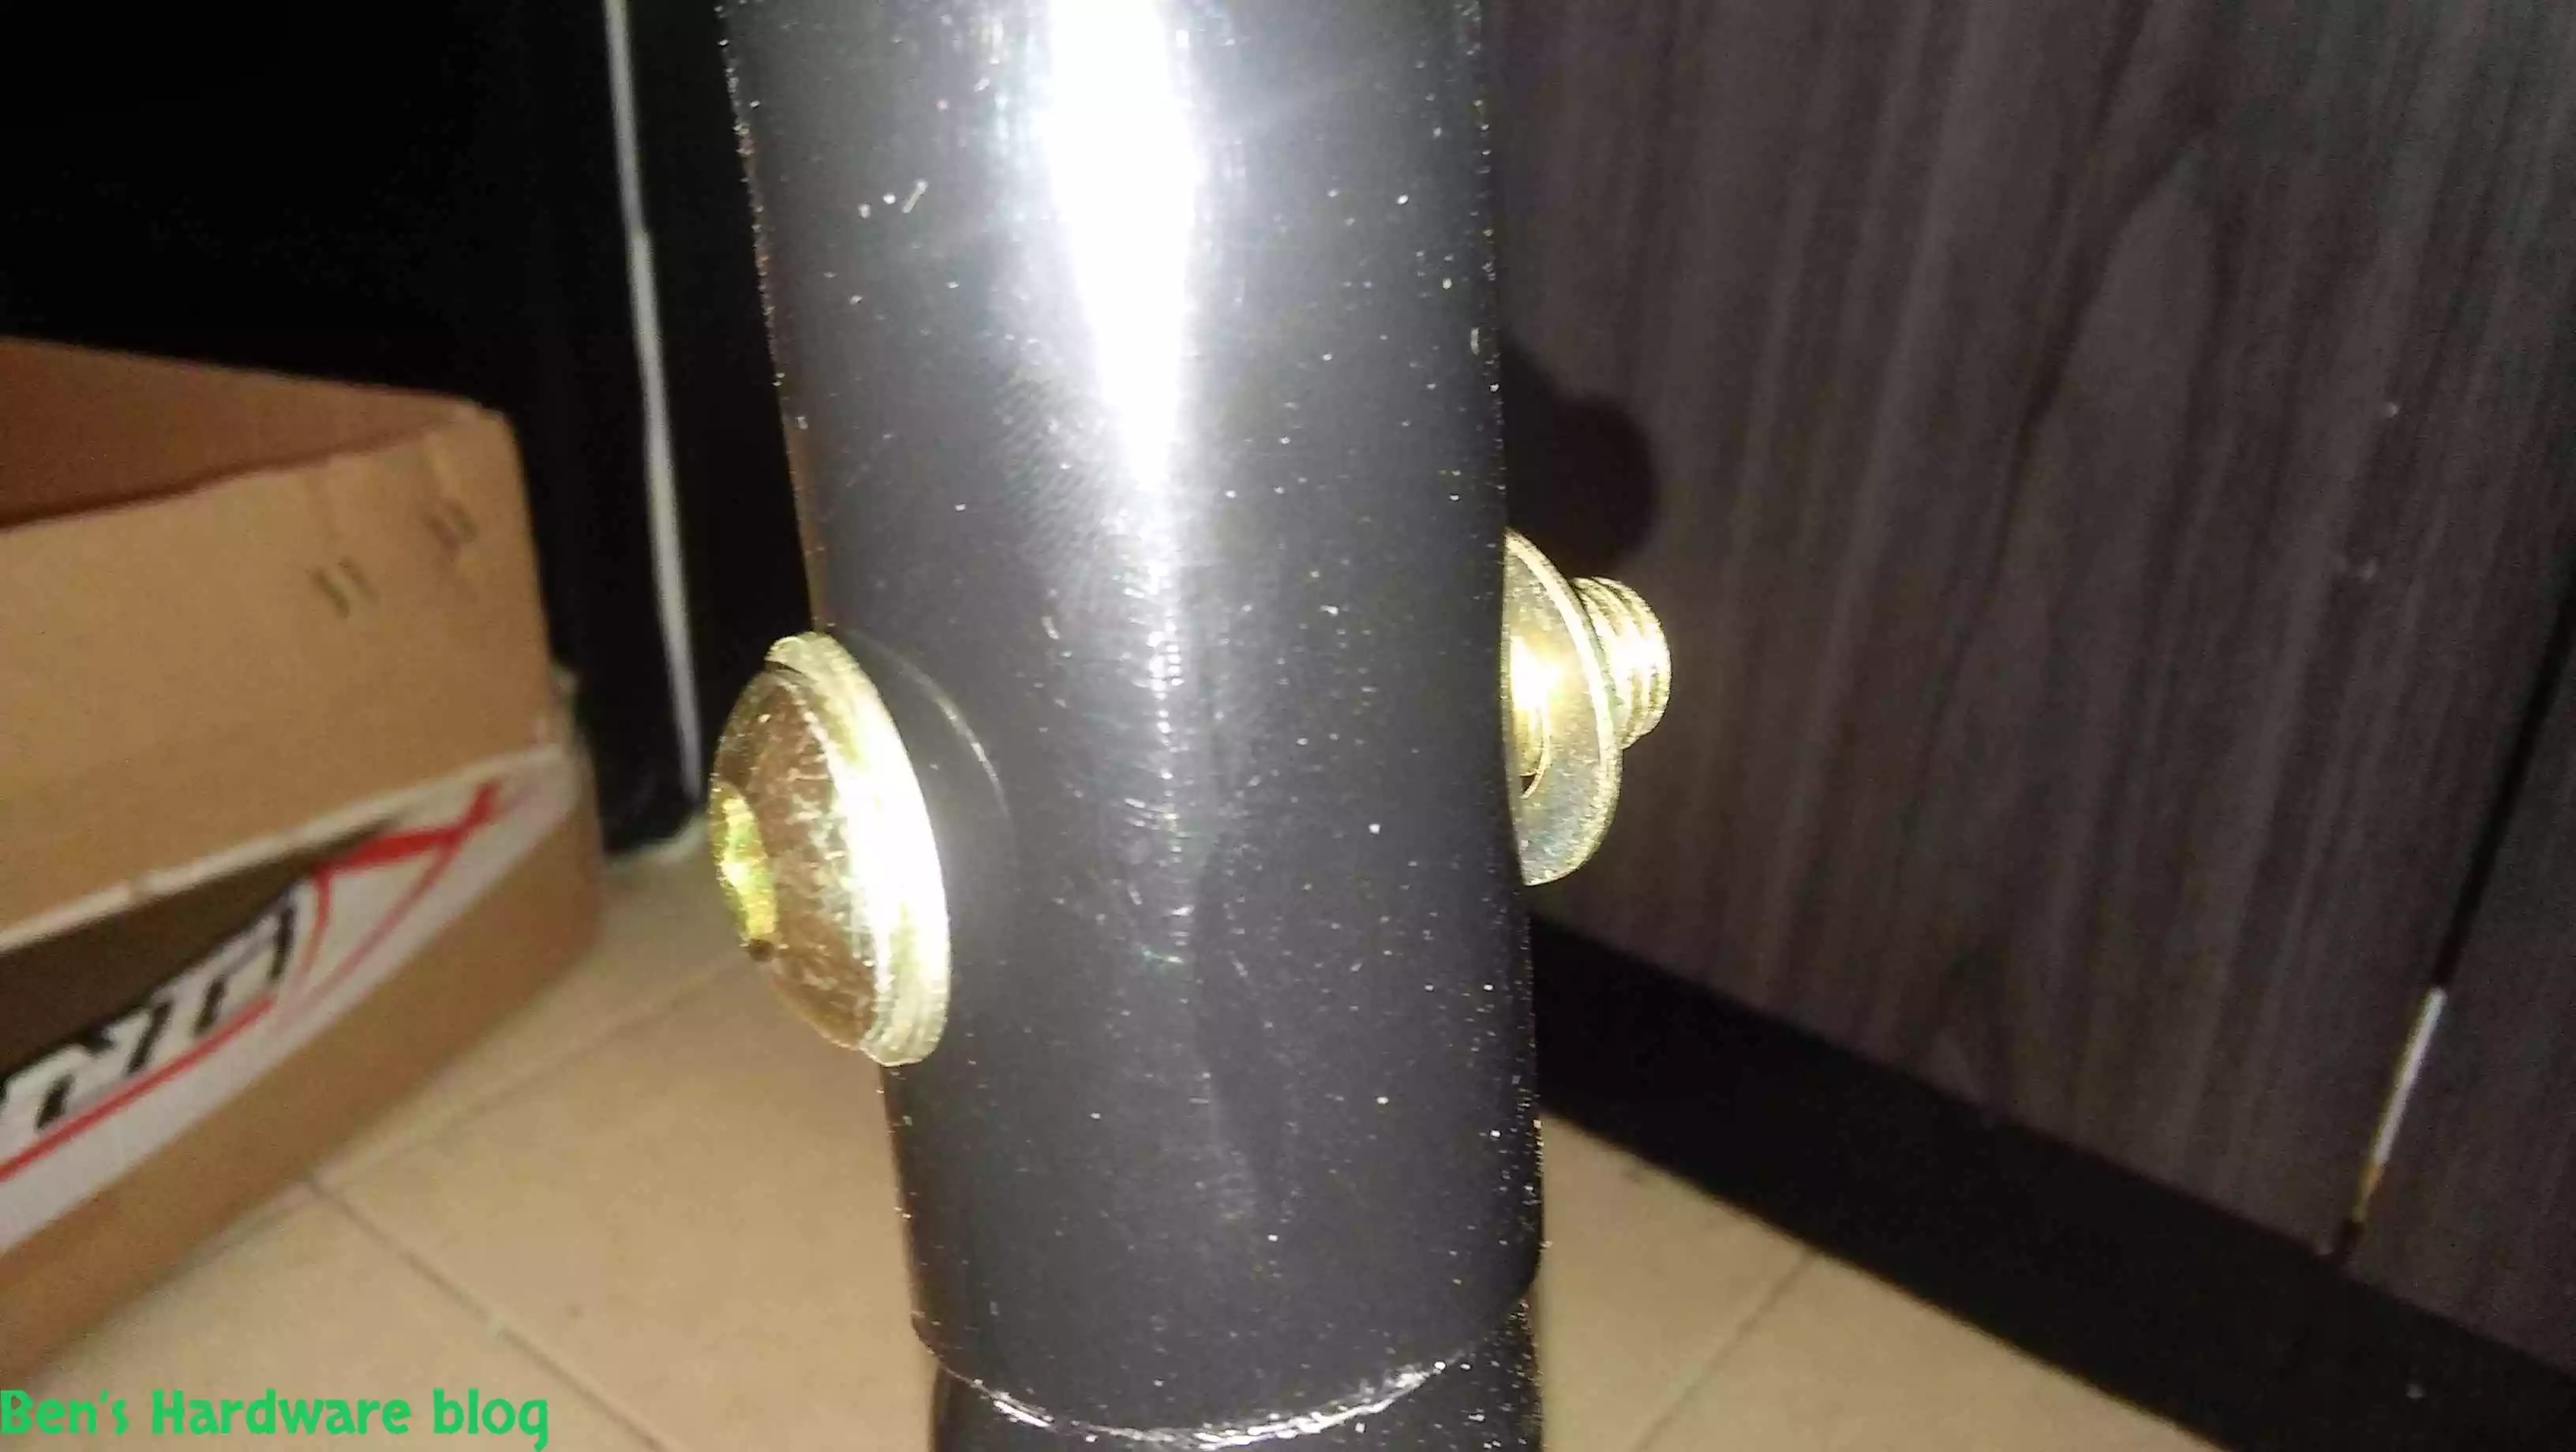
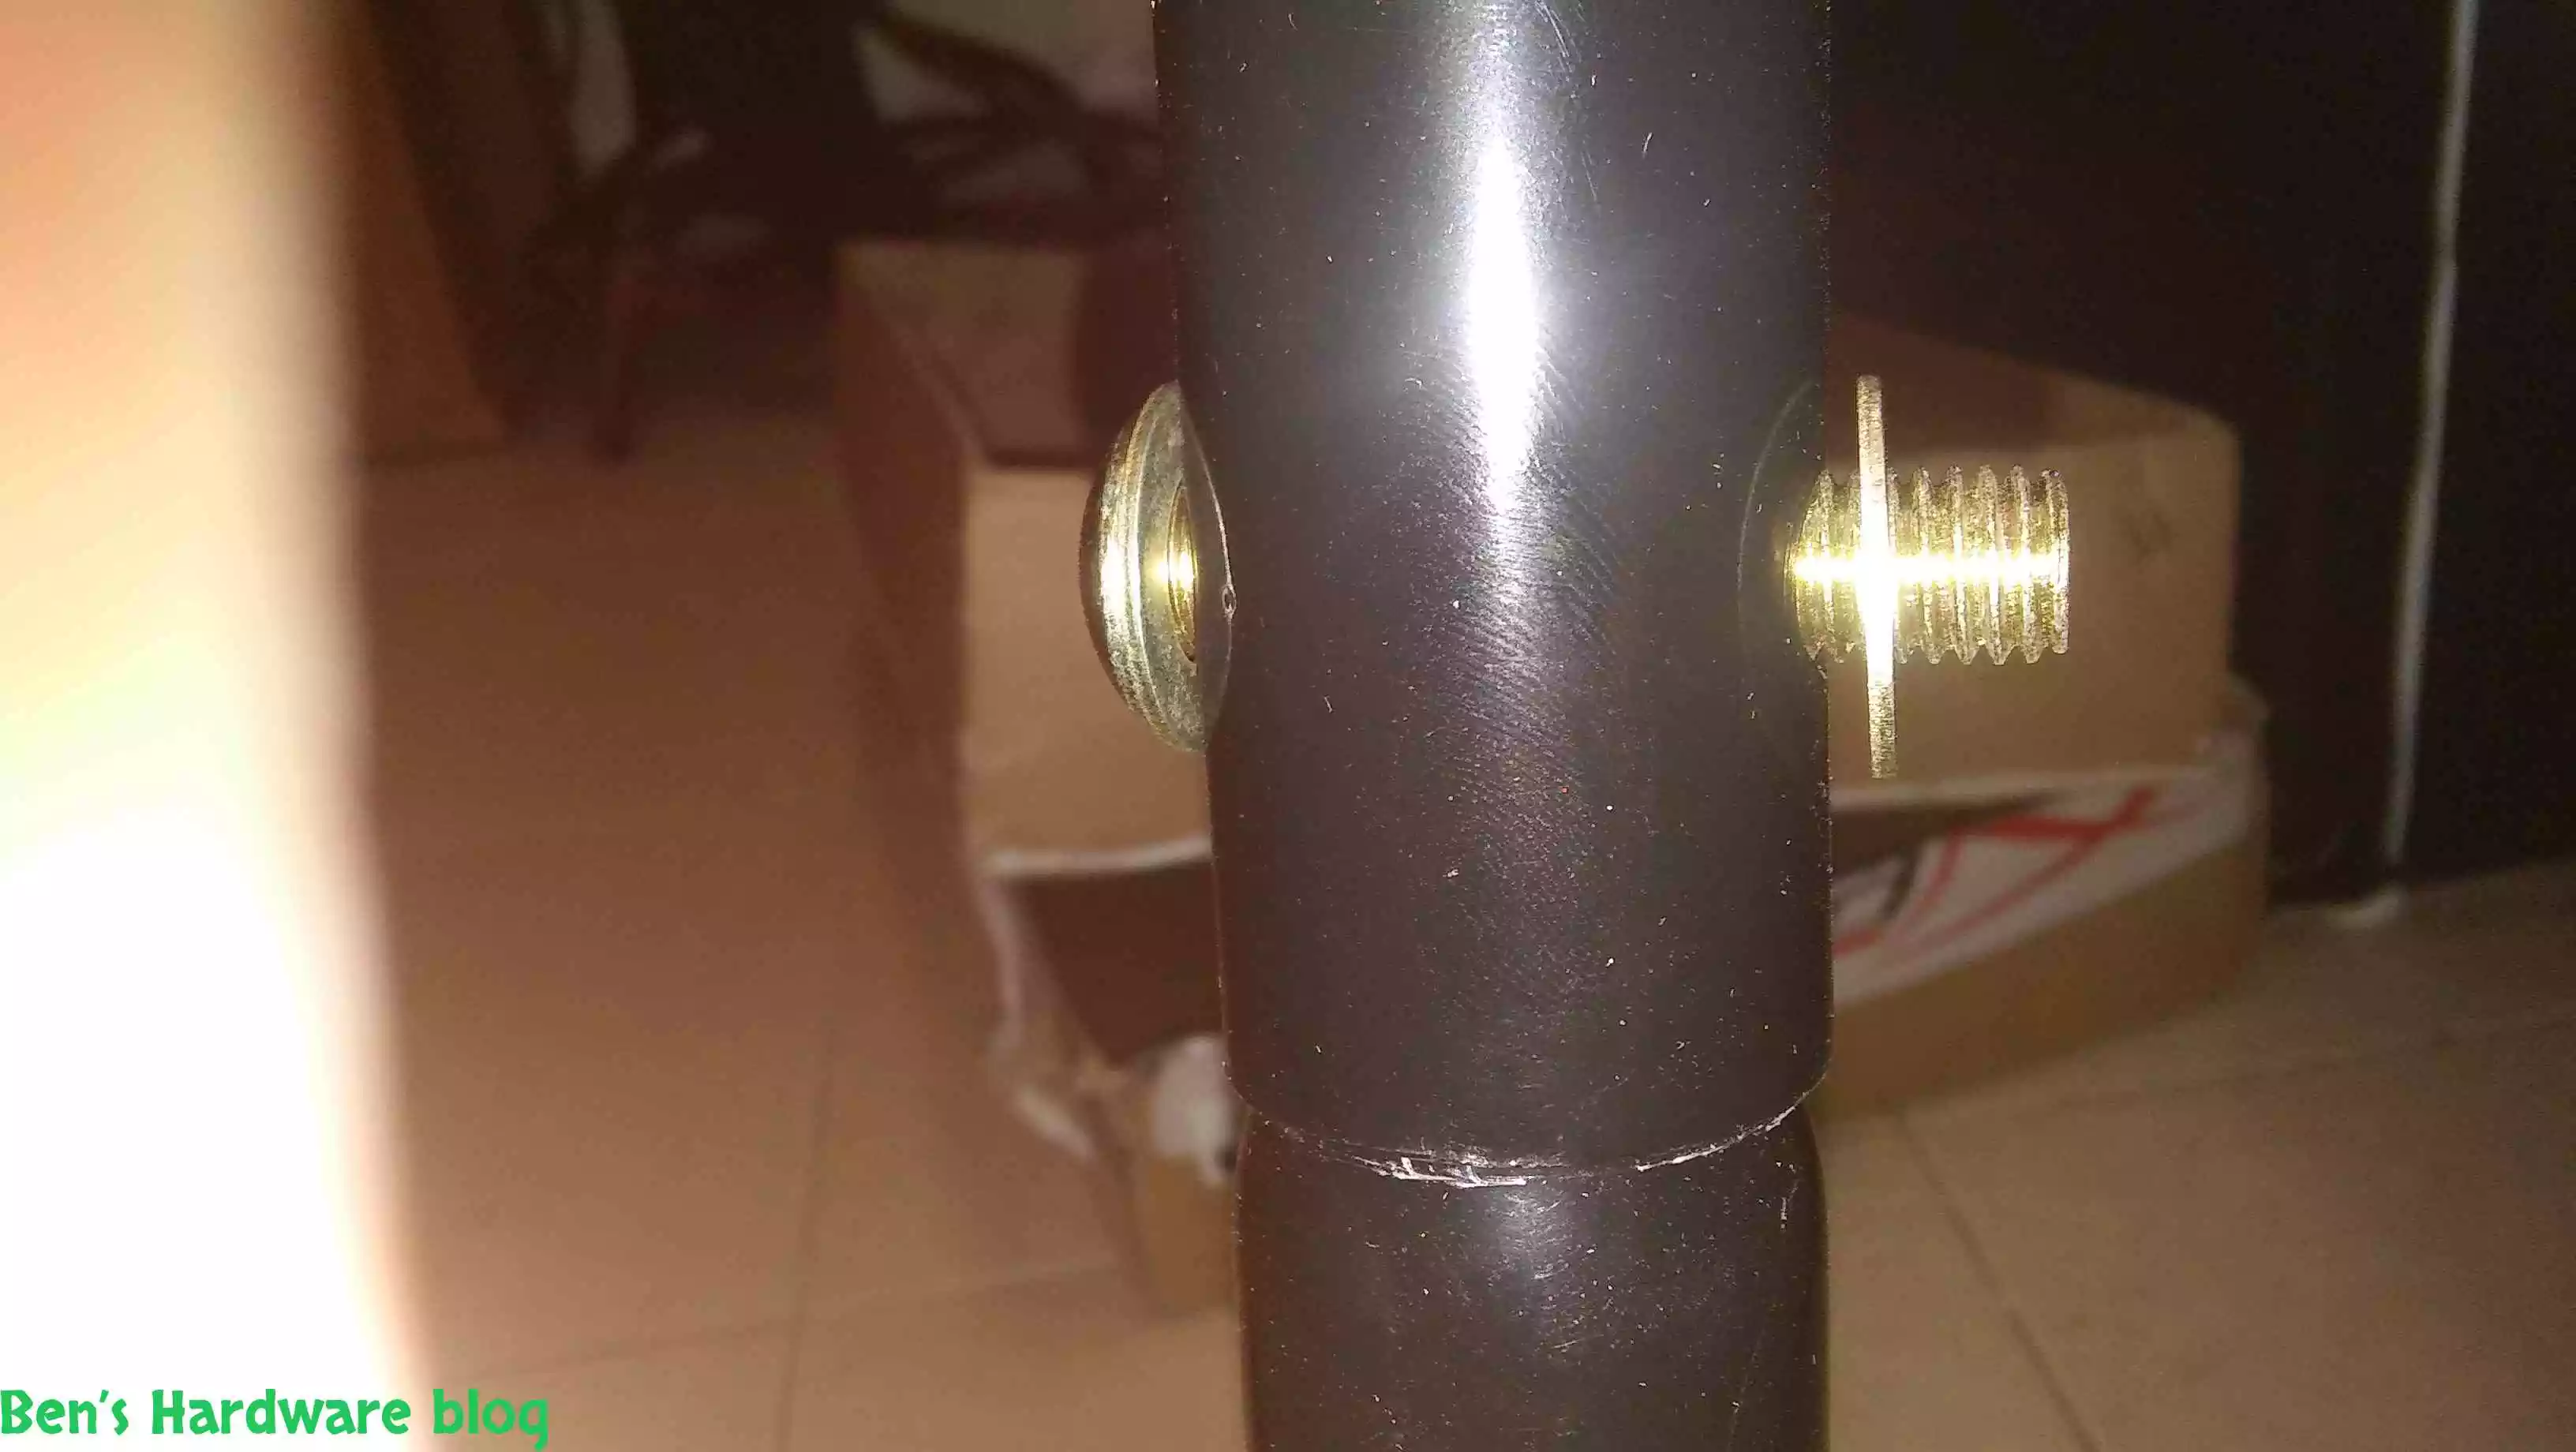
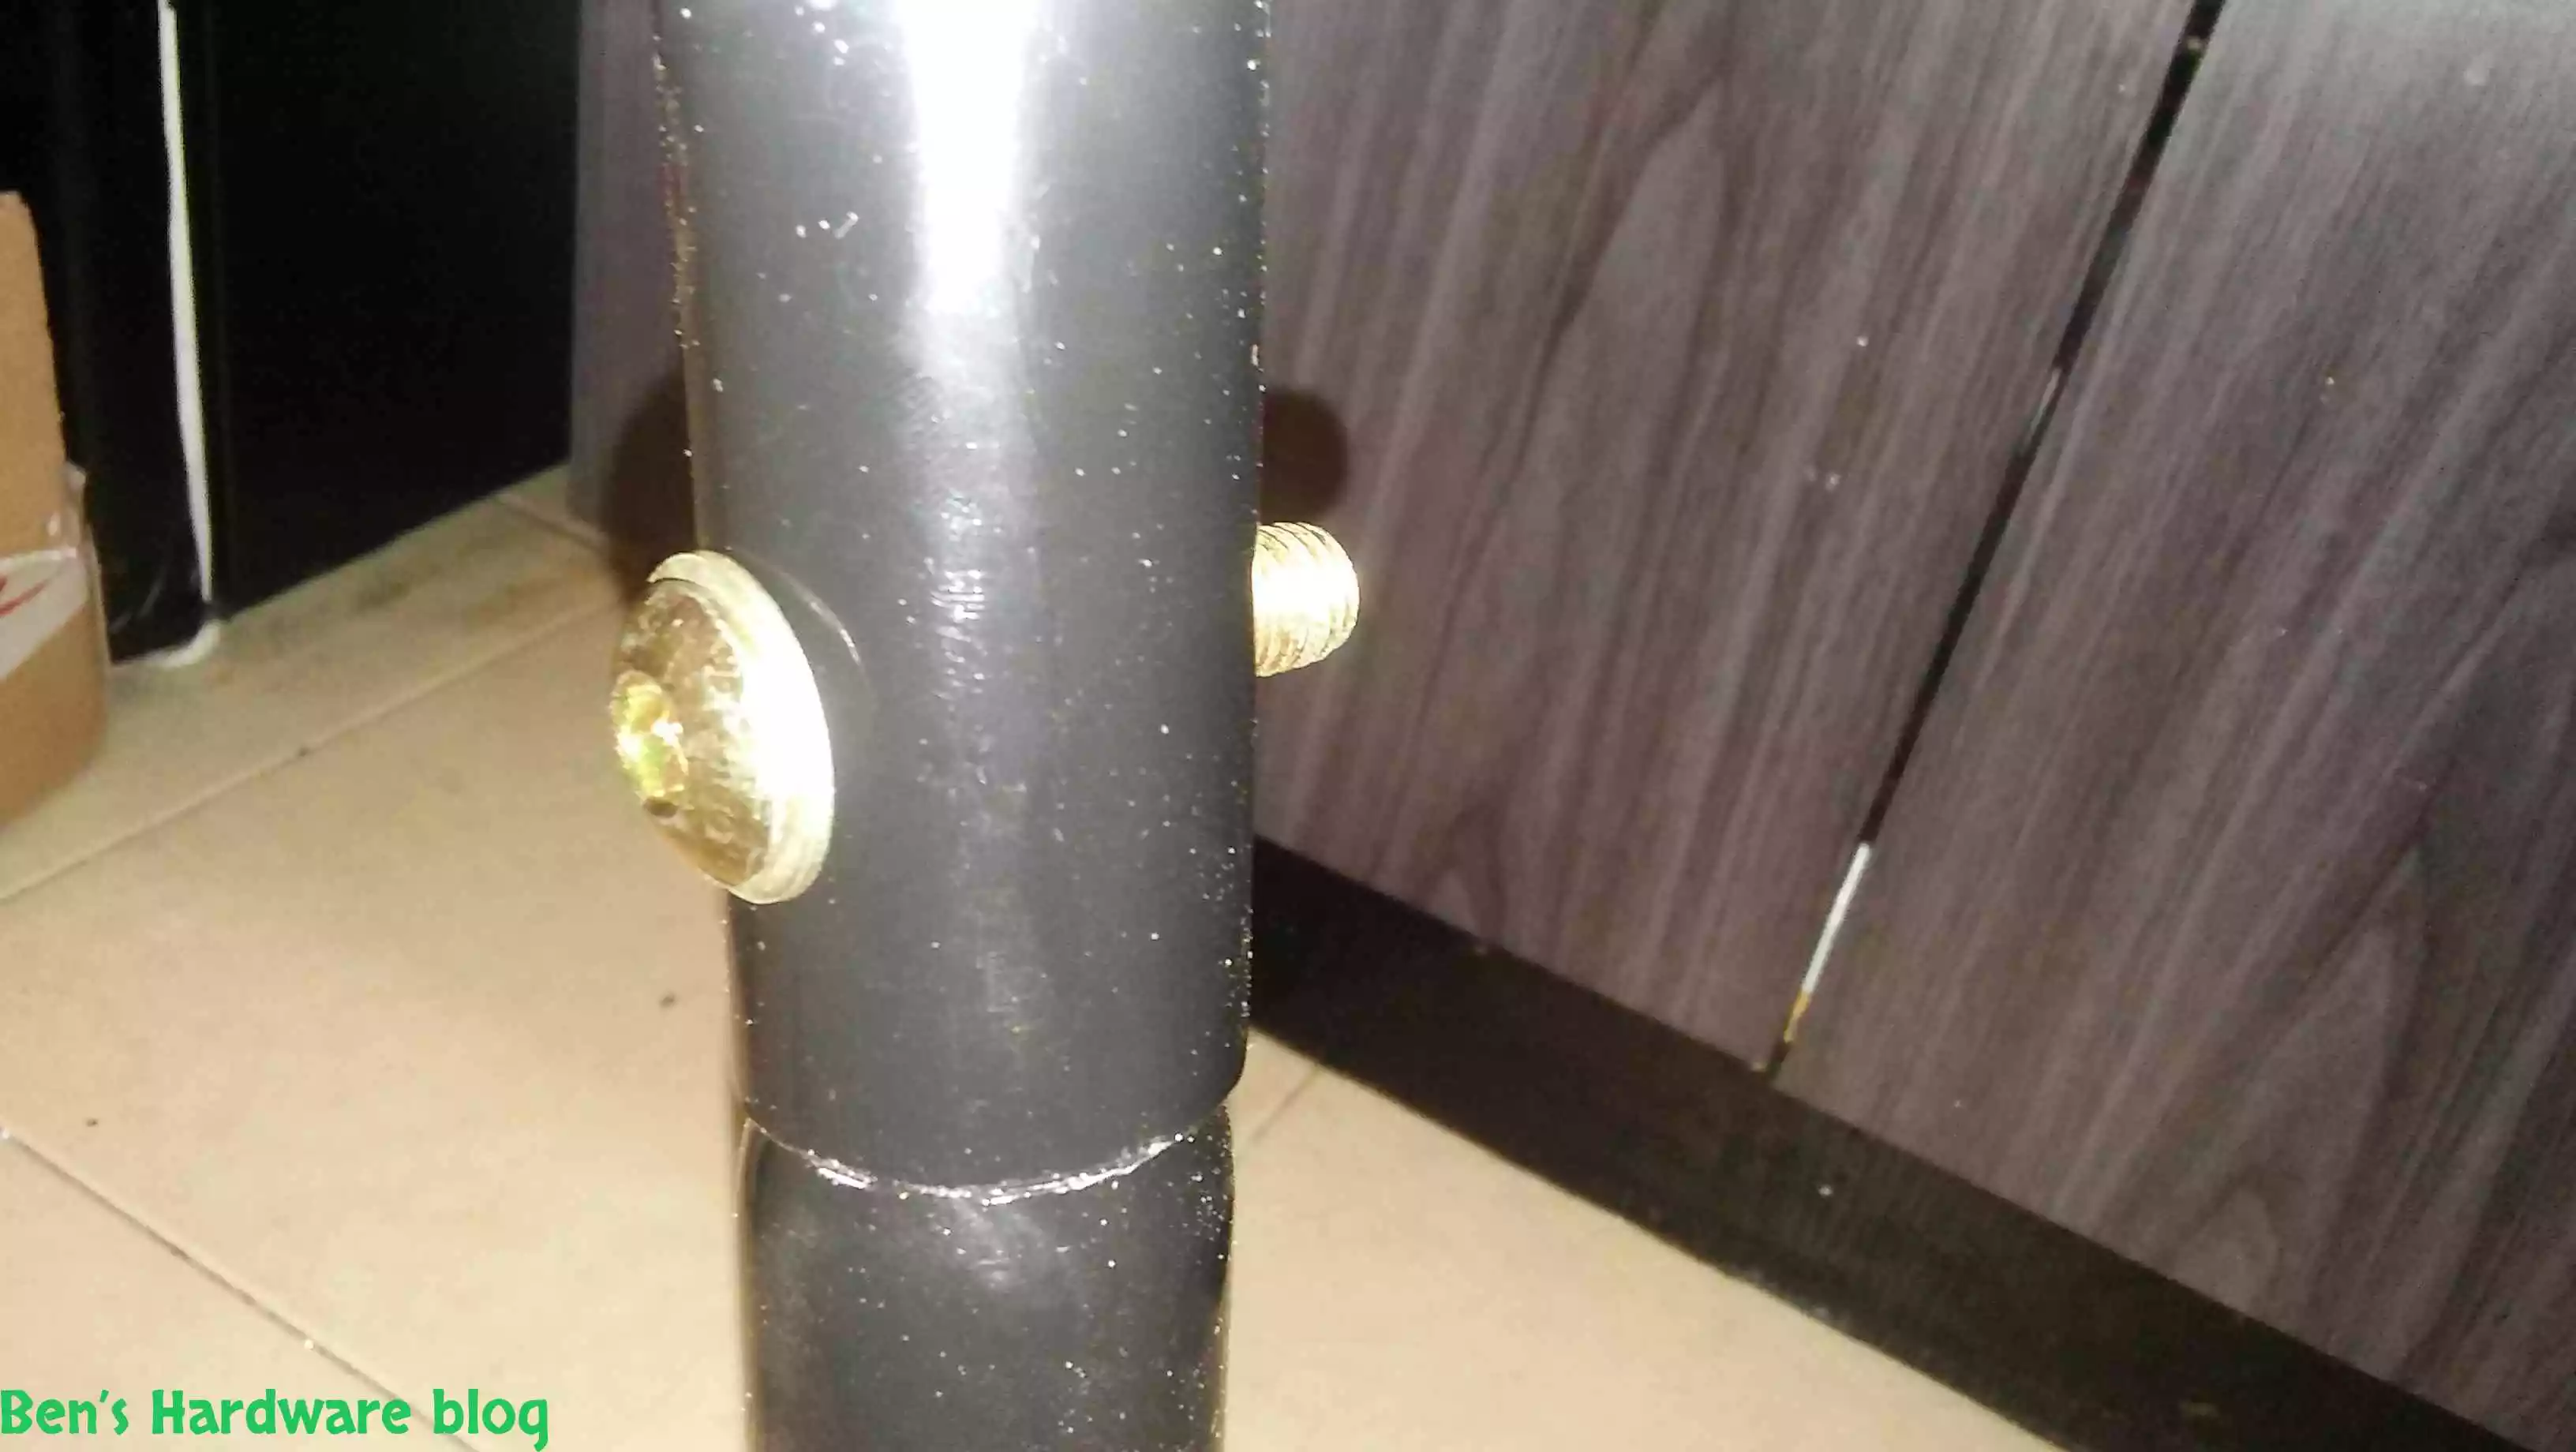
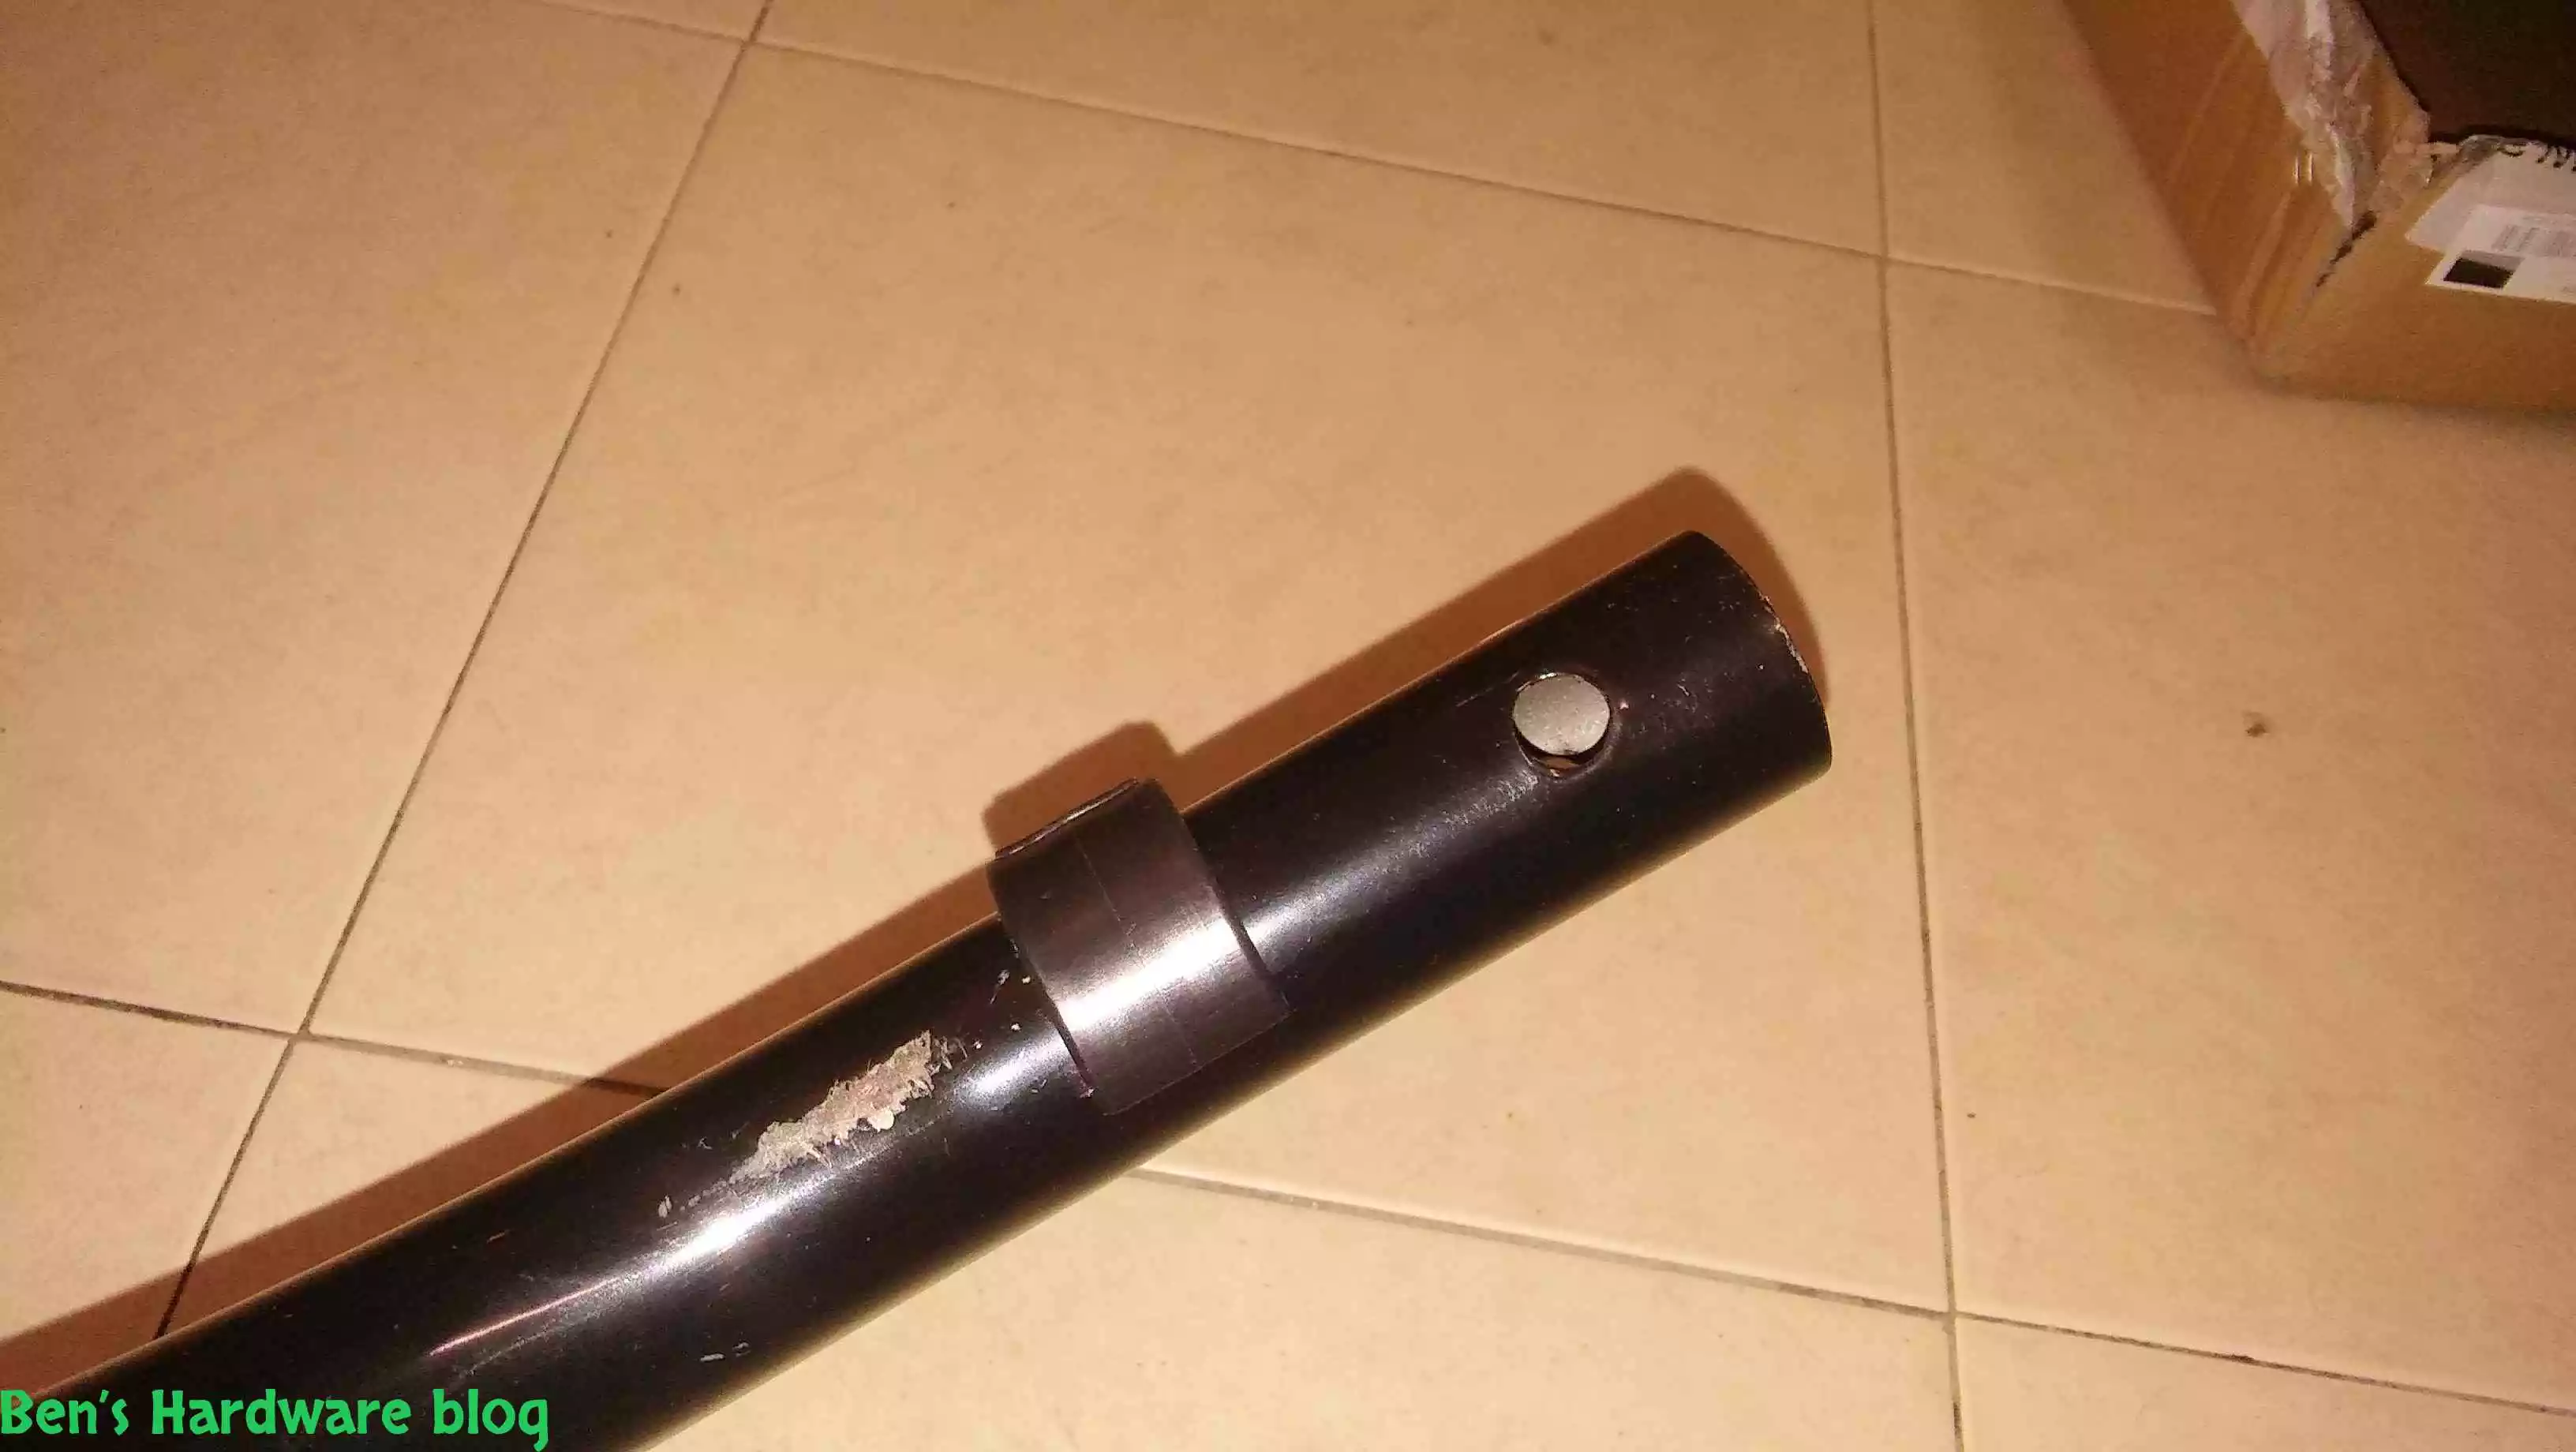
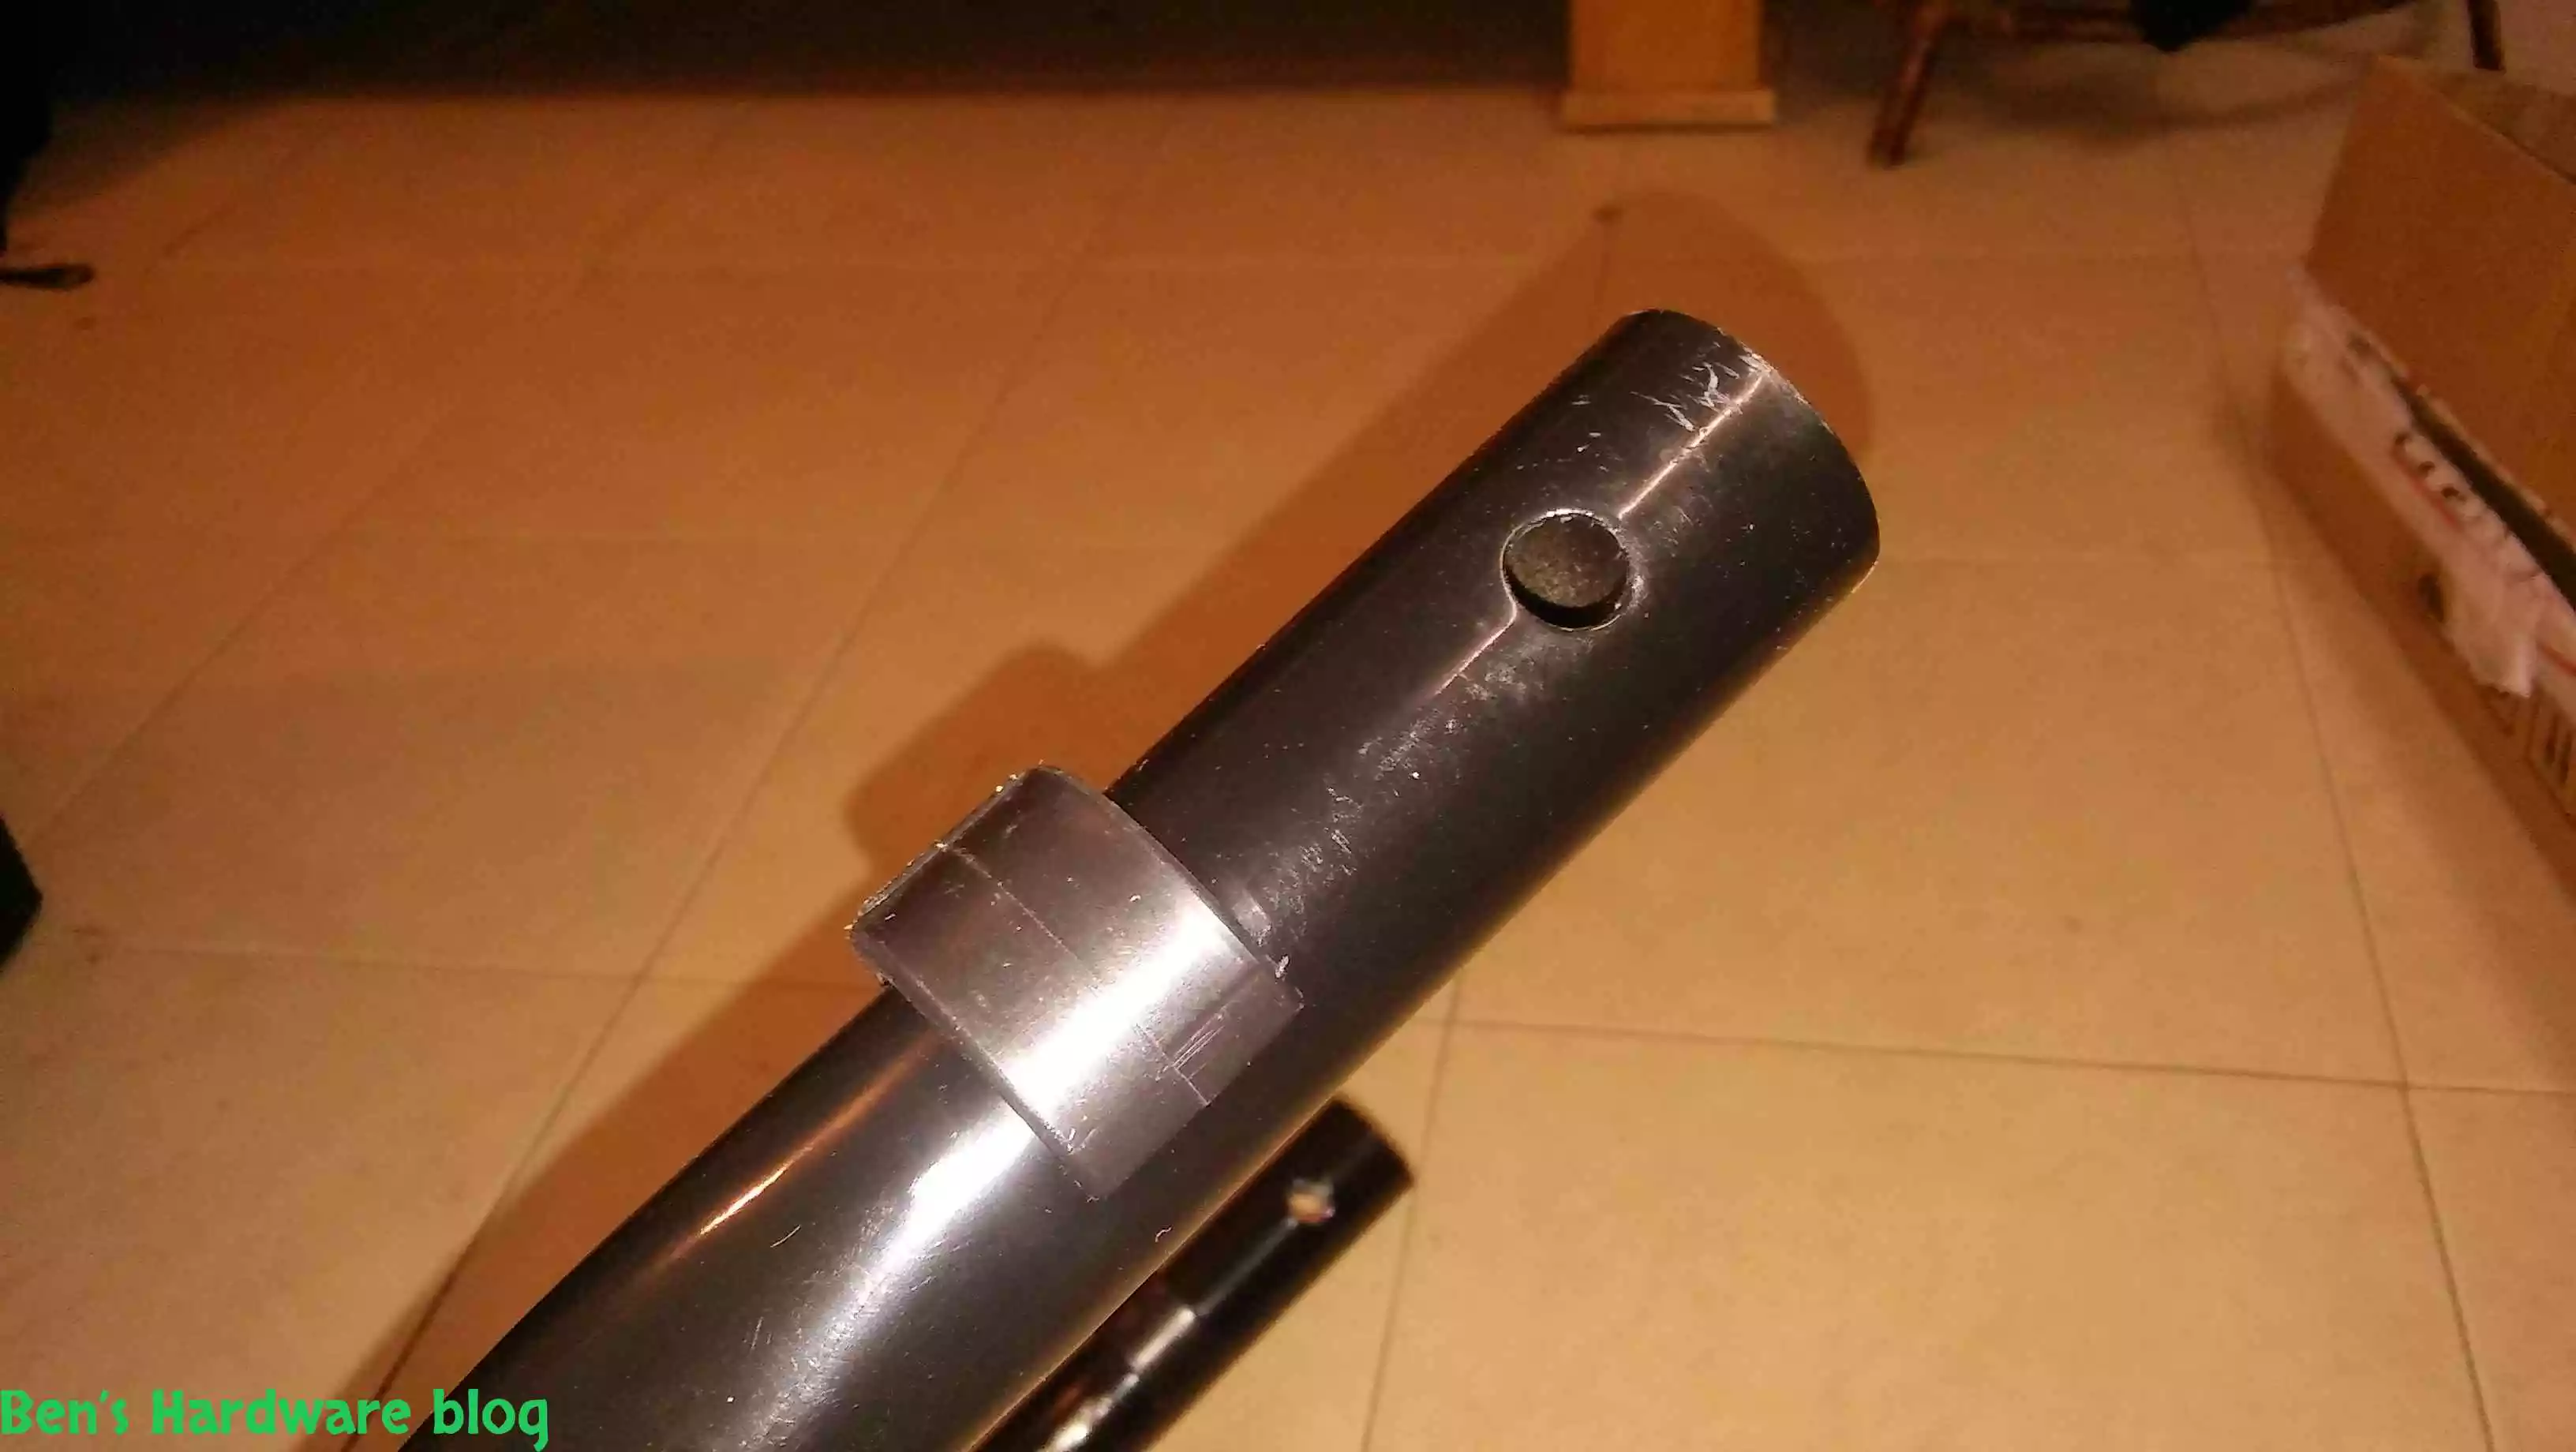
The end parts that connect to the two wheeled stands are two static hooks. Connection to the stands is done by first inserting them into a cubical tubing that first them perfectly. The second part of the assembly process is to screw in a hexagon vertically into the tube.
The stand also comes with two mounting units that can be hook into a wall or a door and use a place to store then stand without sacrificing more room.
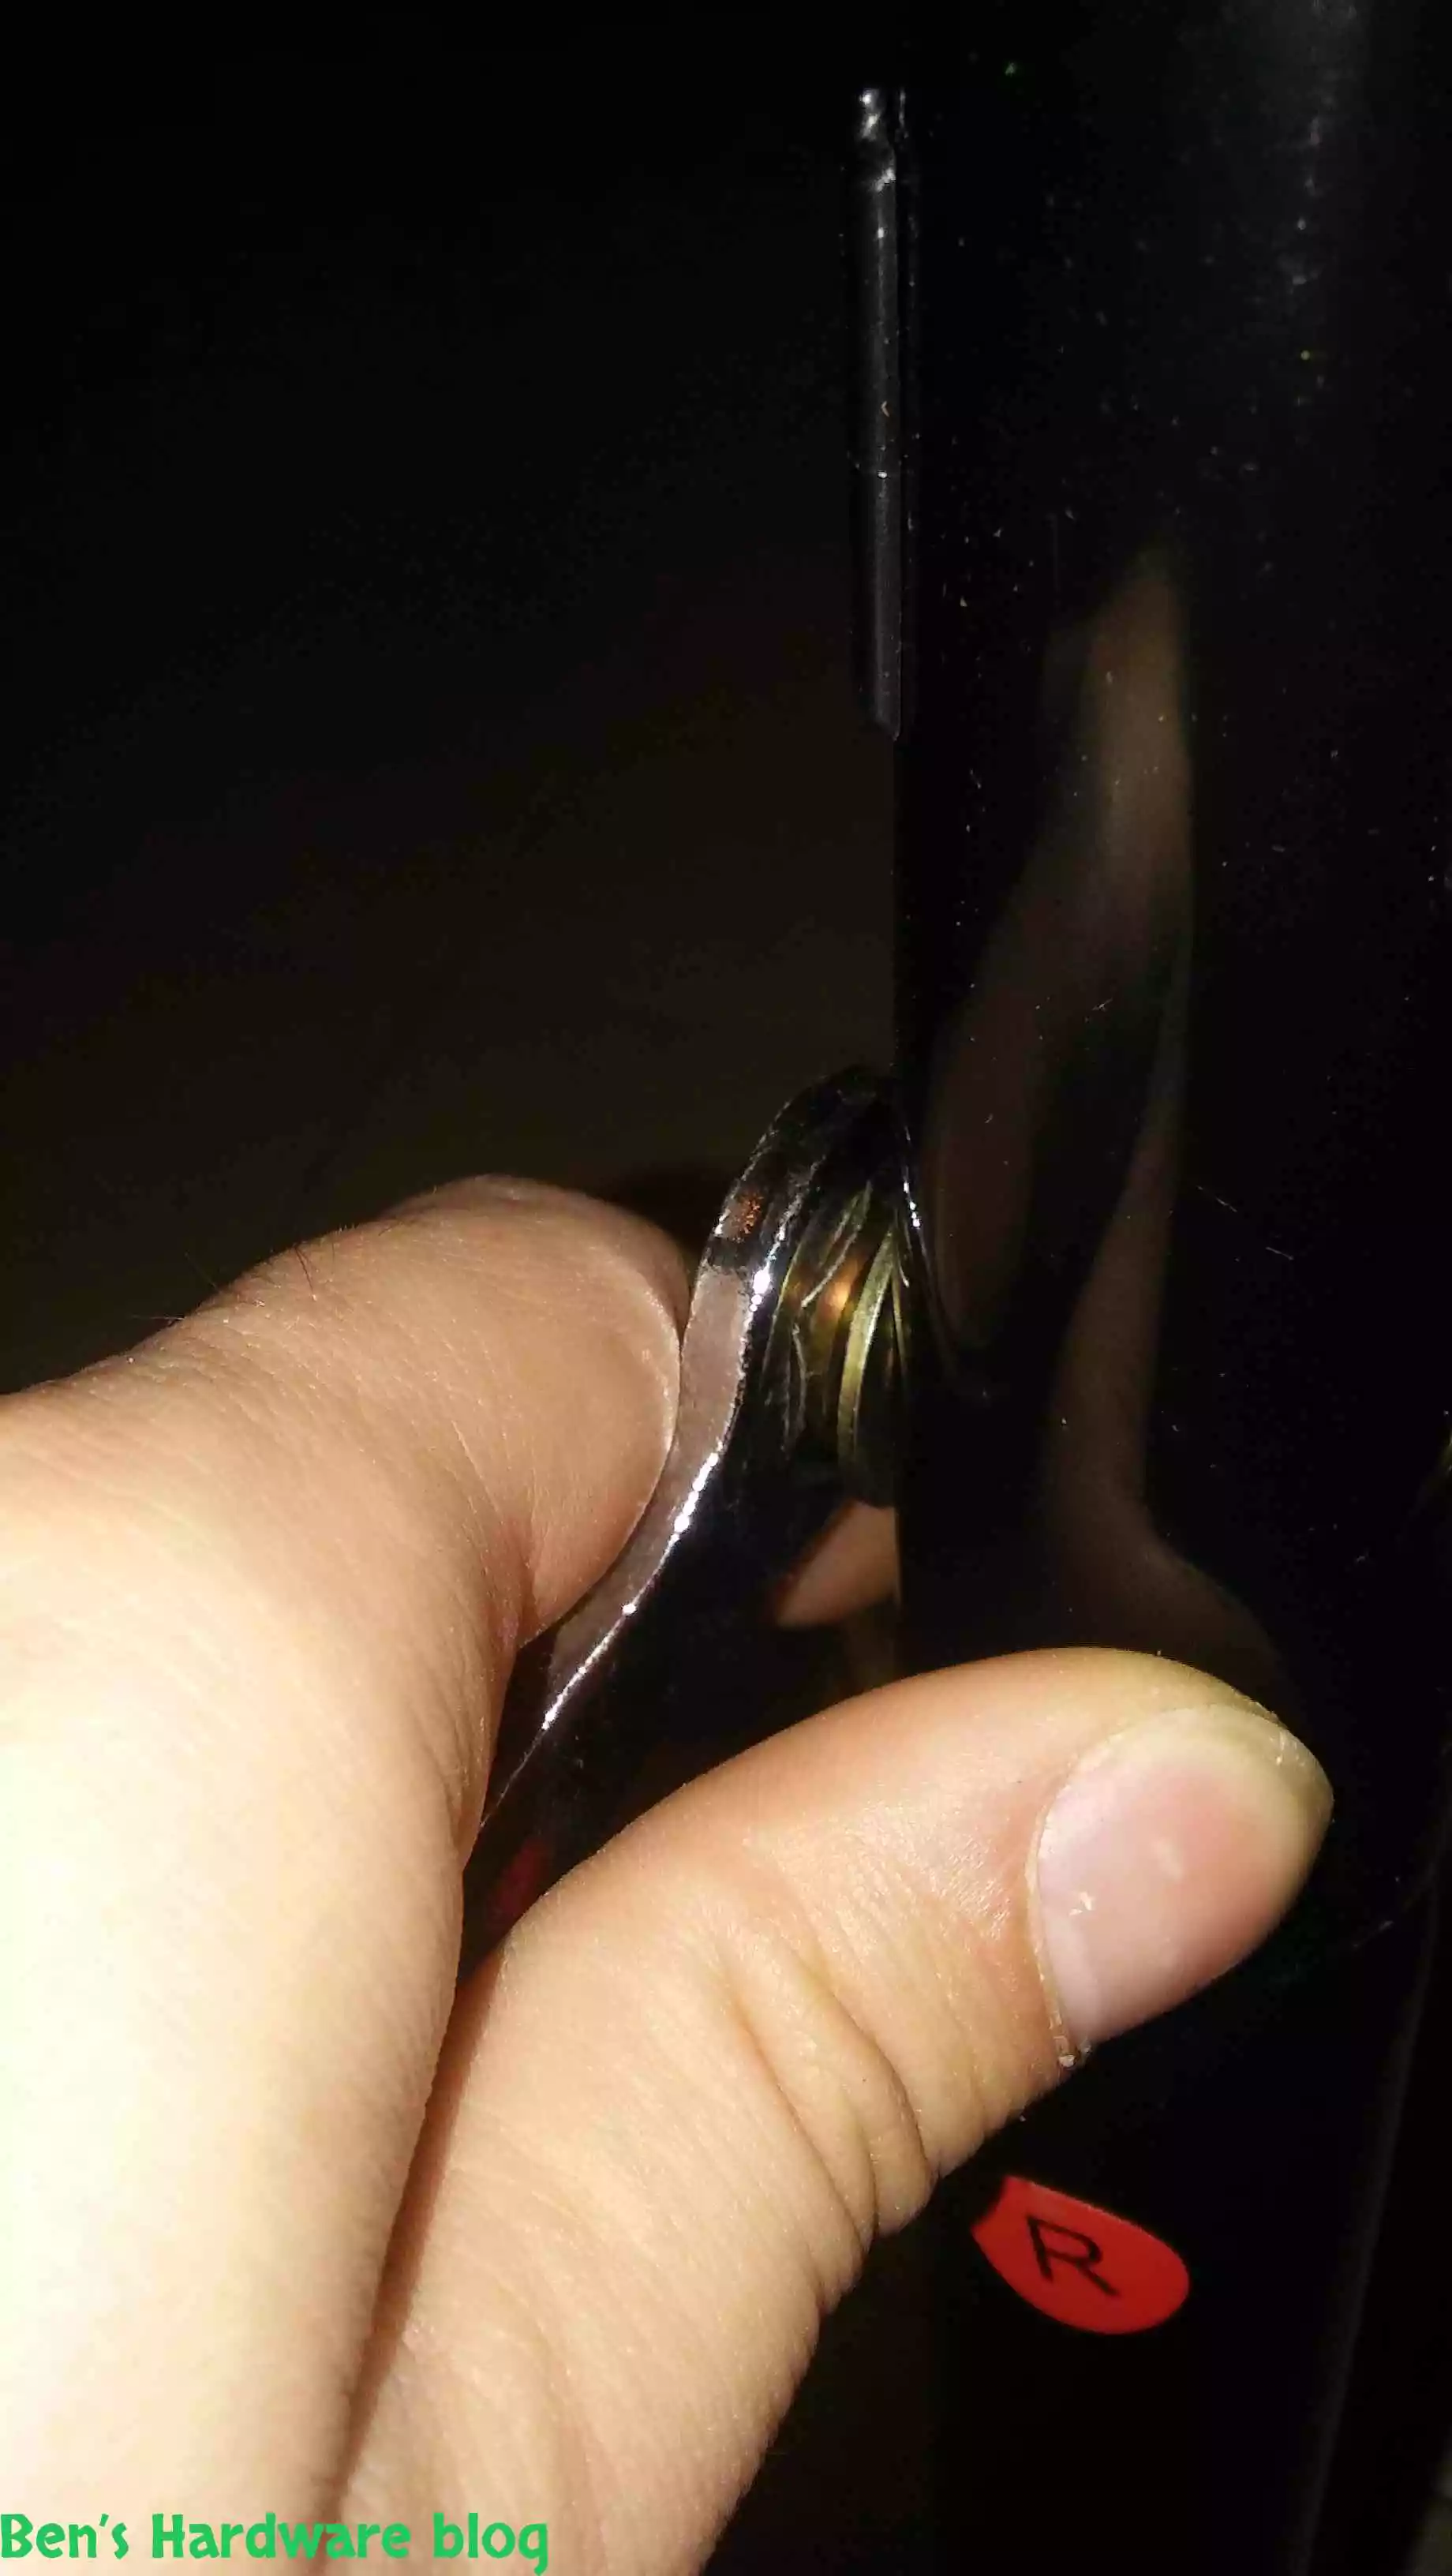
Connecting the handlebar part to the two wheeled stands:
 |
 |
 |
 |
Connecting the two wheeled stands part to the contact endpoints:
 |
 |
 |
 |
 |
 |
Prior Usage:
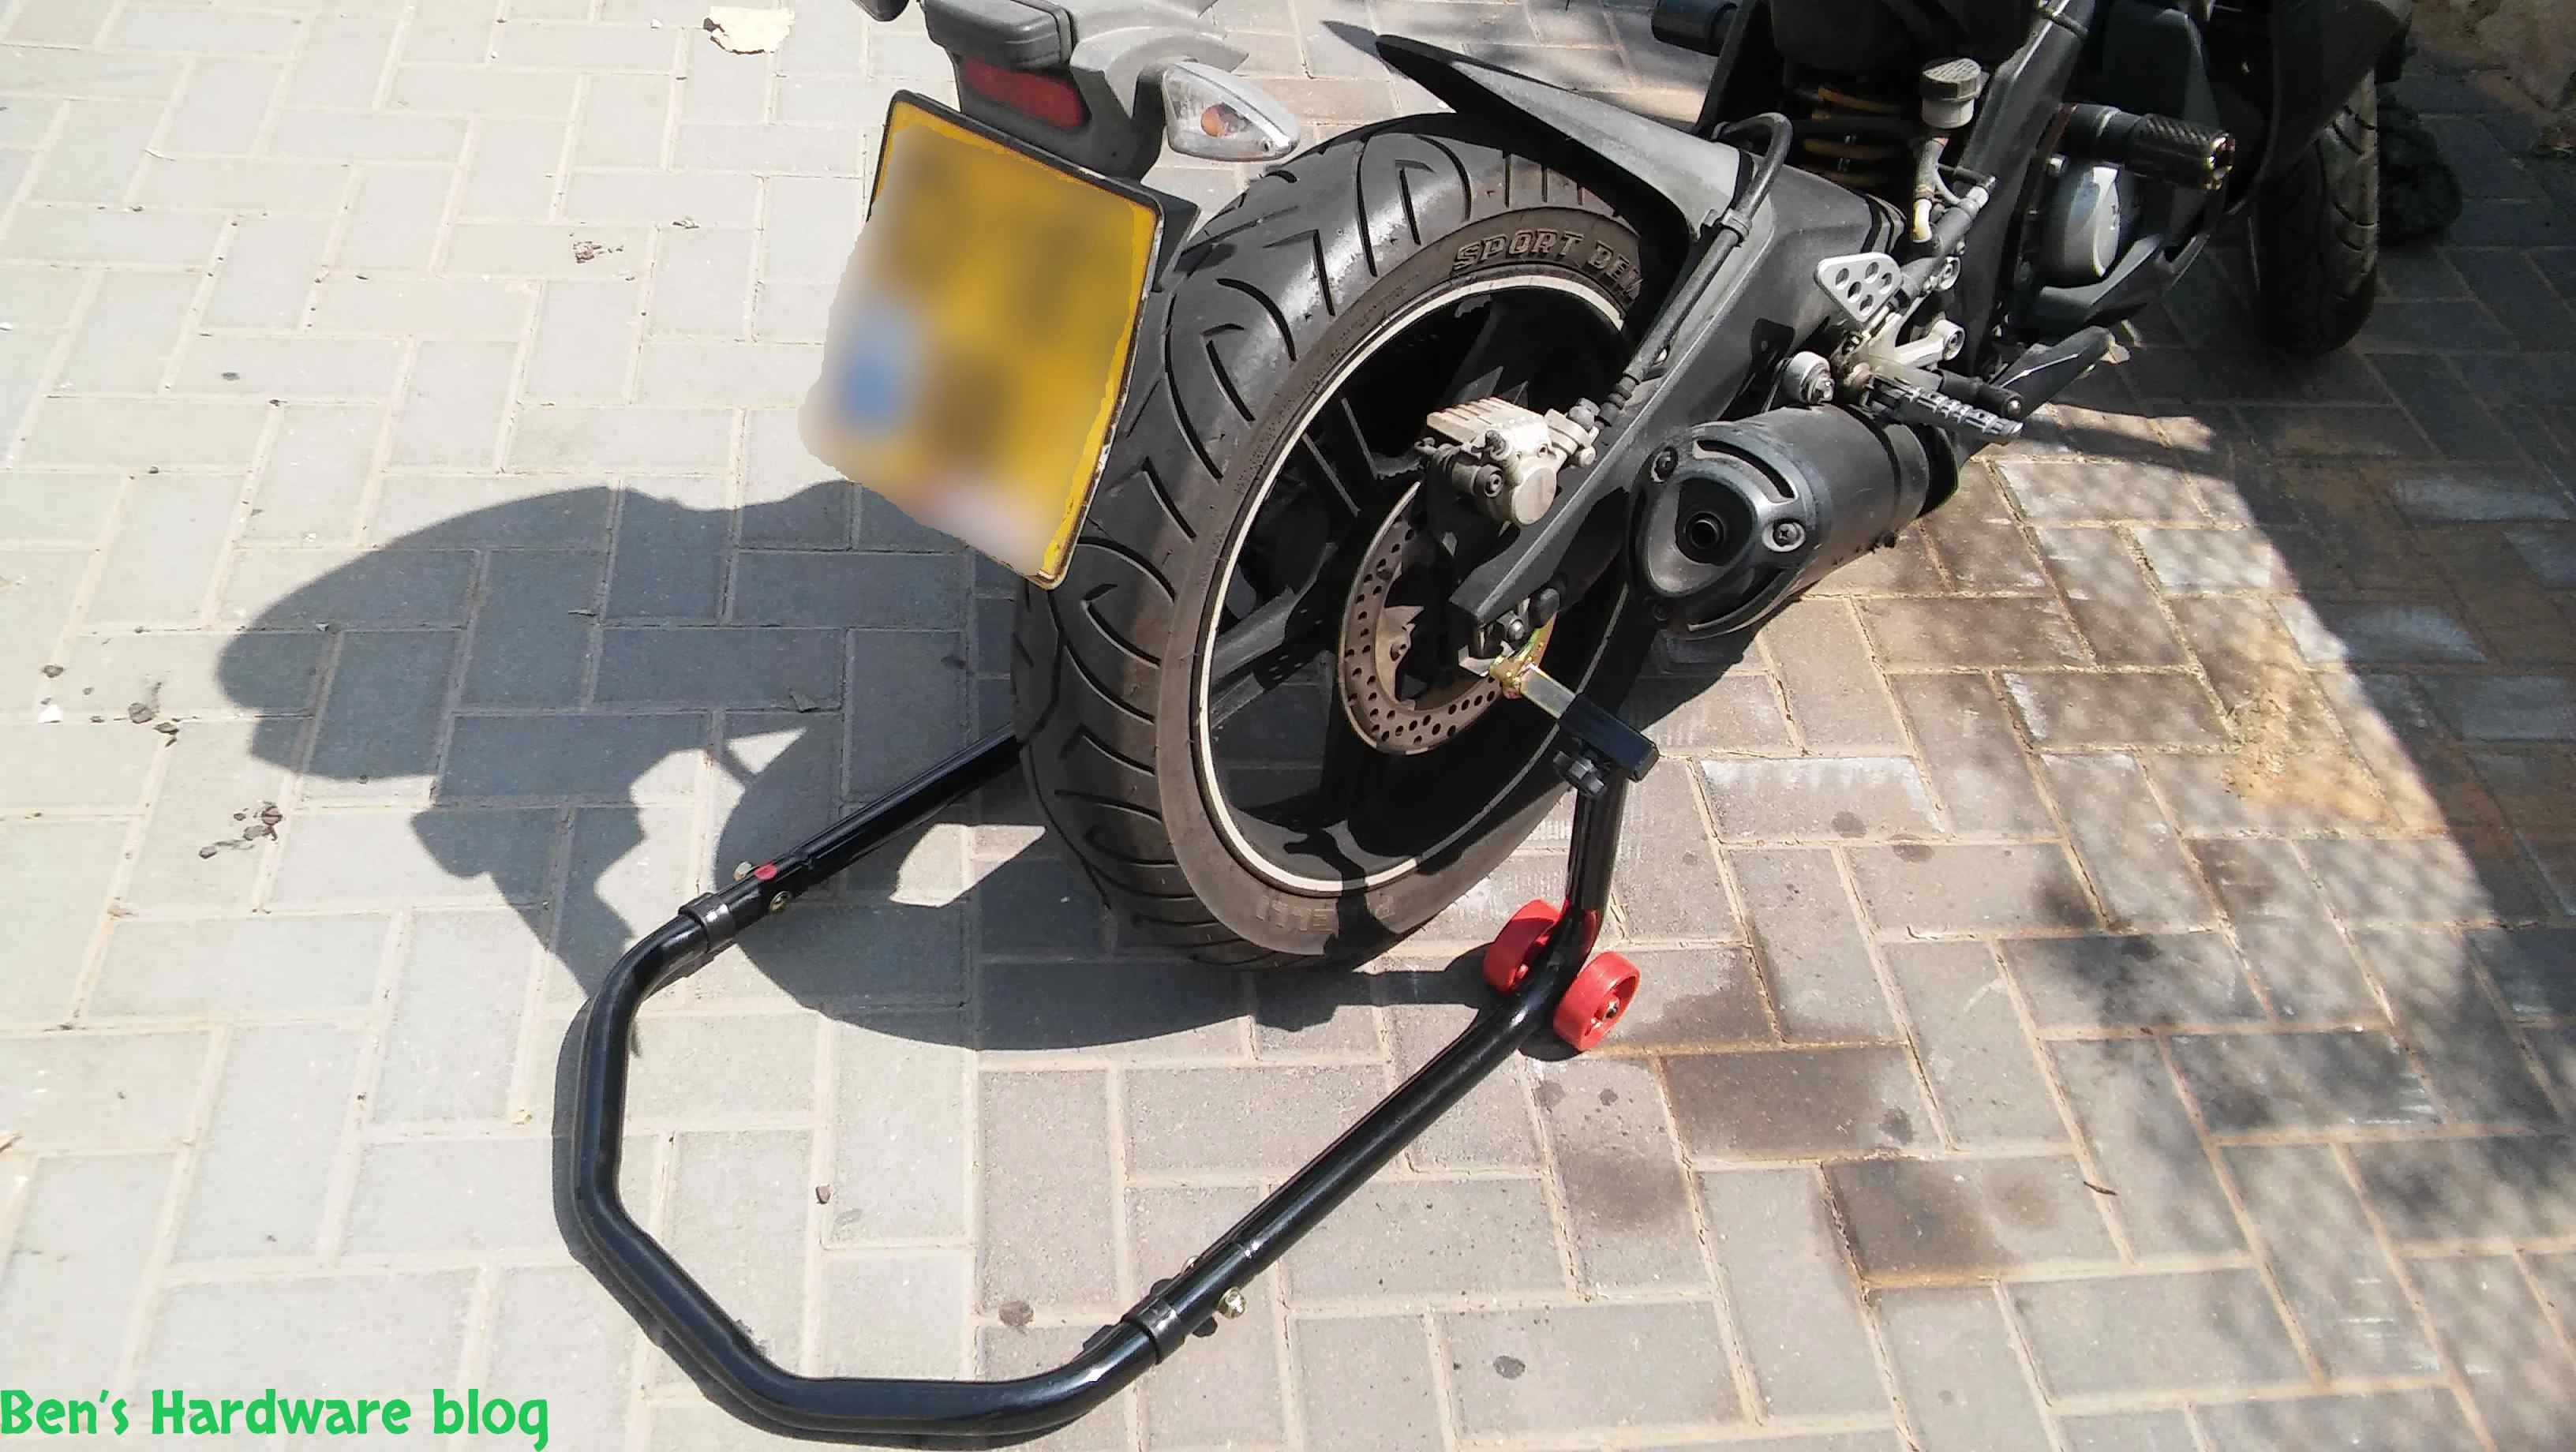
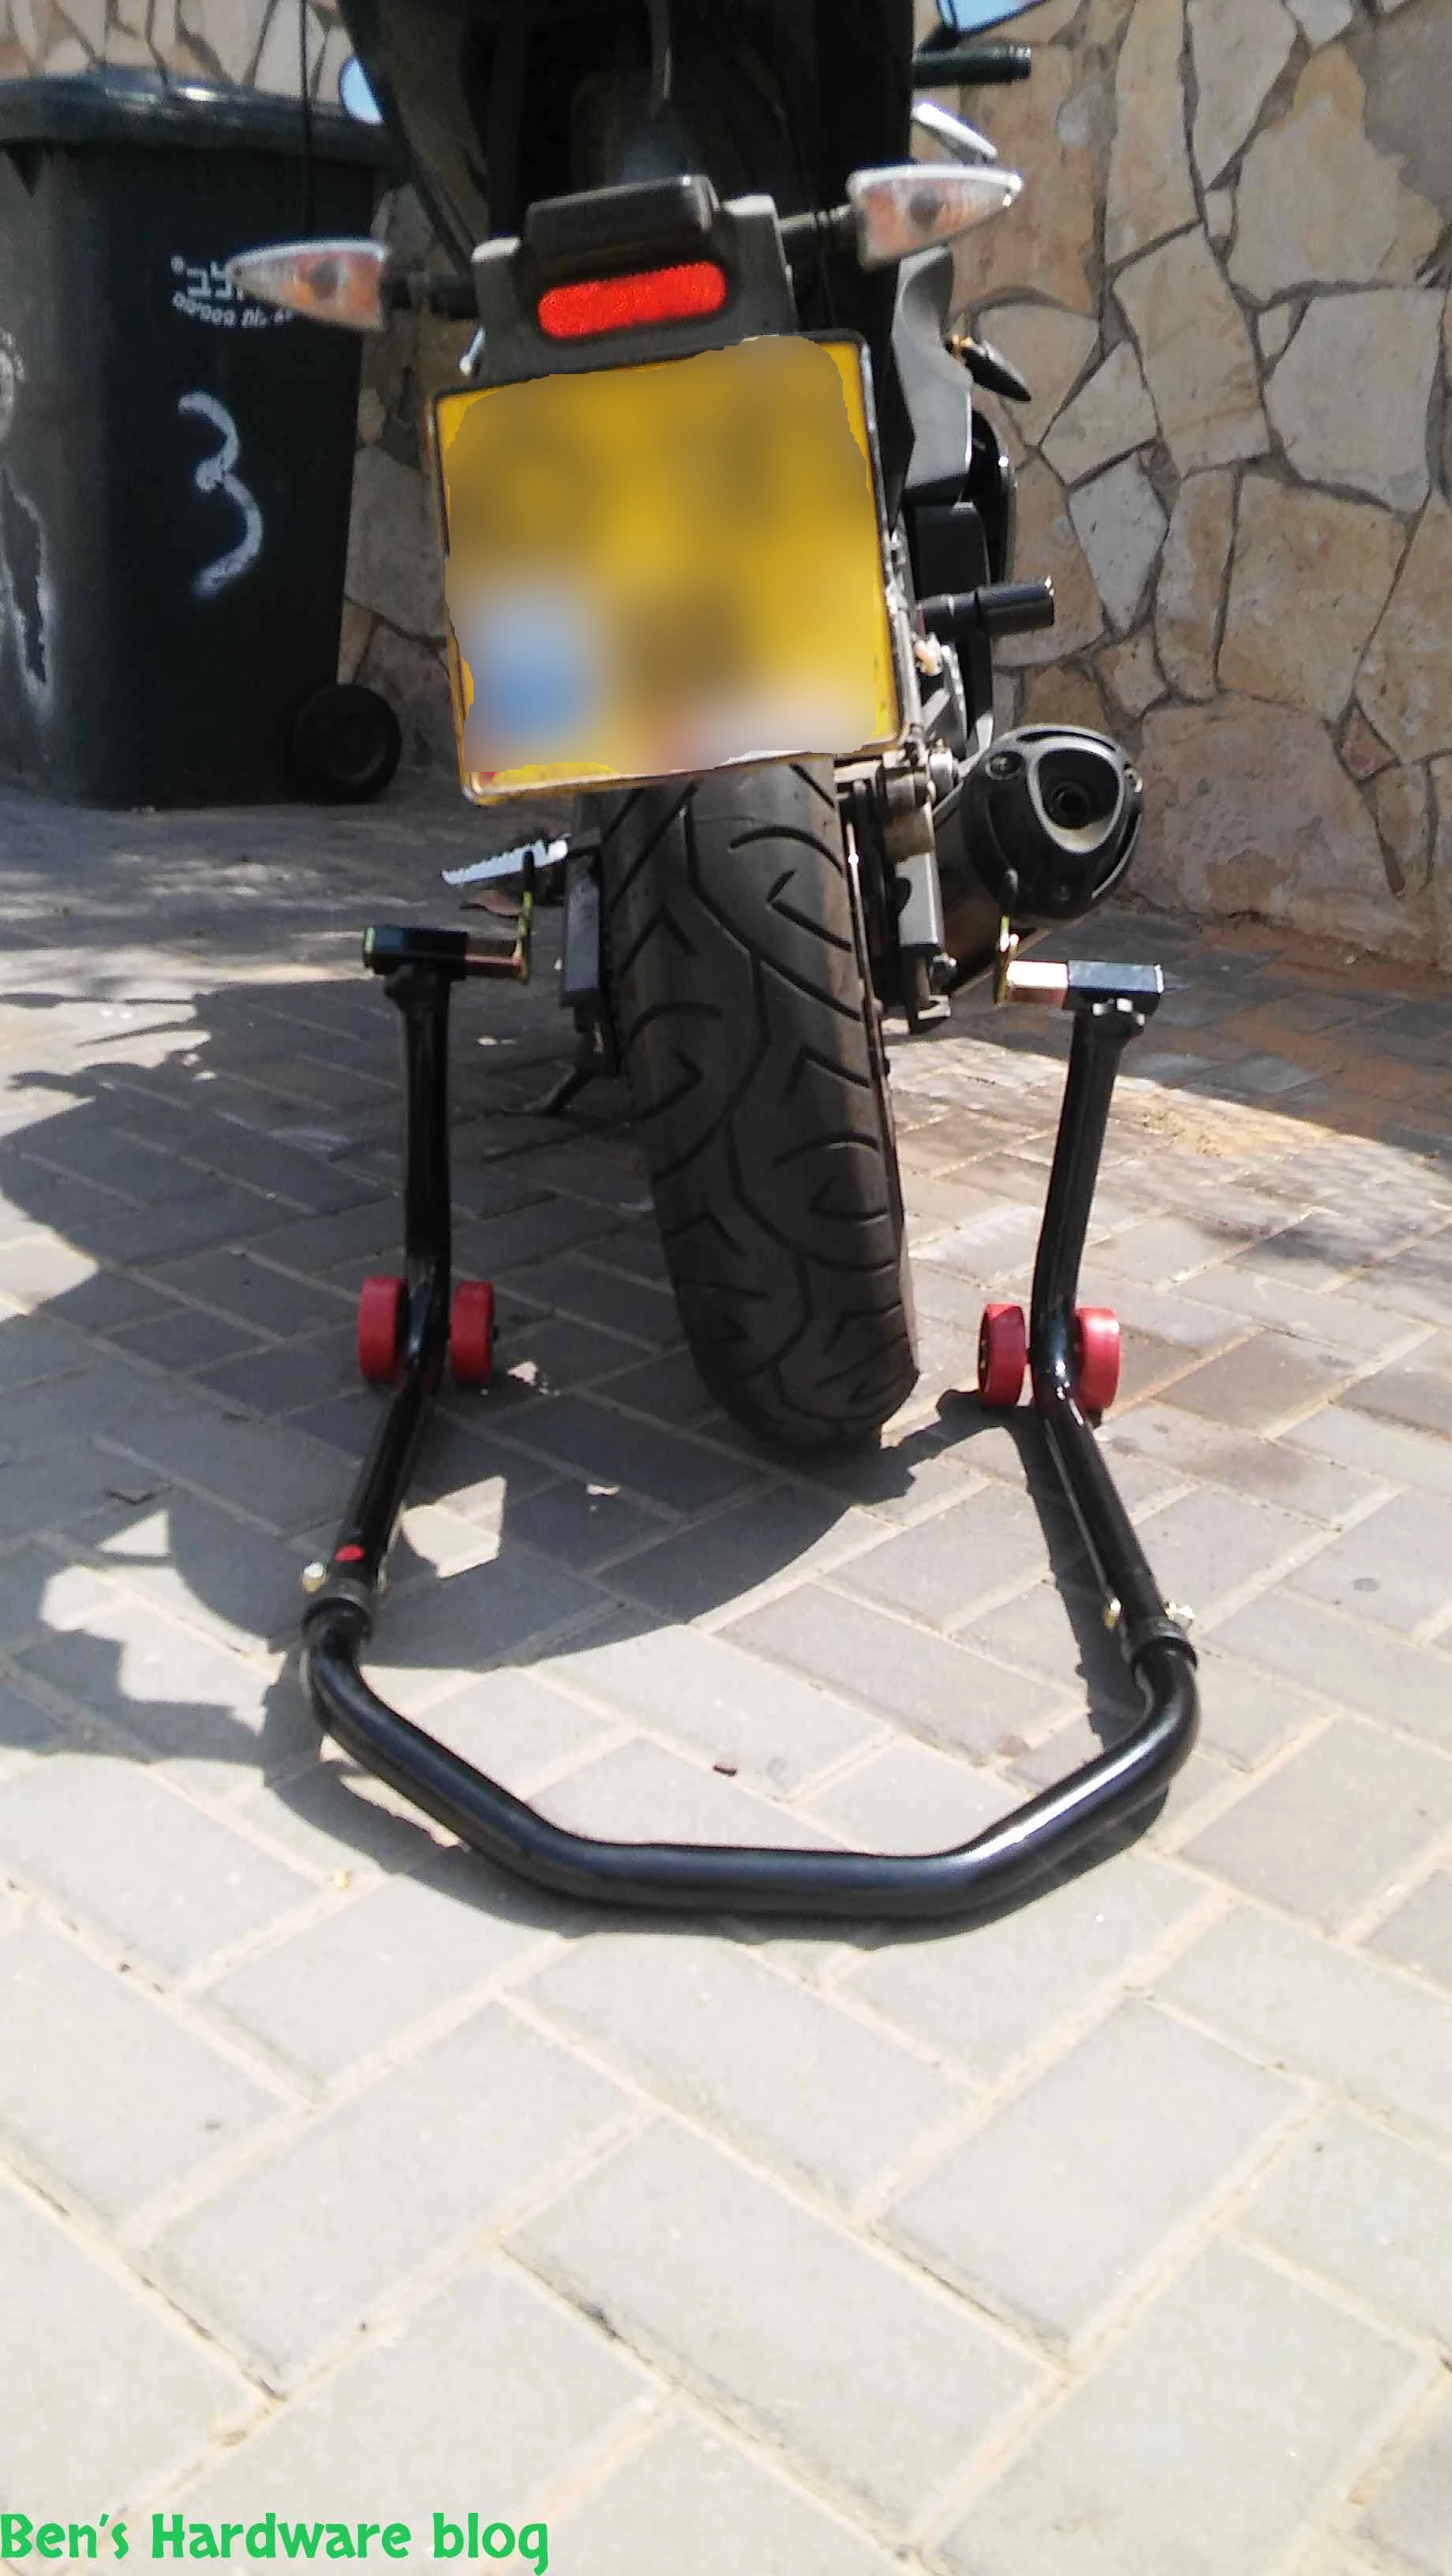
When I was first trying to use it I discovered, not to my surprise, that the static hooks cannot really “hook on” to the bike and squeeze against it. There was just nothing to fit to be squeezed to. After searching online a little bit I realized that these static hooks require special fittings to exist on the motorcycle. These fittings are essentially a plastic covered screws that are screwed into the bottom sides of the motorcycle to be later hooked on by the static hooks of the rear stand.
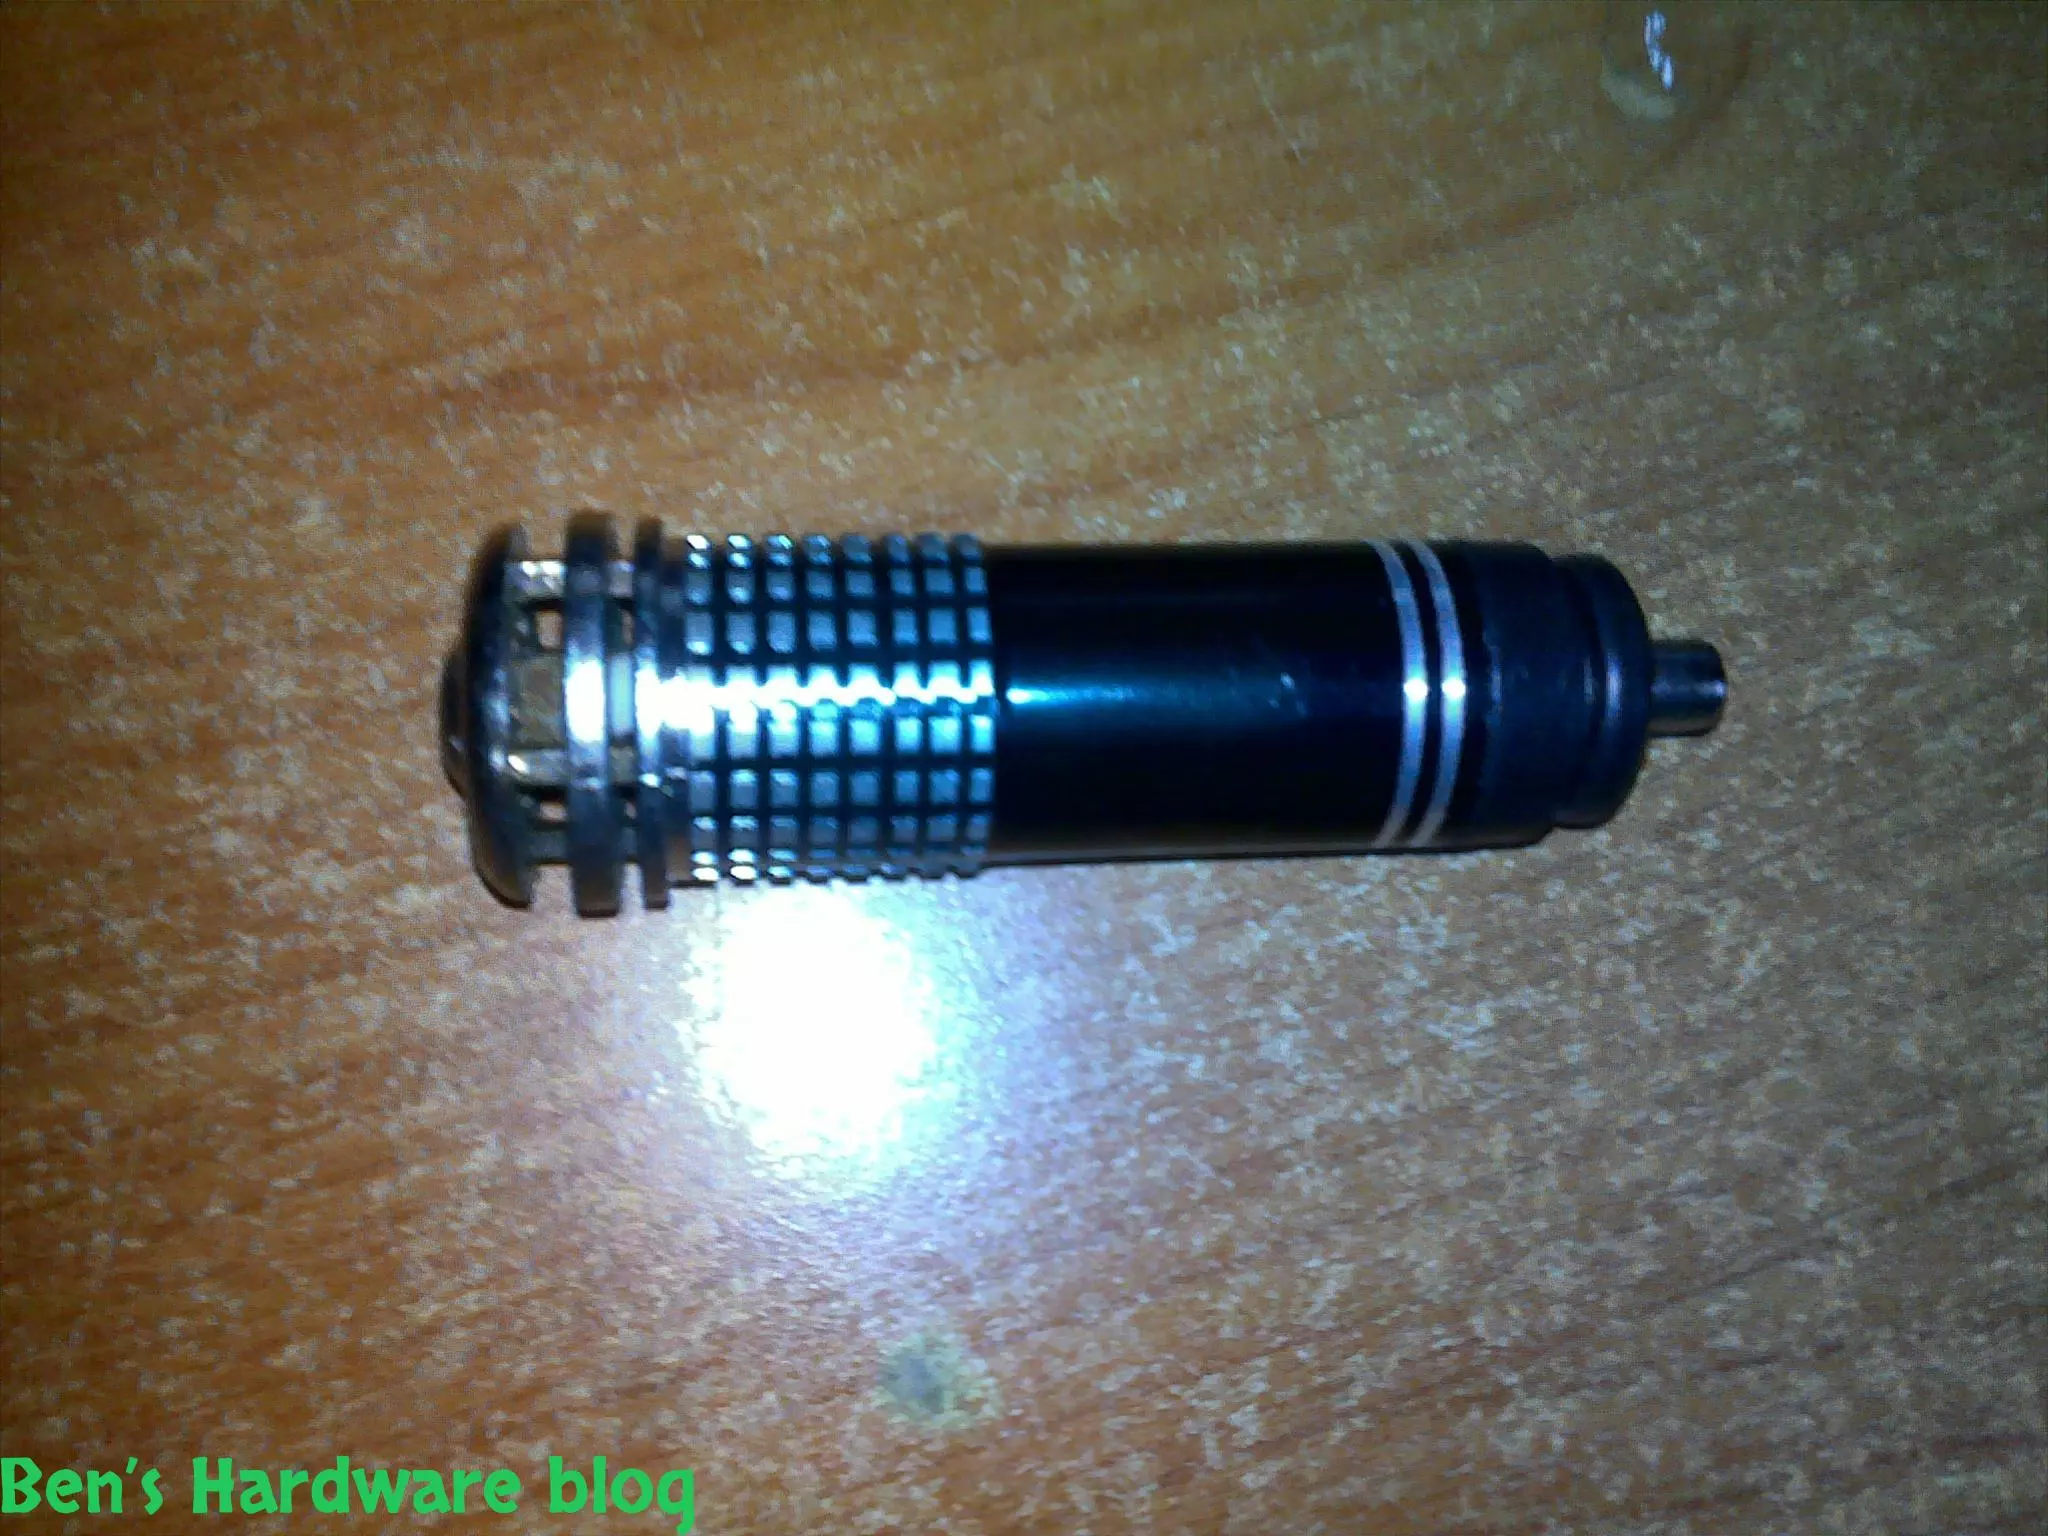
Eventually I bought these fittings and just to be on the safe side (if those fittings would be uninstallable on my motorcycle), I also bought L shaped contact points that replace the static hooks entirely.
I rather much using those replacement L shaped contact points than installing the fittings since it much easier and quicker method of finally using the stand. Installing the fittings would require me to drill into the motorcycle on both ends and to screw in those fittings – something I would rather not doing.
Usage:
At a first glance, using this tool is a given. Just place it under the rear part of your motorcycle, position the two L shaped endpoints and lift the motorcycle using the handlebar part of the stand…right ? Well – no. it is more complicated than that. This tool requires developing a skill of how to use it, otherwise your motorcycle will fall on its side or worse – on you, hurting yourself and damaging your precious motorcycle J.
Observing at the various garage mechanics using this tool made me think it is very easy to use this tool, mainly because of the seeming fast way they lift motorcycles on that stand. I was fooled, by my own eyes and dumbness.
Flat Surface:
The first critical condition that has to exist before you even begin using this tool is the surface on which you plan to work on. It has to be flat or at the very least as flat as possible. People who have their own garages in their homes are quite settled in this matter. People like me who don’t – are let’s say… challenged. There is no completely flat and smooth surface where I park my motorcycle so I had to be quite creative about it.
A flat and smooth surface would increase the motorcycle’s chance of successfully getting lifted while reducing chances of the bike tilting over. I learned it the hard way. In addition, the plastic wheels of the stand perform much much better on a flat and smooth surface. They don’t have tires or rubber coating which makes them quite hard to be used on a rugged surface.
Preparing the surrounding area:
- This is VERY important. This step could prevent damage to yourself, your belongings, other people and their belongings as well. Make sure the motorcycle is not even close to other cars, motorcycle or any other vehicle. Make sure it is not close to people’s belongings and themselves. Make sure your tools and other materials are positioned either behind or in front of the motorcycle – not on its side - unless they are out of the safety perimeter.
Creating a safe perimeter:
- Try to imagine the tipping over perimeter of the motorcycle if god forbids it happens. Take a safety gap of a meter or more from than perimeter and clear any of the mentioned in the previous paragraph.
- Positioning the stand and lifting the motorcycle:
- Put the motorcycle in neutral.
- Make sure your stand is firm and all of its parts are well strengthen.
- Make sure the part of the motorcycle which is going to come into contact with the stand is clean of any debris.
- Positioning the stand is done by inserting it under the rear part of the motorcycle in about a 45 degree angle while making sure both ends of the L shaped contact ends touch the rear part of the motorcycle. When they do, start increasing the force that is used over the stand’s handlebar using your right hand, while using your left hand to support the tilted part of the motorcycle that is supported by its jack.
- Keep putting a down force on the handlebar while supporting the motorcycle with your left hand till you reach the half point. This point is when the motorcycle is half way lifted in the air. When in this point – pause for a moment and take a general look that the contact end points are firm in their position and all seem to be stable – and move on with completing the lifting process by continuing applying force onto the stand’s handlebar – until it is parallel to the surface.
- Once the stand is parallel with the surface, the lifting process is done.
Post lifting:
- Make sure the motorcycle stable. Try pushing it gently from both of its sides to check for stability. Obviously, if you push it took hard it might topple over – so don’t do that please. This is not the motorcycle’s natural jacking position.
- Take another look at the stand’s contact endpoints and make sure the hold enough surface area of the motorcycle’s bottom part.
- Make sure there is nothing that could potentially cause your stand to accidently get lifted in the other direction of the one it is now, that s, the direction that would cause the motorcycle to get its rear wheel back on the surface.
- Try spinning the rear wheel back and forth a bit while checking if the motorcycle stays stable and doesn’t move much. Make sure you don’t hear any suspicious noises from the endpoints area or from the stands itself. Noises could indicate an unstable stand.
Lowering the Motorcycle:
- Make sure the safely perimeter is cleared of any potentially obstructing obstacles and items.
- Make sure the stand’s handlebar is not oily and greasy.
- Make sure the stand’s wheels are cleared of any obstacles that could obstruct them when pulling the handlebar back.
- IMPORTANT – make sure the motorcycle’s jack is all the way in the extended position.
- Use your hand to make sure it is locked down – This is to prevent the motorcycle from toppling over after lowering it completely (happened to me once)
- Make sure the contact endpoints on the motorcycle are firmly pressed against the motorcycle
- Put your left hand on the side of the motorcycle, supporting it.
- Gently pull the stand’s handlebar upwards while supporting the motorcycle with your left hand
- When reaching half way to the end of the lowering process, slow the lowering process down. This is important since you don’t want to put back your motorcycle on its jack aggressively, damaging your jack assembly.
- Gently keep lifting the stand until the motorcycle stand firmly on its own jack
- Push the motorcycle gently with your left hand rightwards in order to make sure the jack and the motorcycle are stable.
- Get the stand completely out from under the rear part of the motorcycle, in a close to 45 degrees angle.
Cons:
- Hooks endpoints
- That stand comes with endpoints hooks that seem to not fit all motorcycles, therefore making unusable out of the box. I believe the stand should’ve been shipped with the fittings that fit those hooks at the very least.
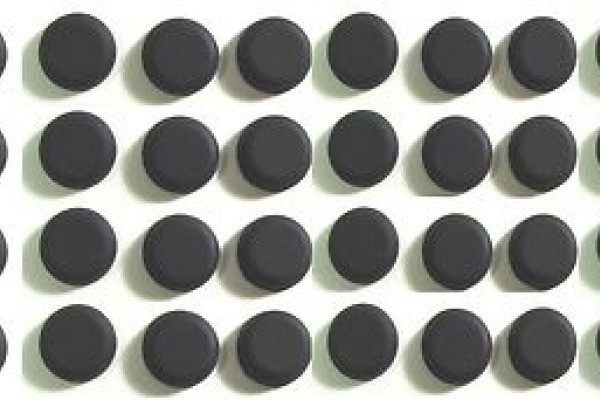
- Plastic wheels
- The plastic wheels are very weak. Their axis’ weak nature could be noticed right from the very first user of the stand.
- The lack of tires or at the very least, rubber coating, makes the stand very bumpy when using not just on an uneven surface but also on a flat and smooth surface as well. Rubber coating or tires would make the grip of the wheels much firmer therefore making the stand safer to use
- The two parallel wheeled stands get crooked and offset very easily and their holding screws need to be strengthen once in a while
- Wall mounting units
- Not easy to install since marking drilling holes is relatively complicated
- The stand is not held firmly enough by those units. The lightest nudge would cause the stand to get loose from these mounting units and fall down
Pros:
- A very adequate tool for basic motorcycle servicing – chain cleaning and oiling, tire inspection and foaming, wheel cleaning etc
- Low price
- Easy intuitive assembly with big parts
- Stand comes with two wall mounting units
- Contact endpoints can be replaced with various types of endpoints (Hooks and L shaped)
- Not heavy and easy to carry
- Easy to disassemble
Summary:
The gain in this case is bigger than the loss and even if the stand would be eventually discarded for a better one, the experience gained by using it is well appreciated. As a first motorcycle stand I would say it is adequate and does the job if of course all of the instructions mentioned above are done correctly.